- Compost, Fungus and Mushrooms, Gardening adventures, Hugelkultur, Permaculture and Edible Forest Gardening Adventures, Soil
More Spores: Planting Garden Giant and Shaggy Mane Mushrooms
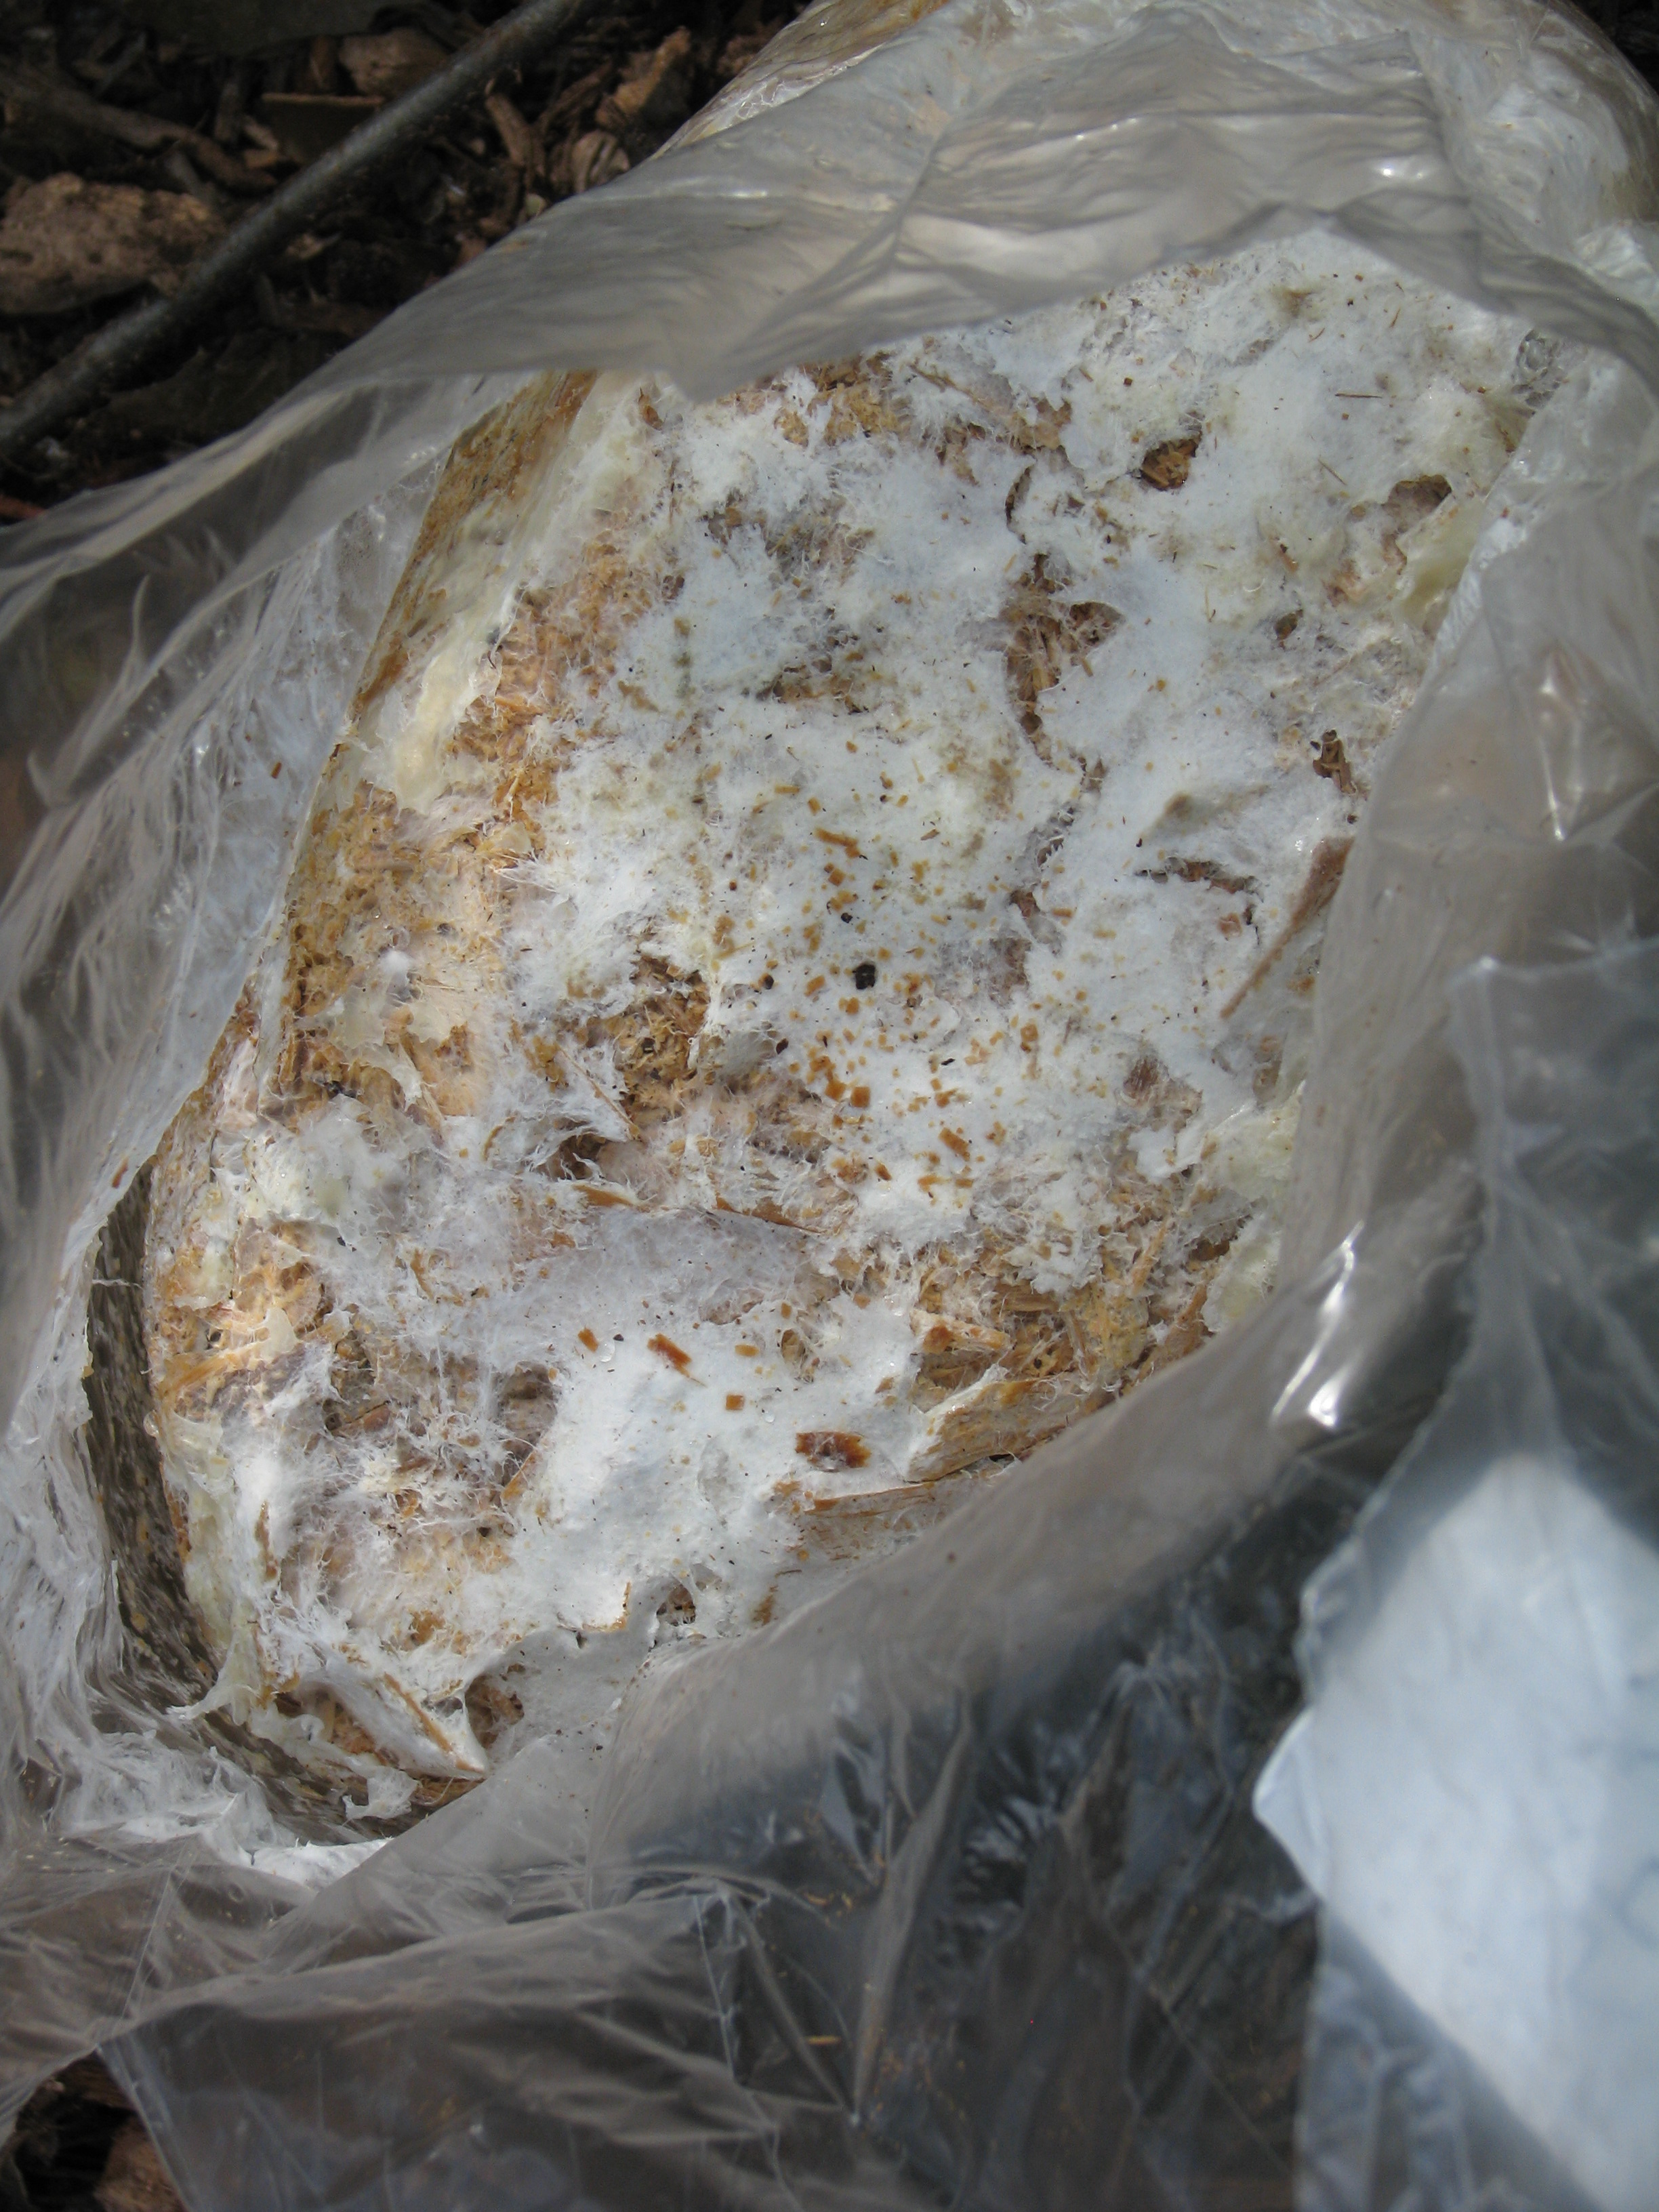
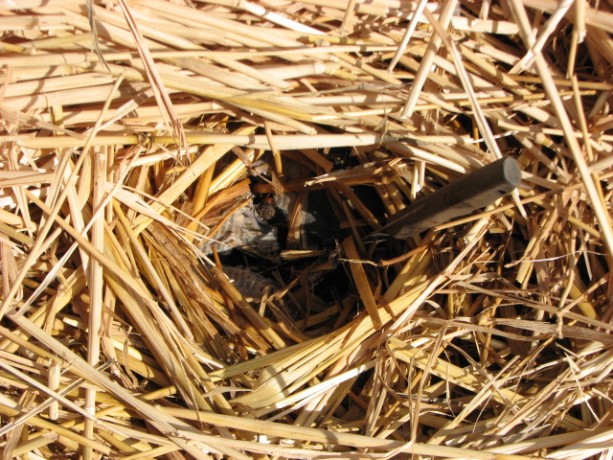
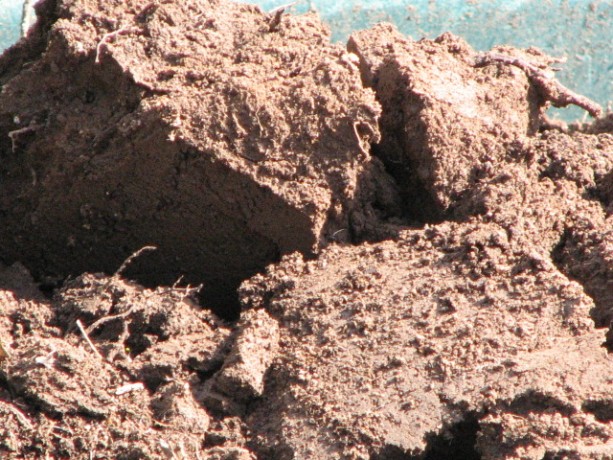
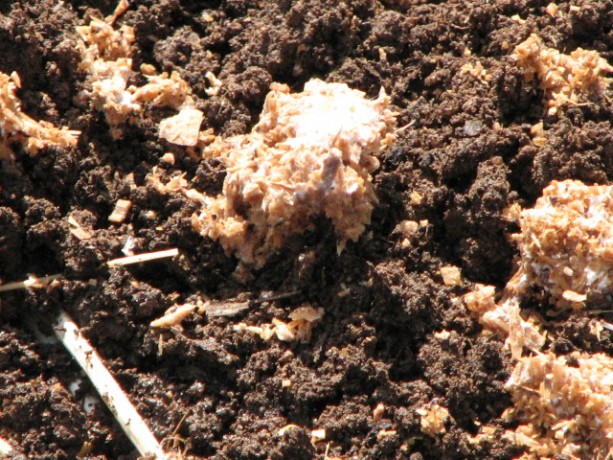
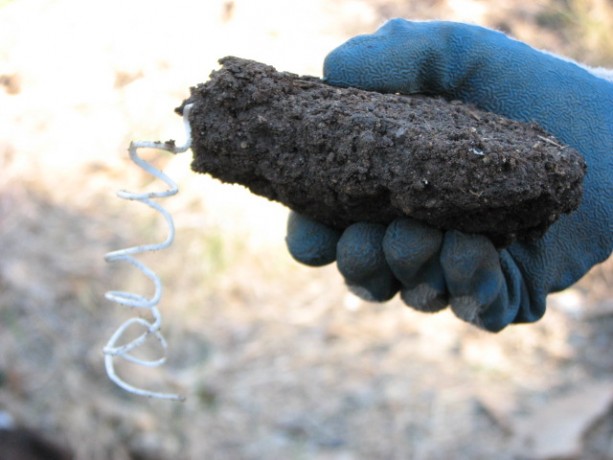
Breaking apart the large square of inoculated sawdust. The last scintillating post was about how we distributed oyster mushroom spawn in the straw in our new vegetable garden. Today we planted more shrooms… but not the last! “Where will it end?” you cry. I’m not sure myself; I guess it depends on how well we can grow mushrooms here in the drought-stricken west. It is the last week in February and we’ve had 70 degree – 90 degree daytime temperatures all month long, and less than a 1/2 inch of rain this year. This is our rainy season. Some mushrooms do grow here, although they aren’t very apparent this dry year. We certainly don’t have the high humidity, frequent rain and acidic loam that characterizes areas such as Northern California and the Pacific northwest where mushrooms are everywhere.

Shaggy Mane spores growing all over the bag. I bought two bags of spores, of Giant Mushroom and Shaggy Mane mushrooms, both of which are edible and can stand warmer climates, as long as they are shaded and receive water. My daughter and I strolled all over the property considering different spots. There aren’t a lot of areas which are shaded all day, which receive water or are close to water, and where shrooms would be safe from nibbling animals. We decided upon the small group of old lime trees (and one orange) that are between the fenced backyard and the Fowl Fortress.
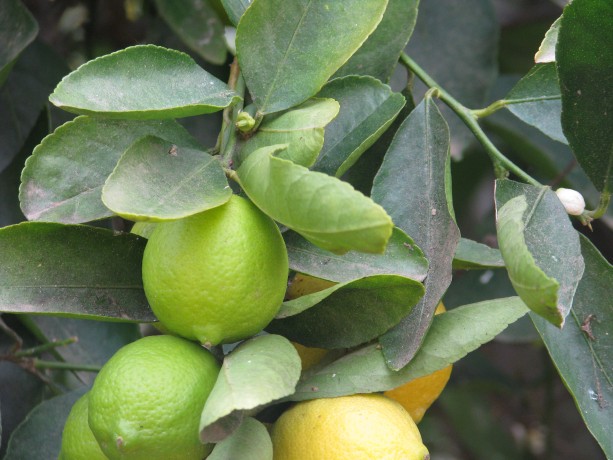
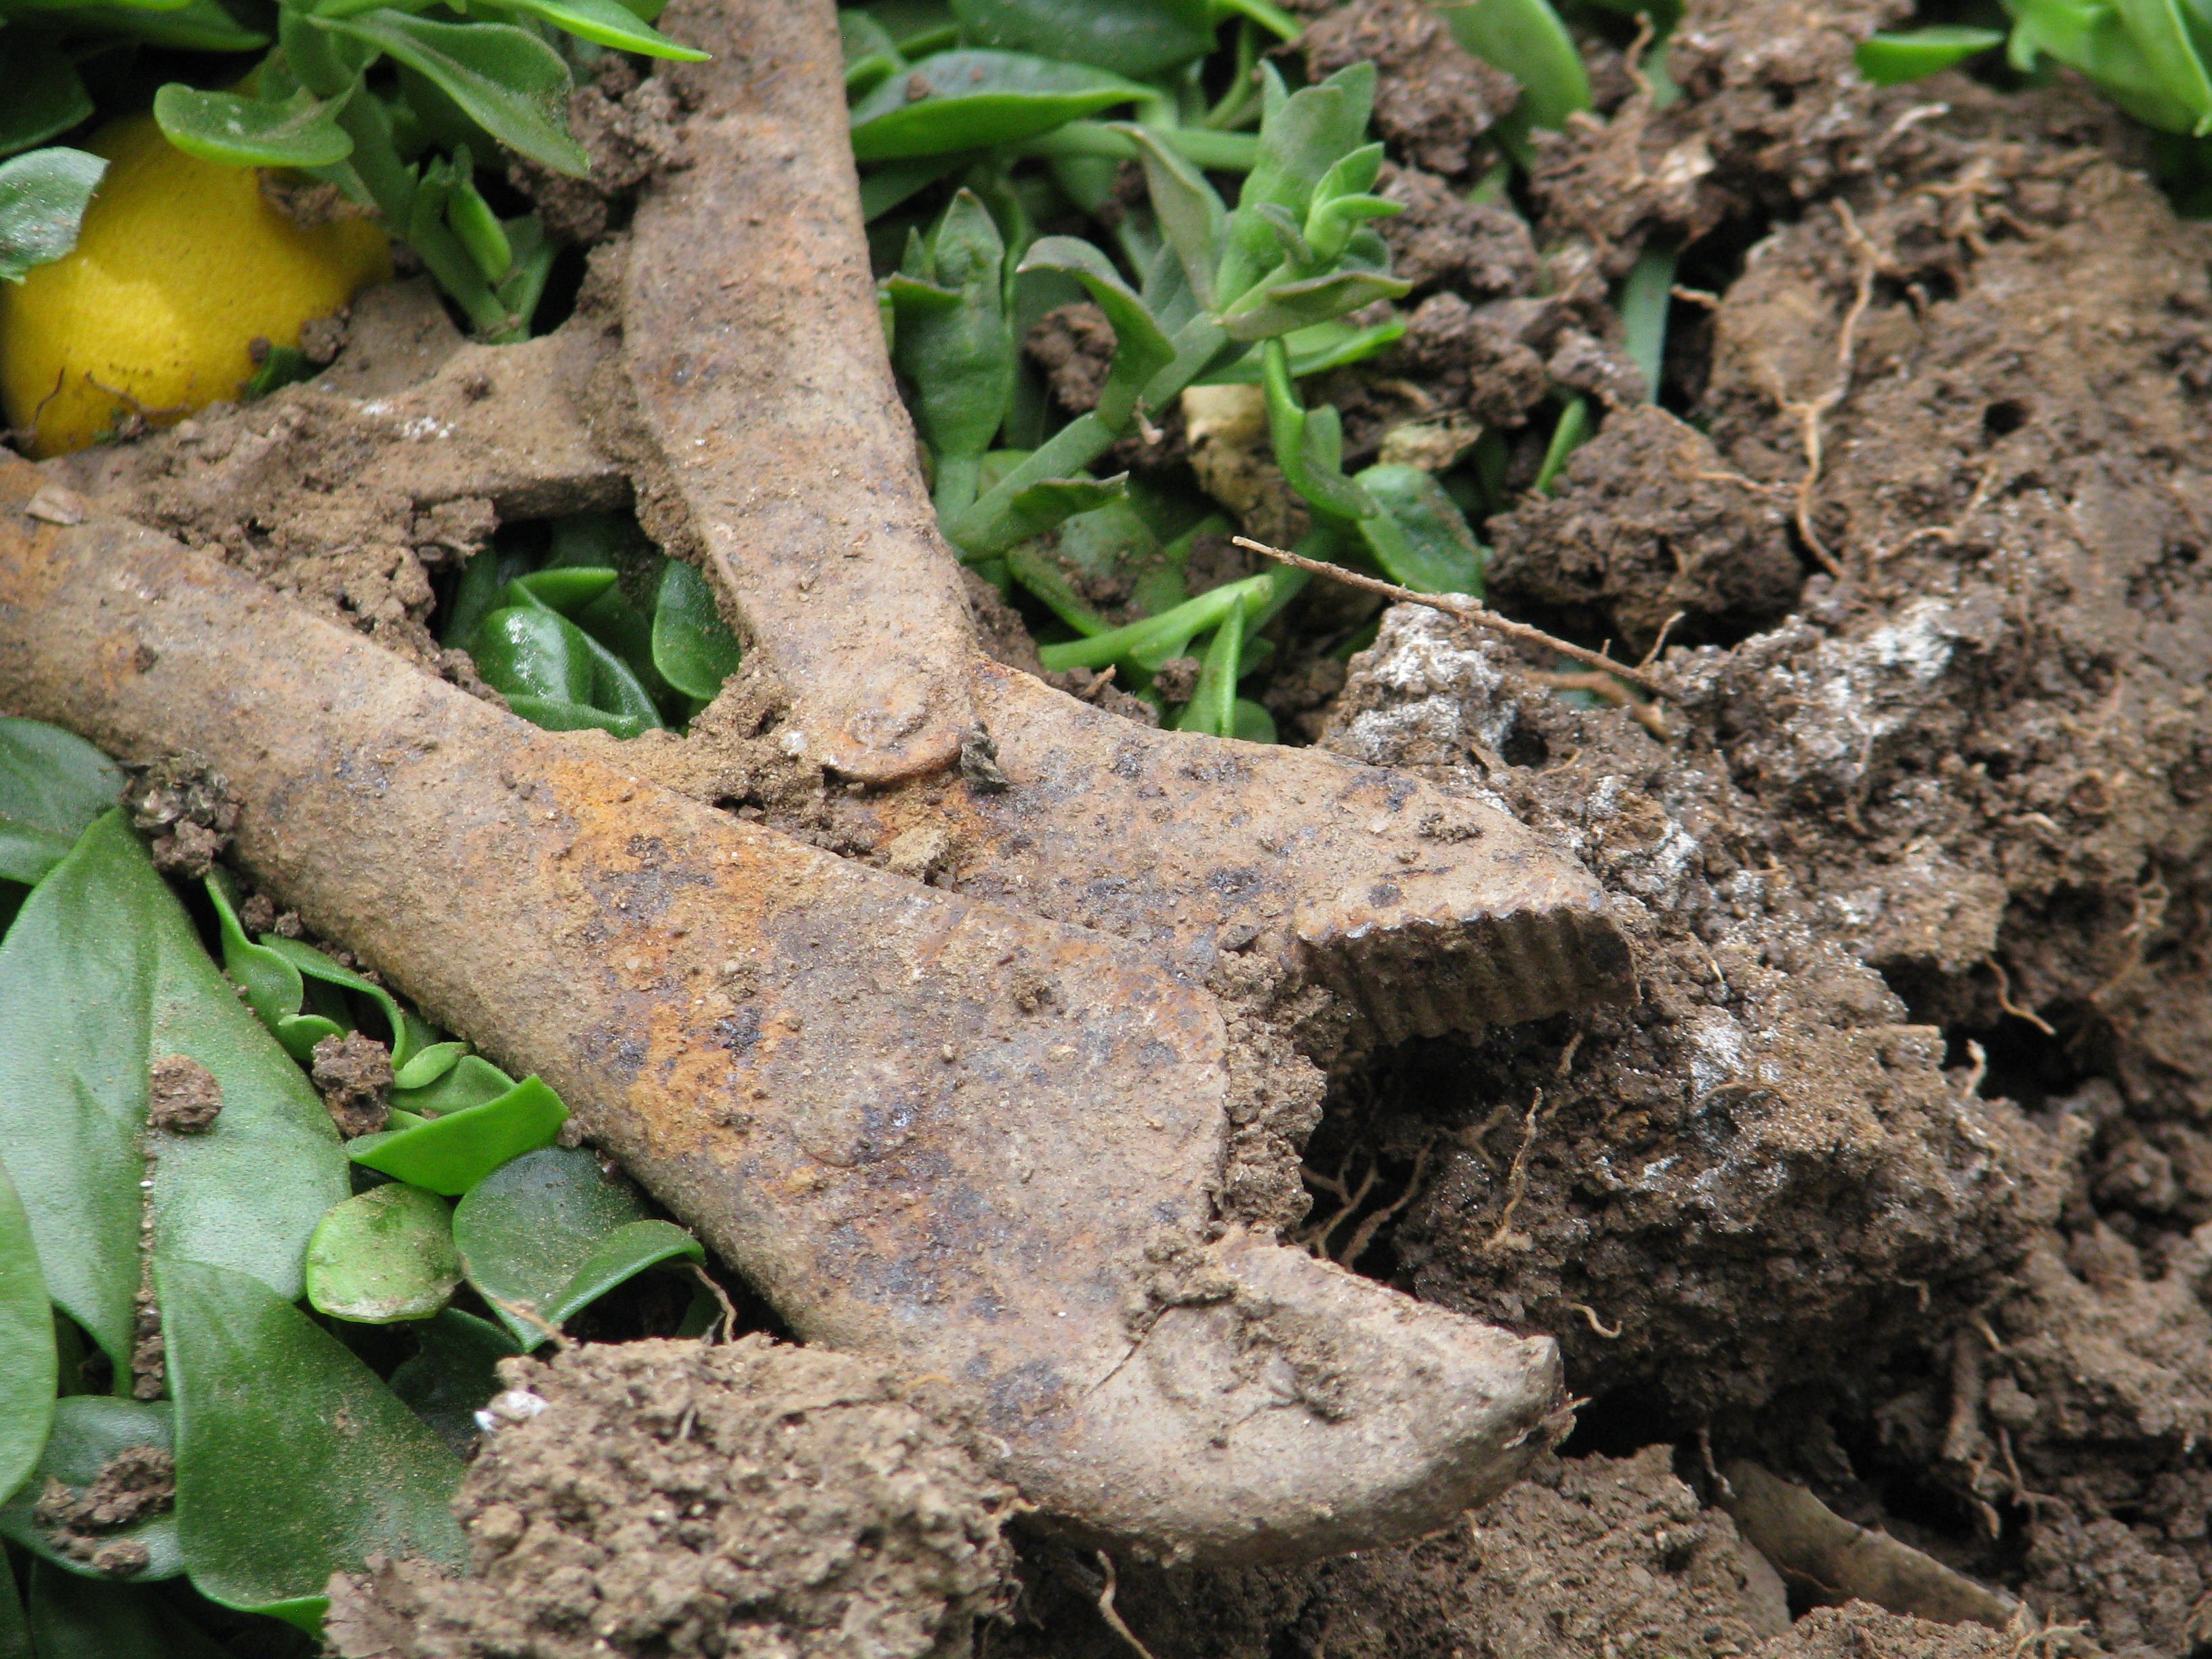
Limes look so very pretty, until they draw blood! I’m not a fan of lime trees. When I was 11, my parents moved me and my sister to a four-acre lime grove in Vista, CA. I grew up enjoying the smell of lime blossoms, walking through tens of thousands of bees (pre-Africanization), climbing up the few avocado trees and pretending I was a spy and bad guys were looking for me. But when I was older I was paid to care for the lime trees. I became disenchanted. They are nasty. Their thorns and small dead twigs scratch and catch, they are often full of ants which are harvesting aphids on the leaves, and they are short trees, so to pick limes or do anything for them you have to duck under the canopy and usually end up losing some hair and bleeding from the thorns.

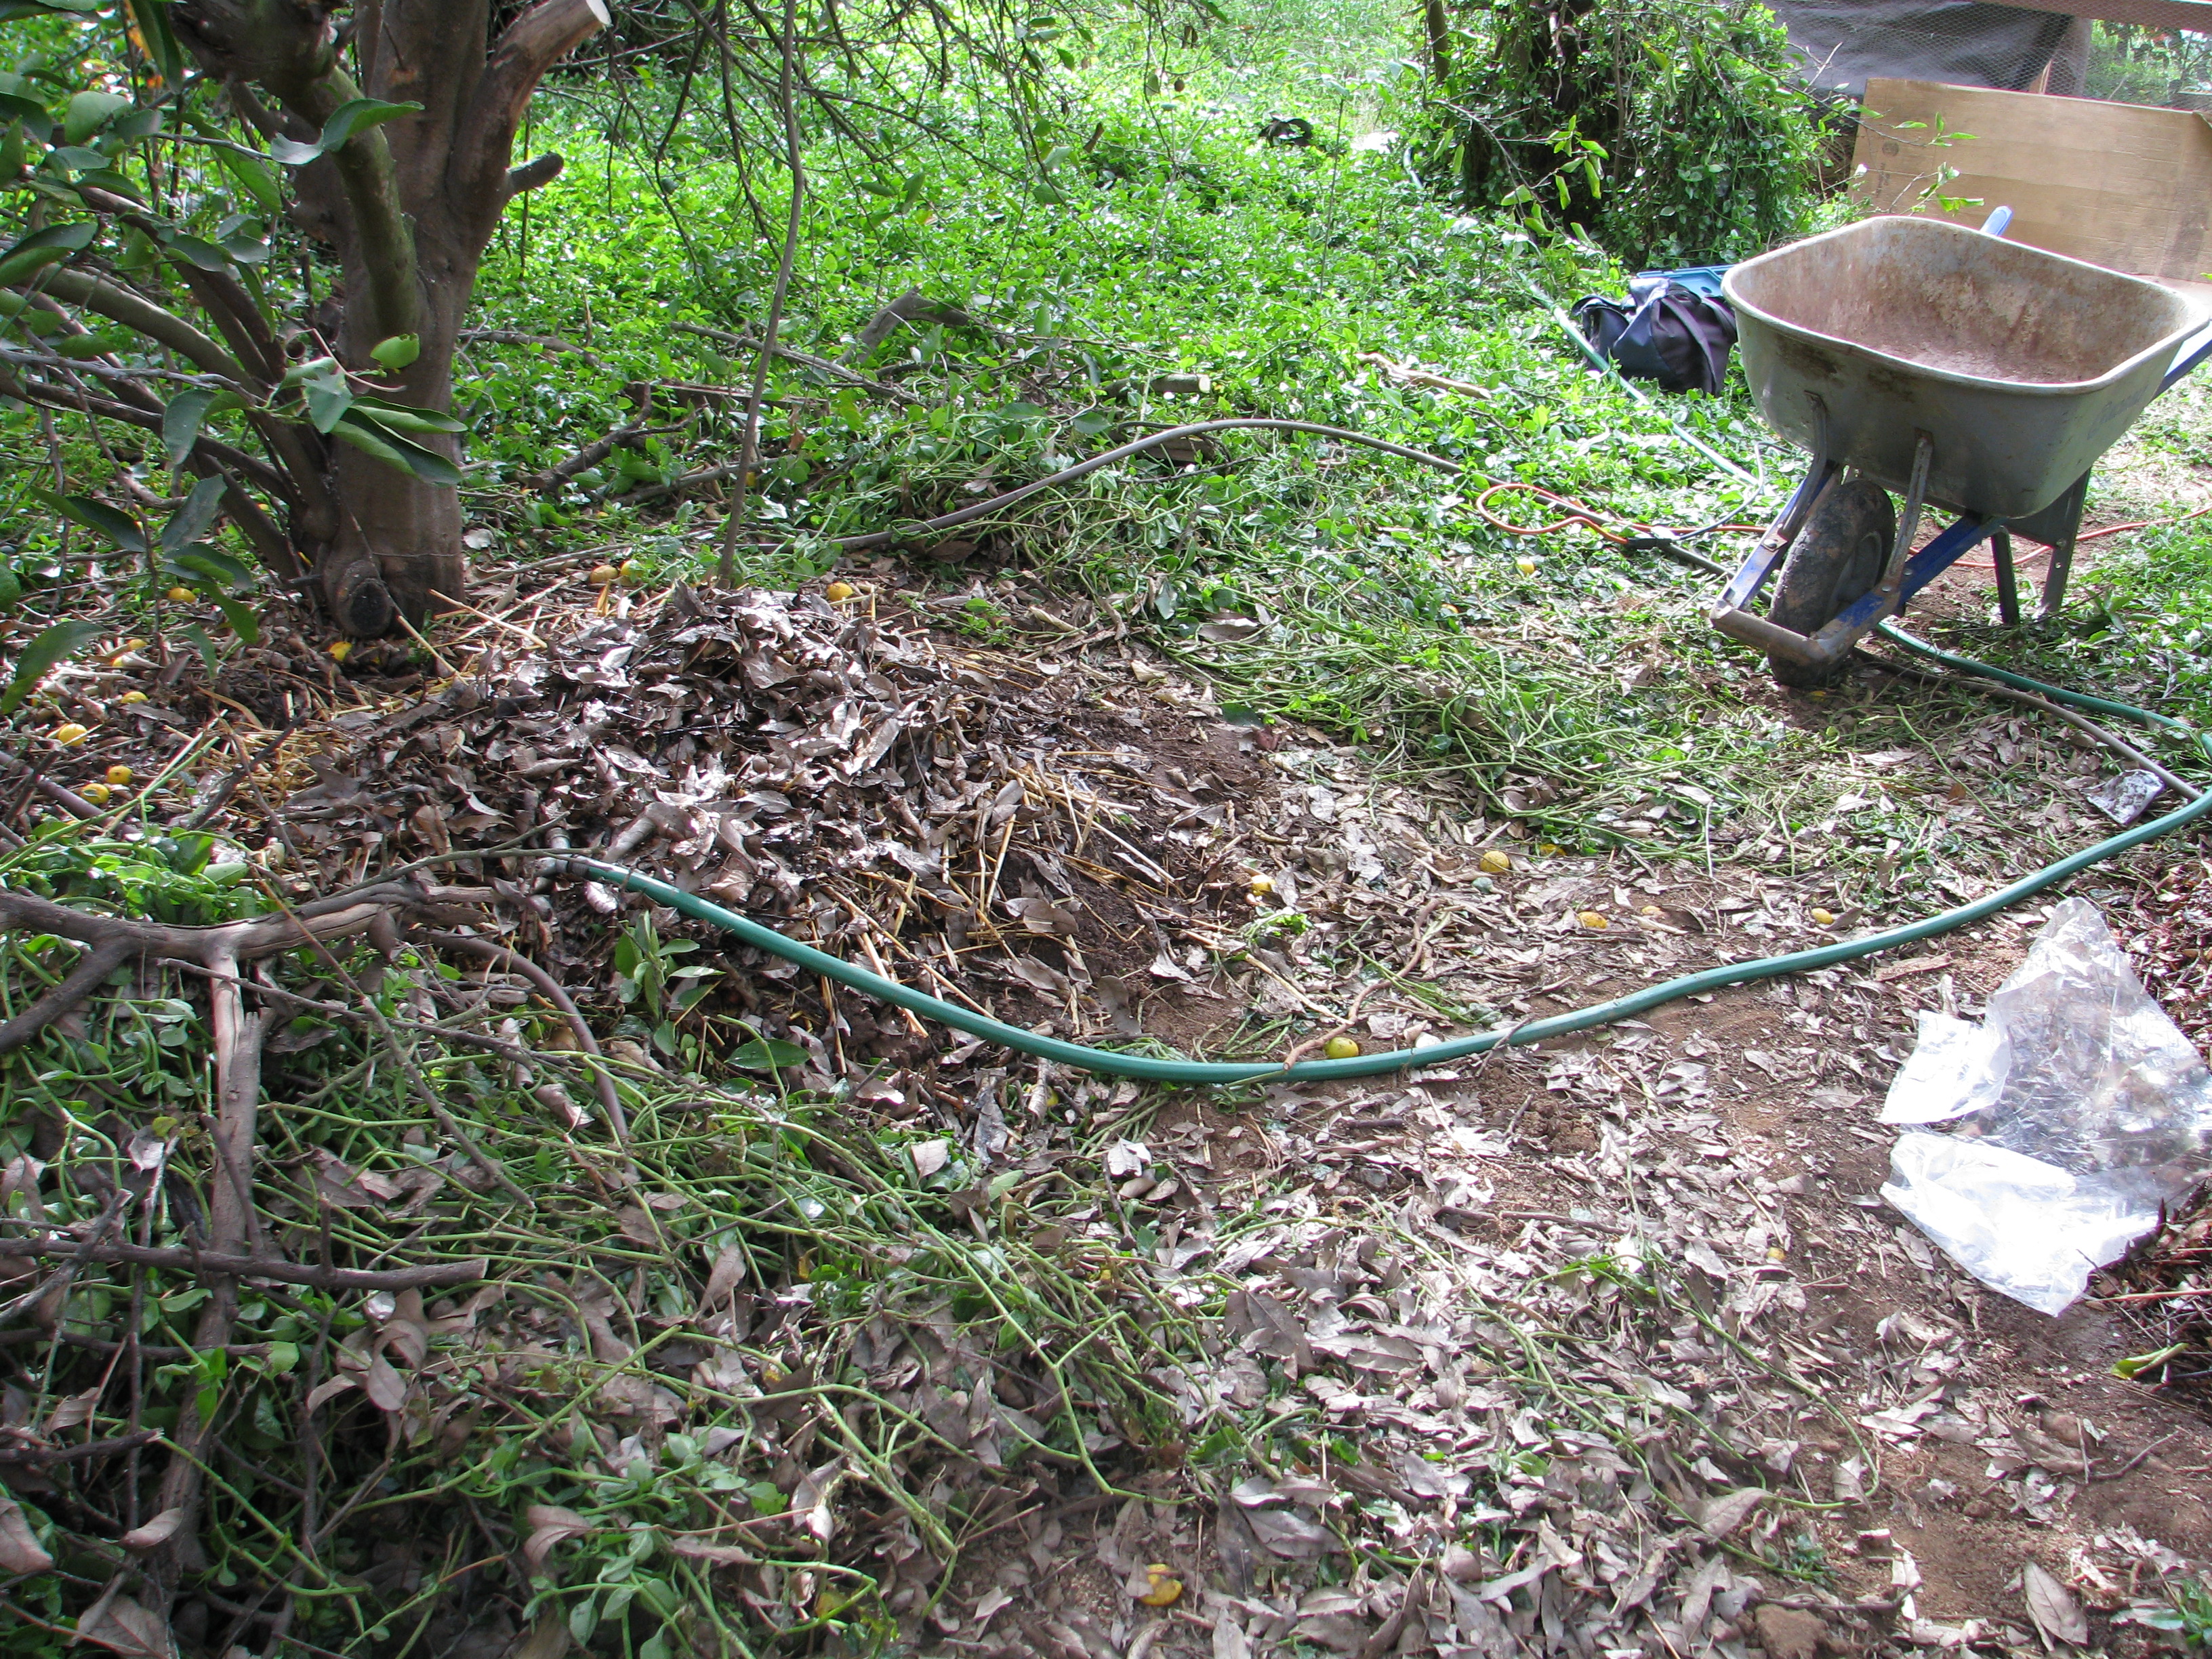
A group of citrus trees, with logs cut for mushroom inoculation and some old chicken wire that is ready for a hugelkultur burial. So of course as an adult I moved onto property with a lot of lime trees on it. Limes aren’t very profitable, either. I keep the trees because I don’t water them yet they thrive, and I don’t believe in killing trees for no reason. Now their canopy can be put to good use.

We always find some lost treasure from the previous property owner. I purchased organic mycelium from Paul Stamet’s Fungi Perfecti. He wrote many books on growing mushrooms and has had startling results using oyster mushrooms for soil remediation and with turkey tail and other mushrooms for fighting cancer and other illnesses. Mycelium Running is an incredible book.
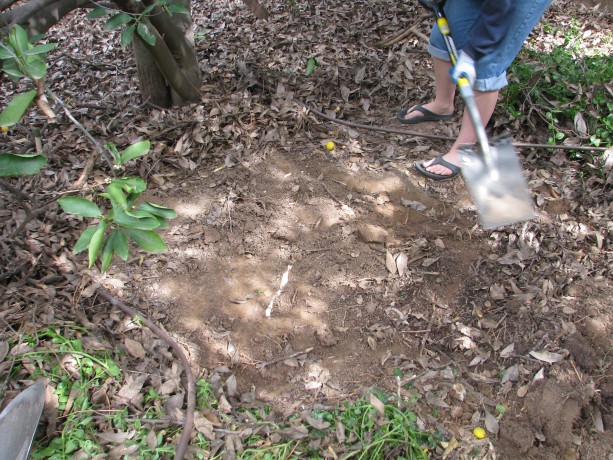
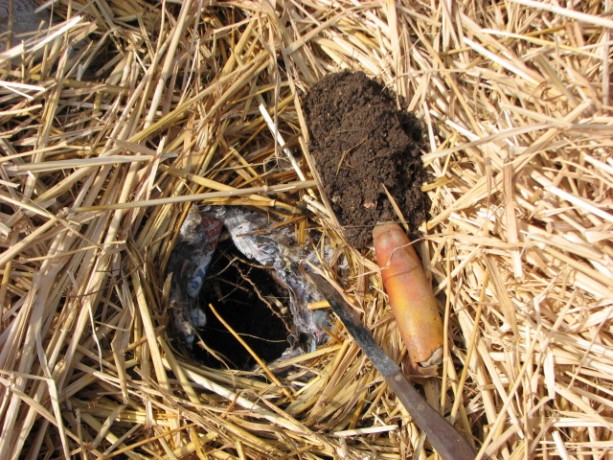
Clearing a level area under a lime tree. For the Garden Giant shrooms, we hacked through dead branches and pulled away a lot of red apple iceplant that has slowly been taking over from the neighbor’s property. We dug about two inches into the ground to help insulate the wood chips that would be placed in there, and watered it in well with what was left of the rain water from our large tank.
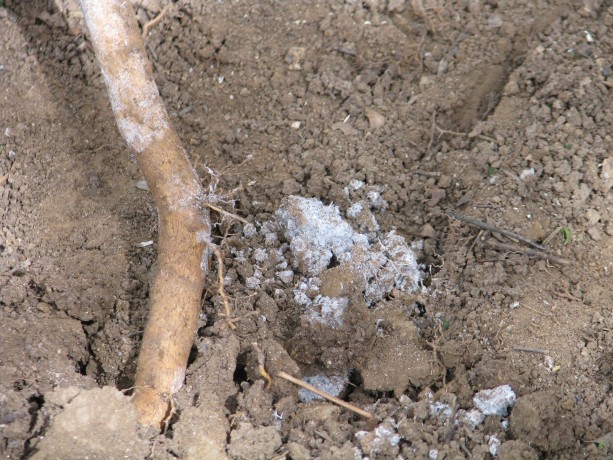
Mycelium is already busy around the roots of the lime and ash trees, even in this dry ground. We’d just received a truckload of chipped oak from landscapers, and that was perfect for this variety of mushroom. We spread out a couple of inches of chips, watered it well, spread the inoculated wood chips on top,

Spreading the mycelium… so many little spores! spread a couple more inches of chips over, mixed them up with our hands to spread the spores throughout the chips, and watered again. With luck, they should be up in a couple of weeks.
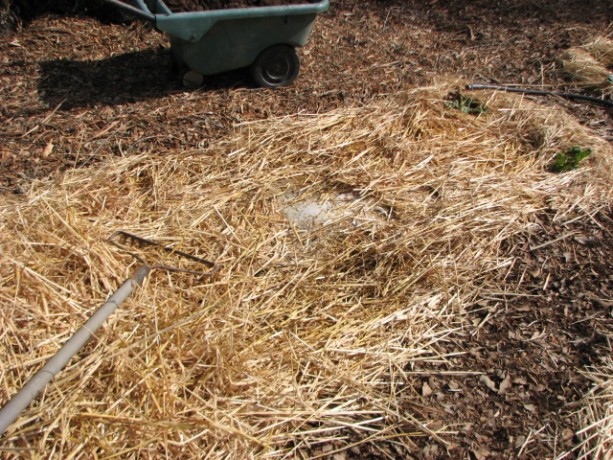
The final Garden Giant bed. Next to another tree we dug a 3×3 area just an inch down. Shaggy Mane lives in vegetative compost rather than the highly fungal wood chips, and can live in a variety of stuff.
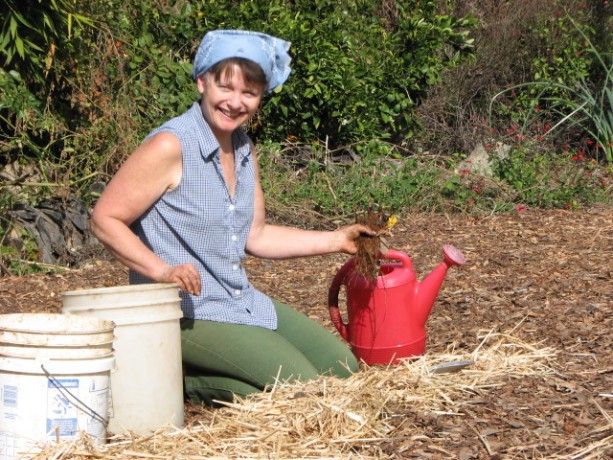
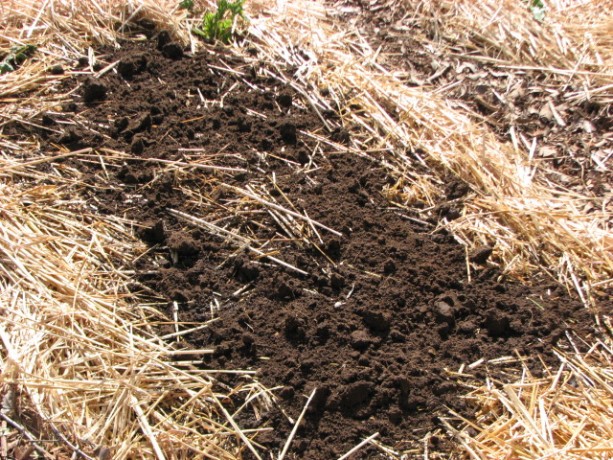
Vegetative compost mixed with straw and leaves for this long-term mushroom. We removed the more composted stuff from our cold compost bin and mixed it with very poopy straw from the chicken coop (thanks, girls!), and ash leaves. The spores were mixed well into this combination and watered in.

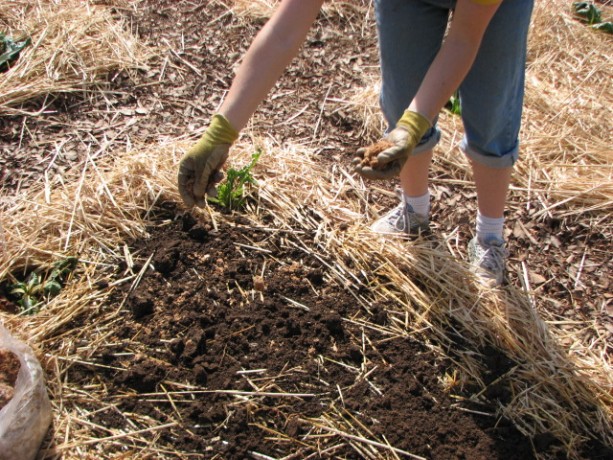
Mixing in Shaggy Mane spores with the compost. I topped it with leaves just to help keep the moisture in. We won’t see production from these until next winter when the temperature drops to below 60 degrees F. When they do ‘fruit’, as the mushrooms are called, we can add new compost alongside and the spores will creep over for another year’s growth.

To assist with the moisture I’m going to have the greywater empty along these trees to keep the ground moist and the humidity up. Also, there are drip lines from the well along here and I think the addition of some above-ground sprayers will handle our watering needs without using domestic water.

The white tables are set under an orange tree, and are where inoculated logs will go. Under the orange tree, which is a fine tree but very neglected and hidden by the vicious lime trees, we decided to set up for our next installment of mushroom growing. We’ll be drilling holes in oak logs and growing four kinds of shrooms on them. I’m sure you just can’t wait!
- Compost, Fungus and Mushrooms, Gardening adventures, Hugelkultur, Permaculture and Edible Forest Gardening Adventures, Rain Catching, Seeds, Soil, Vegetables, Water Saving, Worms
Planting Spores in the Garden

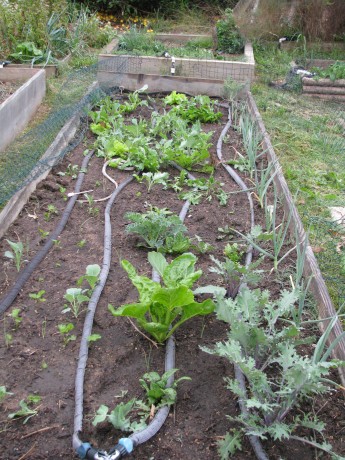
The mycelium is white in the sawdust and ready to go. If you remember the trenching, filling and designing the new veggie patch, then this post will make more sense to you.

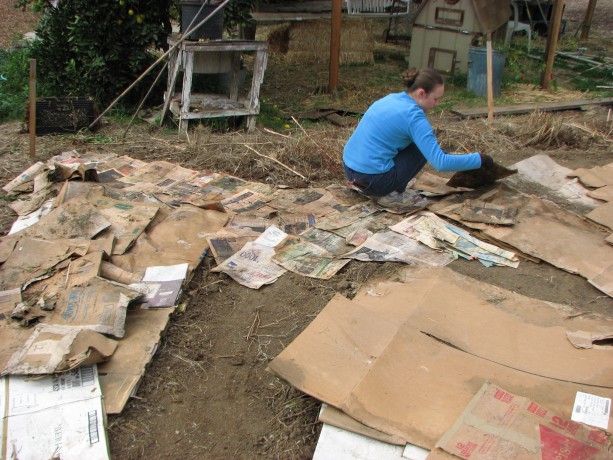
The next step was to cardboard the pathways where Bermuda grass has been taking over, then mulch them as well. The mulch makes it all look so nice!

Covered with mulch, the cardboard is only a memory. Next it was time to plant. We’d already transplanted three-year old asparagus, and hopefully not shocked them so much that they won’t produce well this year. The flavor of fresh asparagus defies description.

Asparagus popping up some feather shoots from its new home. The strawberry bed was older and completely taken over by Bermuda grass, so it all was buried and I purchased new organic and extremely reasonably priced bareroot strawberries.
A bundle of twenty-five strawberries. I purchased two June-bearing types and three ever-bearing, heat-loving types, from www.groworganic.com. When they bloom this year we’ll have to nip off the buds so that next year when their roots have taken hold and fed the crown, we can have lots of strawberries.

Soaking the strawberry roots for a few minutes rehydrates them. We planted some in the asparagus bed, which will do nicely as groundcover and moisture retention around the asparagus, while the asparagus keeps the heat off the strawberries. Some we planted around the rock in the center of the garden. The rest will be planted around fruit trees as part of their guilds.
Strawberries surround the rock. We also planted rhubarb in the asparagus bed; these poor plants had been raised in the greenhouse for several months awaiting transplanting.
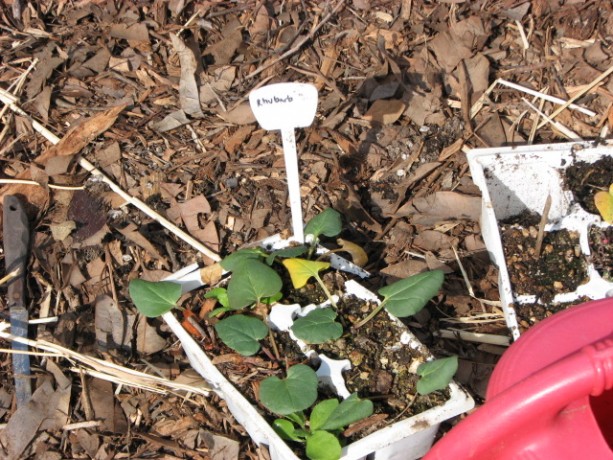
Rhubarb, really eager to be put in the ground. Hopefully the asparagus will protect them from the heat. I plan to raise more rhubarb from seed and plant them in other locations on the property, aiming for the coolest spots as they don’t like heat at all.
With a strong knife (weak blades may snap) cut a cross in wet cardboard the pull aside the edges. The way to plant through cardboard is to make sure that it is wet, and using a strong knife make an x through the cardboard. Use your fingers to pull the sides apart. Stick your trowel down and pull up a good shovel full of dirt (depending on how deeply your plant needs to go.
Insert a trowel through the hole and scoop out some dirt. The base of plants and the crowns of strawberries should all be at soil level. Seeds usually go down three times their size; very small seeds may need light to germinate). Gently plant your plant with a handful of good compost, then water it in. You won’t have to water very often because of the mulch, so check the soil first before watering so that you don’t overwater.
Don’t forget to water in the plants! For the first time in years I ordered from the same source Jerusalem artichokes, or Sunchokes as they’ve been marketed. They are like sunflowers with roots that taste faintly like artichoke. We planted some of them in one of the quadrants, and the rest will be planted out in the gardens, where the digging of roots won’t disturb surrounding plants.
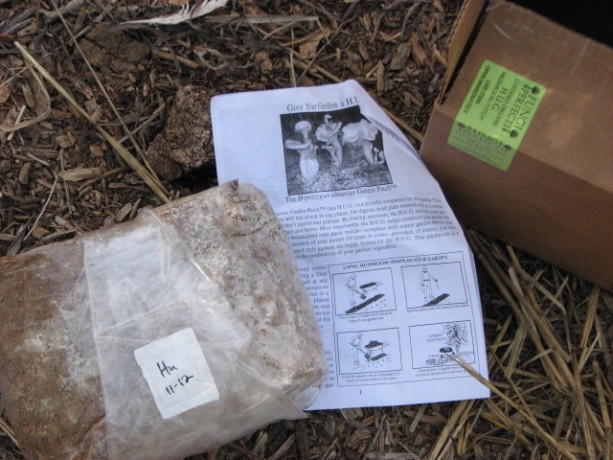
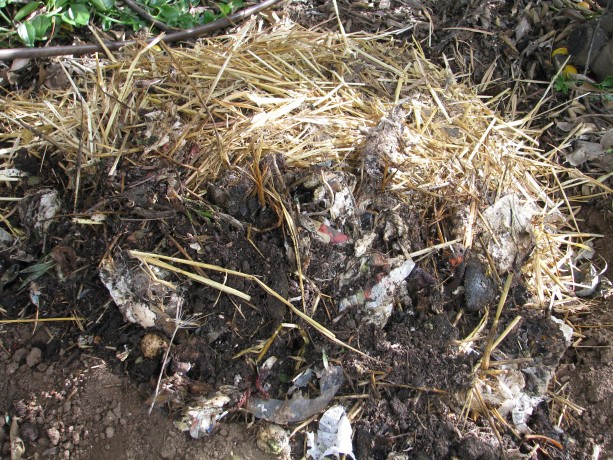
The oyster mushroom kit, or H.U.G. You’ll have to visit Fungi Perfecti to read up on it. Most excitingly, we’ve purchased mushroom spores from Fungi Perfecti, which is Paul Stamet’s business, the man who wrote Mycelium Running and several other books about growing mushrooms for food and for health. We bought inoculated plugs, but that will be another post. Almost as exciting are the three bags of inoculated sawdust to spread in the garden! They sell an oyster mushroom that helps digest straw and mulch, while boosting the growth of vegetables and improving the soil. You also may be able to harvest mushrooms from it! Talk about a wonderful soil solution, rather than dumping chemical fertilizers on the ground!
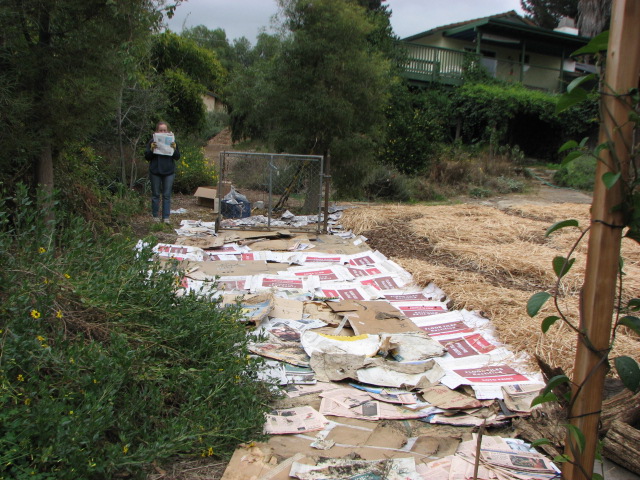
We’d already covered our veggie beds with wet cardboard and straw.
Really good soil from what is now a mulched pathway. To give the mycelium a good foundation I dug up good soil from one of the field beds, which needed an access path through the middle. By digging out the path I created new water-holding swales, especially when filled with mulch.
We pulled aside the straw. In the veggie garden we raked back the straw and lightly topped the wet cardboard with soil. On top of that we sprinkled the inoculated sawdust.
Good soil over cardboard. On top of that we pulled back the straw and watered it in.
Sprinkling spore-filled sawdust over the soil. The fungus will activate on the wet soil, eat through the cardboard to the layers of mushroom compost and pidgin poo underneath that and help make the heavy clay beneath richer faster.
The fungi will immediately begin to colonize the wet soil. We treated the two top most beds which have the worst soil, the sunchoke bed and the asparagus bed. In four to six weeks we may see some flowering of the mushrooms, although the fungus will be working even as I sit here. There are several reasons why I did this. One, it is just totally cool. Secondly, there is no way for me to purchase organic straw. By growing oyster mushrooms in it, I’m hoping the natural remediation qualities of the oyster fungus will help cleanse the straw as it decomposes. Oyster mushrooms don’t retain the toxins that they remove from soil and compost, so the mushrooms will still be edible. Fungus will assist rebuilding the soil and give the vegetables a big growing boost. I know I’ve preached that vegetables like a more bacterial soil rather than fungal. This is true, except that there are different types of fungus. If you put wood chips in a vegetable bed, you’ll activate other decomposing fungus that will retard the growth of your tender veggies; the same wood chips around trees and woody plants will help them grow. However these oyster mushrooms will benefit your veggies by quickly decomposing compost and making the nutrients readily available to the vegetables. Their hyphae will help the veggie’s roots in their search for water and nutrients, too.
Straw is over the top and watered. We can continue to plant in the beds as the fungus does its magic. The other two bags of inoculated spores are for shaggy mane and garden giant, which we’ll find homes for in compost under trees. More on that as we progress. It is so nice to be planting, especially since these are perennial plants where the most work is being done now. Now we just need some rain!
- Compost, Gardening adventures, Hugelkultur, Permaculture and Edible Forest Gardening Adventures, Rain Catching, Soil, Water Saving
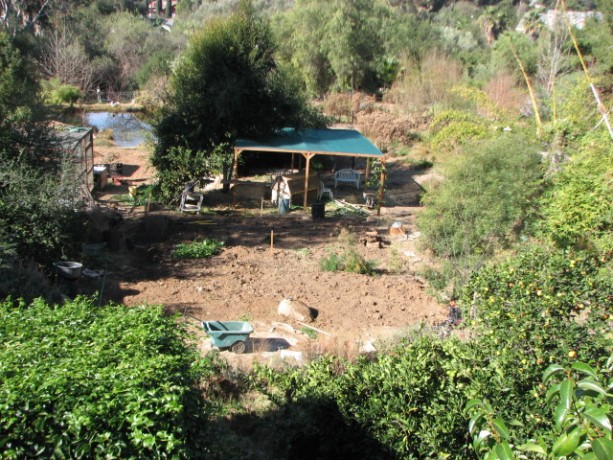
The Sunken Bed Project… Finis!
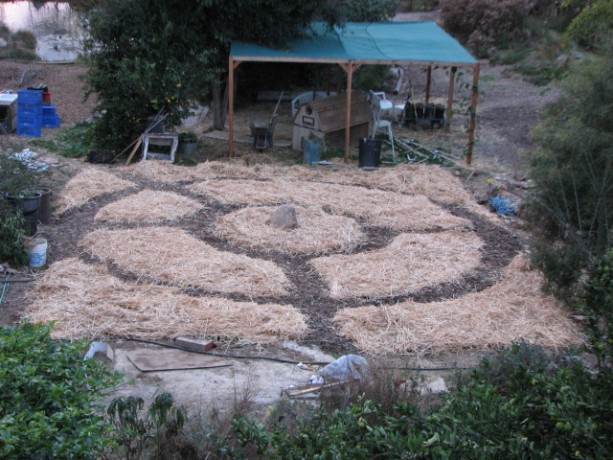
Maybe they can see this from space? To take up where we left off in this exciting saga, we had the hugelkultur trenches buried, the pattern outlined in gypsum, and a boulder moved. On top of the beds I spread the cleanings of a pigeon coop, courtesy of our good friends and neighbors who raise and rescue many pigeons.
Pigeon poo and coop gleanings all over the garden beds. Yum! The high nitrogen poo, feathers, and leftover pigeon peas and other food items will make a wonderful breakfast for microbes. On top of that I spread a pickup truck bed full of mushroom compost. Jacob was nice enough to clean out his truck and help me get a load. The nearby mushroom farm raises shiitake and button mushrooms on logs of compressed sawdust. This is a high fungal compost, and slightly acidic. Since we have a high alkaline soil, this is okay.
The garden beds covered with mushroom compost. After the compost begins to make its final decomposition, the worms thrive in it. I managed to wheelbarrow down the entire load and spread it just before we had the first rain event of the year…less than 1/4″, but enough to give the garden a small soaking.

Cardboard is on all the garden beds. How nice to clean up all that cardboard and newspaper that we’ve been collecting! Today my daughter and I started in on the final treatment. We covered all the beds with cardboard, and all the pathways with newspaper. This thin layer will hold in moisture, and help retard the growth of the dreaded Bermuda grass.
Spreading damp newspaper on the pathways. I’m really hoping so, anyway. Another small storm was blowing in for tonight, scattering our newspapers although we wet them down thoroughly. We’re still using water from the 700-gallon tank that catches water from the house’s raingutters. We’re trying to use some up so that fresh water can enter the tank with this storm.
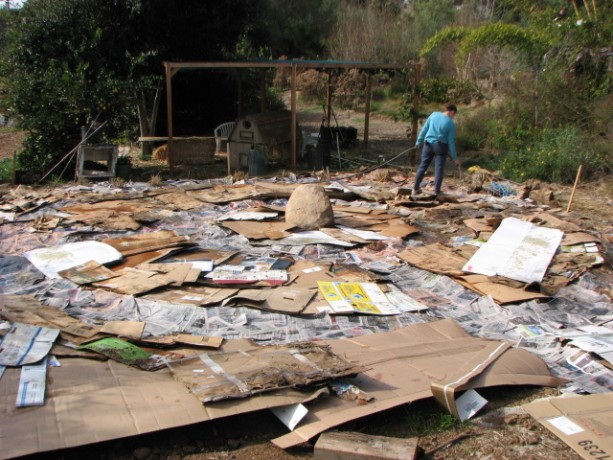
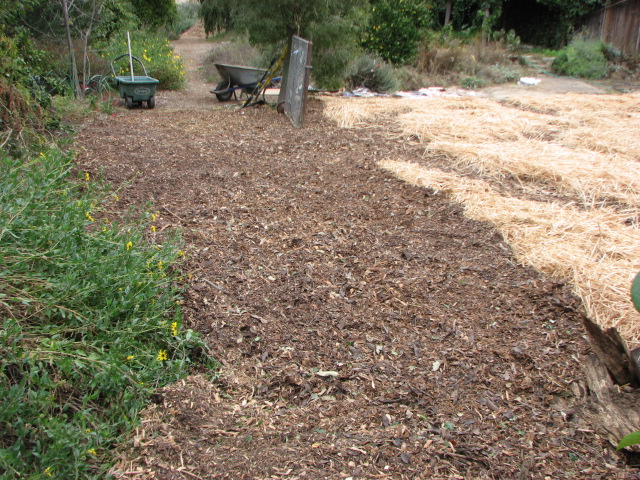
Watering down the newspaper with rainwater from the tank to keep the wind from undoing all our work, and starting the decomposition process. Although we were both very tired and getting cold, we needed to cover the paper. I hauled down about fifteen wheelbarrows full of mulch; this had been dumped in the driveway courtesy a landscaper with a chipper. Miranda spread the mulch over all the pathways, which looked just great.
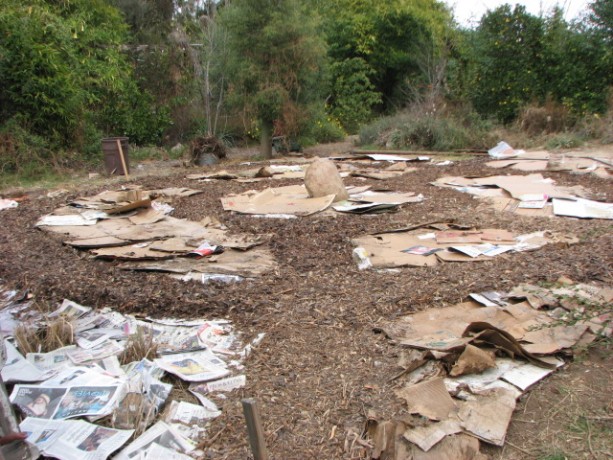
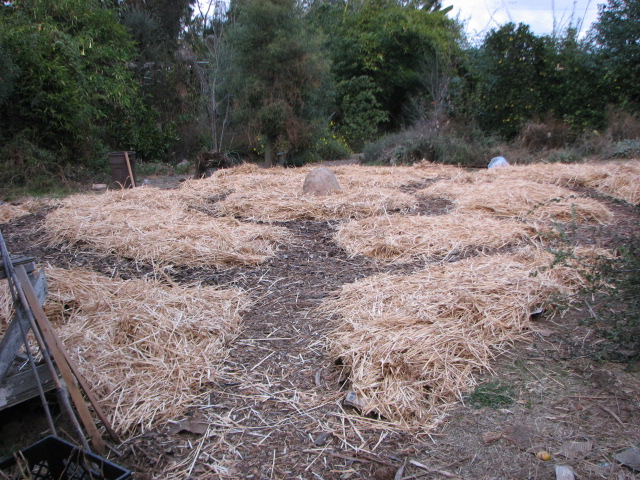
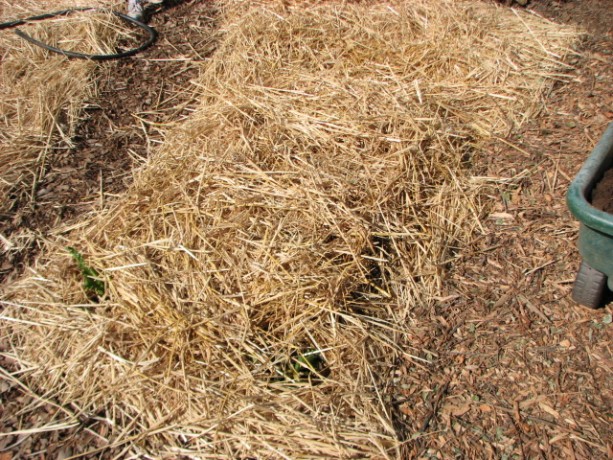
Paths covered in mulch. We almost stopped there, but I was driven to finish this project today. We pitchforked used straw from out of the Fowl Fortress, broke open some other bales, and mulched the garden beds heavily with the straw. And…. we’re done! Yipee! The rain tonight will give it all a good soak, and soon we can begin planting in our snazzy new garden beds.

The beds covered in straw! Hurray! I admit that I thought the beds would look more sunken, but with three 2′ deep x 30′ long trenches underneath there is a lot of underground moisture for the topsoil to absorb. Also the beds are below the pathways, but with the height of the cardboard and straw they don’t look it. With the garden on a slope we had to make some adjustments.
The next exciting project that we’ve already begun working on is growing mushrooms! Stay tuned.
- Compost, Gardening adventures, Hugelkultur, Permaculture and Edible Forest Gardening Adventures, Rain Catching, Soil, Vegetables
The Sunken Bed Project, Part 3
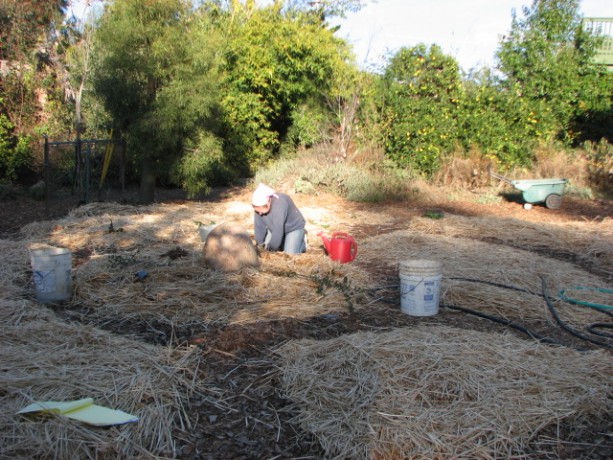
The un-raised bed as of this morning. Today my daughter and I made good headway in the completion of the garden. In the morning the bed still had some veggies that needed transplanting, the ground needed smoothing, the giant clumps of asparagus plants we’d hauled out needed to be planted right away because they were already trying to come out of dormancy, and we certainly didn’t want to lose this spring’s crop.
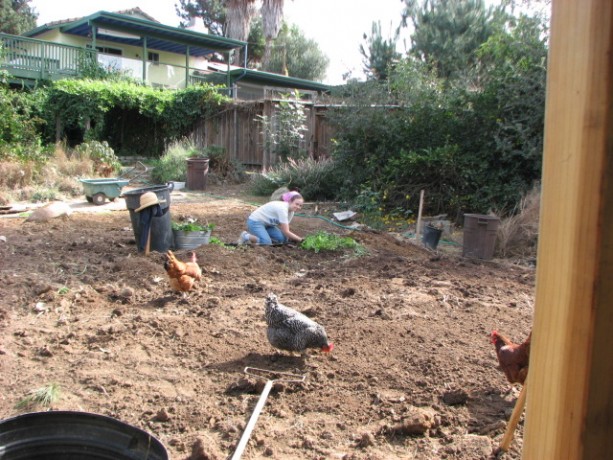
Transplanting and some fine-tuning by the girls. We let the girls loose since we were watching out for coyotes. They loved the grubs and unfortunately, the valuable worms too. Lark, the barred rock in the foreground, was up to her old tricks of jumping onto my shovel and quickly kicking half the dirt off in search of bugs. Miranda painstakingly dug up lots of salad greens for transplanting. We both dug up and pulled out lots of Bermuda grass as we went. The trash cans are full of it.
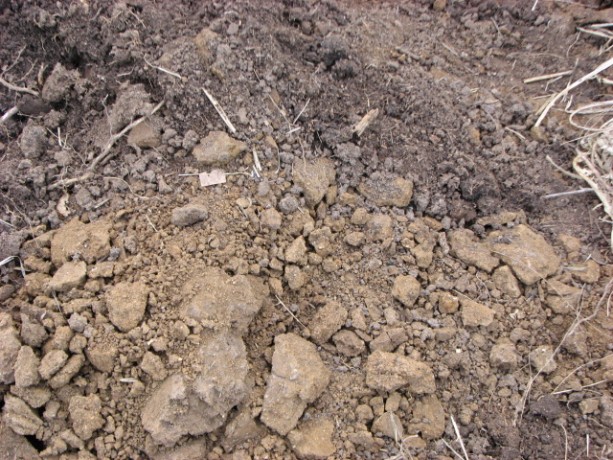
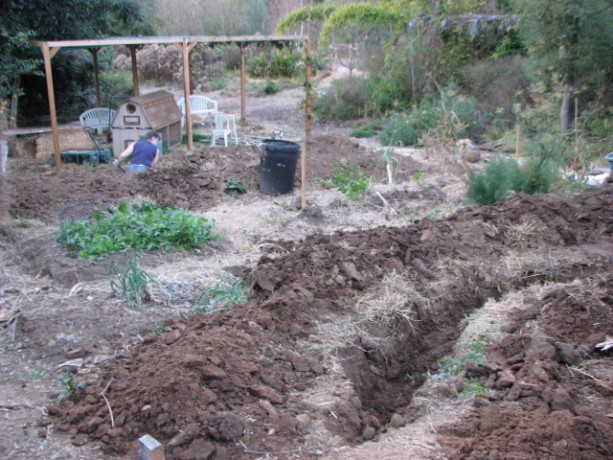
The difference between the heavy clay and the good garden soil is striking. While digging those 2 foot deep trenches we unearthed a lot of clay. On the surface the colors of what had been good garden soil next to what lay under it was very clear. With the deep hugelkultur beds and the sheetmulching, all this clay will be turned into microbial rich soil.
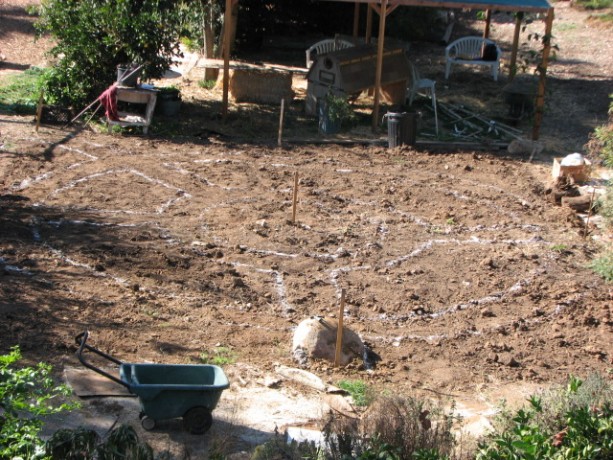
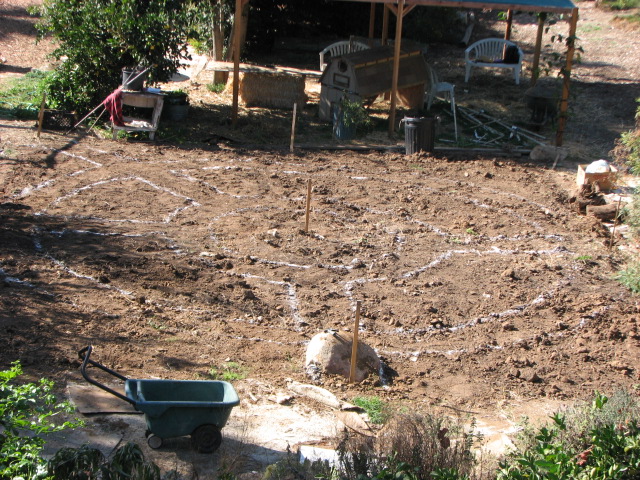
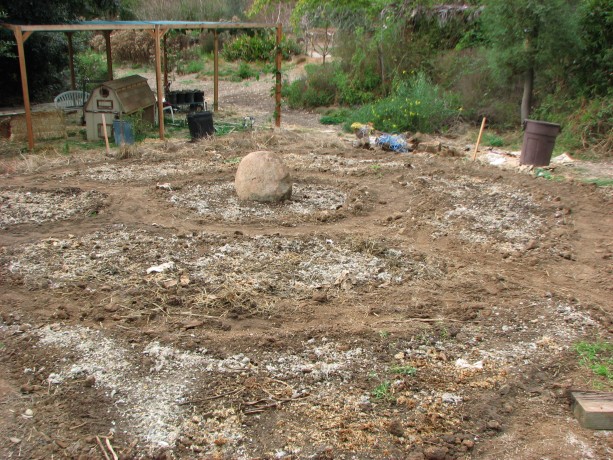
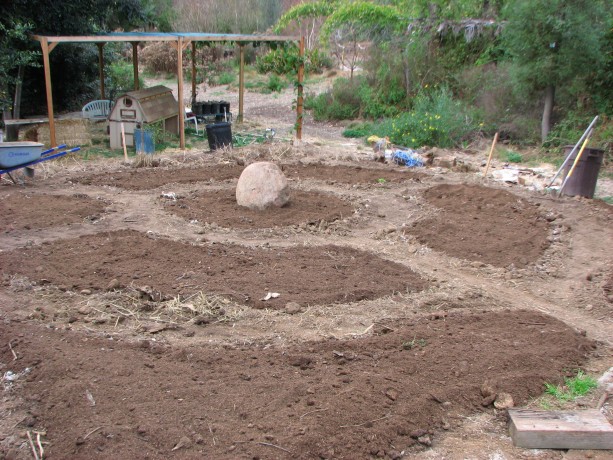
We measured off and marked the pathways and beds with gypsum. Finally we were able to measure off and draw out the design of the garden. We used gypsum which is good for the soil. So many people use spray paint to mark the ground… just don’t! Toxic fumes and toxic chemicals in the soil. If you don’t have gypsum, use flour! The light is bright in the above photo so you can’t see the design so well. We had carefully drawn out several designs on graph paper. An intricate Celtic design was the most favorable one until I’d realized the garden wasn’t square but rectangular. It was just as well because it would have been a nightmare of measuring. This one has 2′ wide pathways from prime entry angles (a wheelbarrow can fit), each planter bed is easily reached from all sides, and the circular design is pleasing and fun.

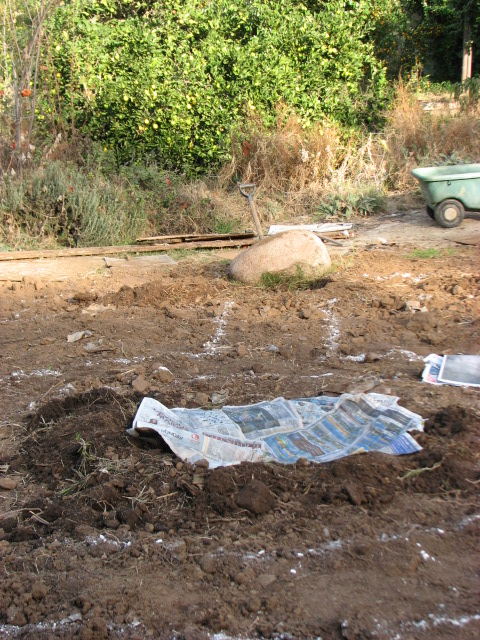
There was this rock…. There was a big flaw in the plan. There was this boulder that had been placed during the original construction of the garden. It didn’t serve a purpose, it was always in the way, it was a shelter for Bermuda grass, and it wasn’t attractive. Now it was at the head of one of the pathways. It had to go. My daughter and I decided to move it to the center of the garden. After transplanting the heavy batches of asparagus, we dug out a hole for the rock to sit in; when placing boulders it is visually more attractive if the boulder is buried at least a quarter of its size into the ground to look natural. We placed wet newspapers around the hole so that the boulder would sit on them and they would block Bermuda grass from emerging.
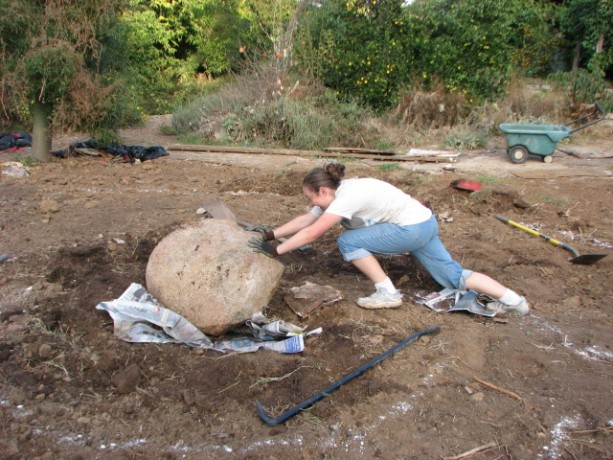
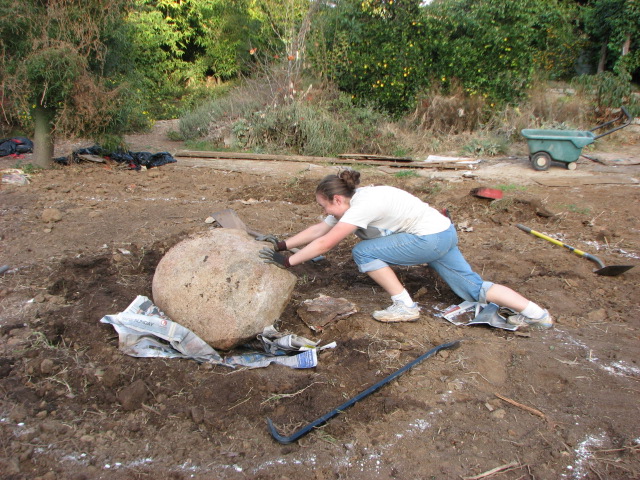
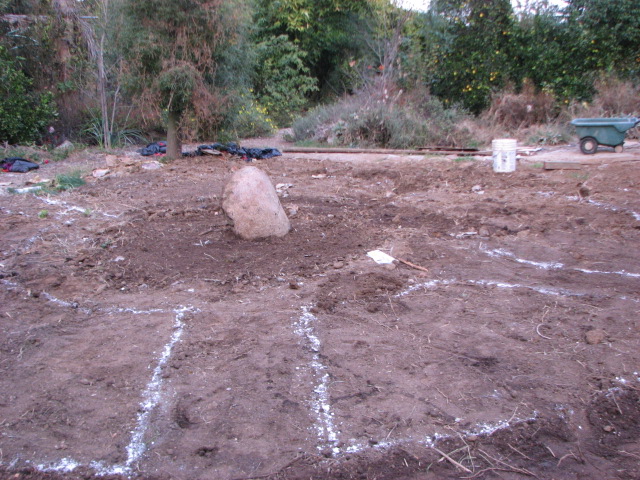
One of the methods used to move the rock, and build up good bone density and muscle. Although the garden was sloped down from the boulder, the rock wasn’t round and didn’t want to roll. We dug out a pathway for it, and using a long crowbar and a digging bar we managed to turn it over. We pushed and heaved and balanced and flipped it until it was right at the rim of the hole, and then things became difficult because it wasn’t positioned in the way we wanted it. The rock has a flat side, and is long. Miranda suggested that the tall side should stand up for birds to perch on, and I liked the Half-Dome look to it. We heaved the rock into the hole, then walked it around, tipped it up, centered it, and eased it into place, using the bars and all of our strength. Luckily the boulder didn’t roll on a foot, or the bar slip and break my collarbone. Finally we tiredly decided that the position it was in was good enough and we were both happy. Exhaustion had much to do with this decision. Miranda propped it up with clay chunks as I held it in place with the digging bar, then backfilled around it. It looks fantastic; a good central point for the garden, and a source of thermal retention.
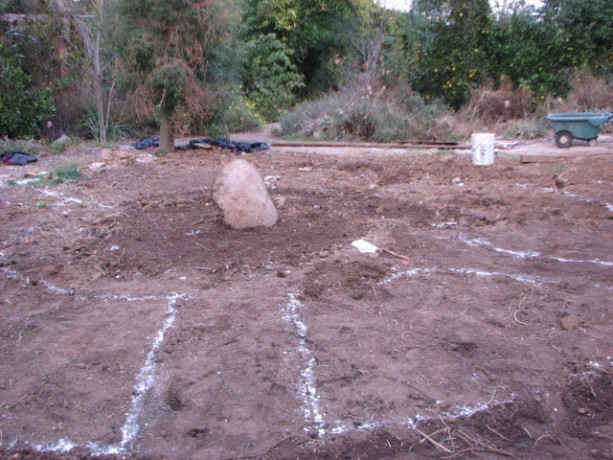
The rock in place, gathering positive cosmic forces and good karma. At least, I hope so. We messed up some of our pathway lines, but we can easily redraw them. The sun was setting and the mosquitoes humming; the Pacific chorus frogs began calling by the hundreds, and the wigeon came in to feed on the pond. There were still chores and dinner to be had, but exhausted as we were, we were pretty darn proud of ourselves for moving that big guy by ourselves. Next comes the sheet mulch.

A Maxfield Parrish sunset. - Compost, Gardening adventures, Hugelkultur, Other Insects, Permaculture and Edible Forest Gardening Adventures, Pets, Rain Catching, Soil, Worms
The Sunken Bed Project, Part Two
Old wire can be buried! 
Remember the trenches? We lined the trenches with old rusty wire, to rot, add iron to the soil, and discourage rodents. Mostly just to get rid of it. 
Inside the wire we lay old wood; in this case, the half-rotten sides of the old raised beds, nails and all. 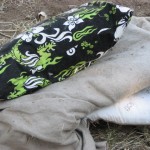
Fabric can be buried, too! Pet bedding no longer fit for man nor beast. Except for microbes of course. 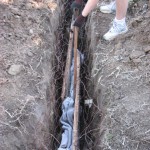
Around the wood we packed old fabric, most of which had been dog or cat bedding after long use in the house. 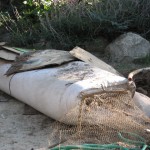
There was also this futon! It had been a bed for years, and then it was the bed for the dogs for years. And for some mice. 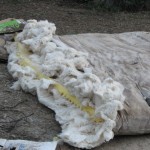
It took a little cutting and pulling to separate the cotton batting and the foam. Although the foam isn’t made from a natural material, it will eventually rot, but meanwhile will function like a ginourmous buried sponge for rainwater! 
The futon slices layed in the trench. Yipee! The stinky old futon is gone! 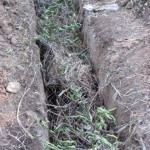
Lots of branches, twigs, and woody materials were added, as was some year-old humanure, urea, and fallen limes. Nasty prickly lime tree branches, too. Serves them right for scratching me! 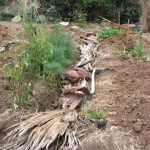
After layering the trench materials with soil I used palm fronds for the top organic layer. 
Every step was watered in. Our 700-gallon water tank, formerly an organic fertilizer tank which Jacob managed to have donated, catches some of the roof rainwater. It has more than enough to water in this project, and then if it ever rains again the tank will be empty and ready for fresh water. 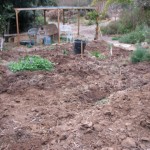
The trenches filled in. Futons, scrap wood, woody bits, old stinky fabrics, manure… its all buried and ready to turn the clay into a microbial wonderland. 
We hauled chunks of extra clay up the hill and staged it by the upper pond, which needs to be resealed. Good leg exercise. 
The long hugelkultur strawberry bed was above ground, so it had to be reworked. We dug out the wood, wrestled out the wire, dug down about a food then lay the wire back down. 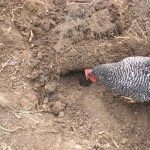
There were gopher tunnels under the wire where they had come up and smashed their little noses against the wire. 
The wood that had been buried for a year was full of life! There were many very cool fungi. 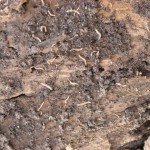
Tiny centipede-type decomposers eating away at the wood, all of which had been underground. 
More great fungus. 
On top of the wire went some more old textiles, then most of the old wood. 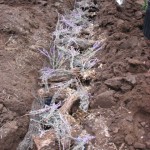
Bunches of herbs that had been gathered for wreathes and not used were tucked in around the wood. Worms love thin woody stuff. Pigeon guano, thanks to our neighbor who delivers, was sprinkled over it all. 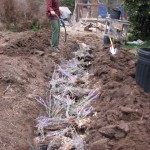
Everything was well watered with rainwater, and then covered up. Next time: design, replanting asparagus, and perhaps even the final product! - Compost, Gardening adventures, Hugelkultur, Permaculture and Edible Forest Gardening Adventures, Rain Catching, Soil, Vegetables, Water Saving
The Pros and Cons of Raised Beds
The raised beds. Raised garden beds can be wonderful things. They also can be inappropriate. I’m in the process of taking ours down and replacing them with… well, I’ll describe it later on. Let’s get back to the pros and cons of raised beds.
Here are some of the pros:
Raised beds look just great. They are neat, tidy, organized and restful to the eye.
If raised high enough they are accessible to those who can’t work on the ground or bend over, and to those who are non-ambulatory.
If lined with hardware cloth they keep gophers and mice from tunneling under your food and making it magically disappear.
They help with some weed control.
If you live in a rainy area, they help with drainage.
If you have miserable soil, you can garden anywhere by building a raised bed without having to dig.
If you live in a cold area, depending upon what materials you use for the sides of the raised beds you can tap into the thermal heat and have warmer soil longer.
You can build reusable covers for the beds and turn them into cold frames, or shade structures.
Now here are some of the cons:
You need to fill raised beds with a lot of soil, and if you have to buy it, that is a large expense. The soil will compact and disappear over the course of a year, so you have to keep topping up the beds to keep the soil level high. Heavy work that is expensive.
Wire underneath the raised beds will last a few years and then will be compromised by rodents, so the bed will have to be emptied and rewired if rodents are a problem.
If you live in a warm, dry climate, the sides of the raised bed acts like a clay pot. It will wick moisture from the dirt and heat the dirt up so that plant roots around the perimeter will cook.
If you live in a warm climate you have to pour on the water because of the point mentioned above; a raised bed dries out much more quickly than in-ground gardens.
We are wealthy in clay. A Bermuda grass root hangs like a piglet’s tail from this clump. I built raised beds from old bookshelves many years ago, and that was my only veggie garden on the property as I raised my children. I’d grown plants in-ground before that, trenching and turning, and losing the fight against gophers and Bermuda grass. The raised beds were lined with wire. For awhile it worked, but the Bermuda grass took over and infiltrated all the beds. The wire began to rot and rodents chewed away at the sweet potatoes. Worst of all, the soil level would decrease, and since the beds weren’t very deep, then root veggies would grow into the wire and I’d lose half of them as they broke off during the harvest. I couldn’t keep up with refilling the beds. I composted in place, buried wood and vines, and that worked well, but I still needed to add compost. The beds drank up water during our long, hot summers.
The trenching begins. This summer I realized that I was using a gardening technique that was best suited to rainy climates. Here in the dry Southwest, a traditional gardening method was to plant in sunken beds. We need to capture water, not make it run off. Also, the Bermuda grass became so invasive that I realized that only sheet mulching would make any difference in controlling it.
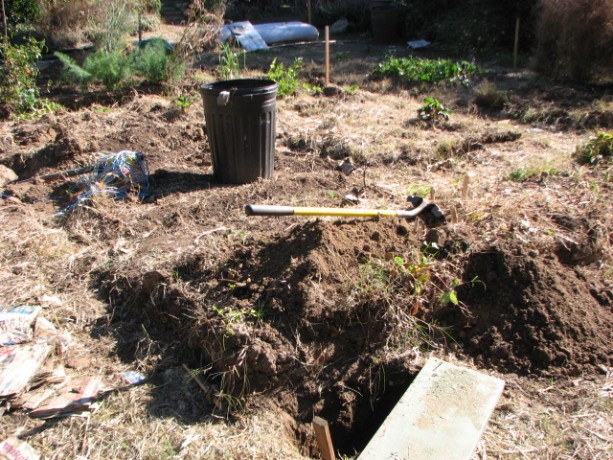
Of course I decided that my daughter and I couldn’t possibly have an easy winter, but must rip out the beds and start digging.
In the trenches. I’m an advocate of no-dig gardening; however sometimes you have to dig bad soil to create good soil. The no-dig policy can happen once the infrastructure is in place. So here’s what I’m planning on doing: I’m combining hugelkultur with sunken gardens and sheet mulching to create what I hope will be a veggie garden with a much lower water consumption, and weed-free.
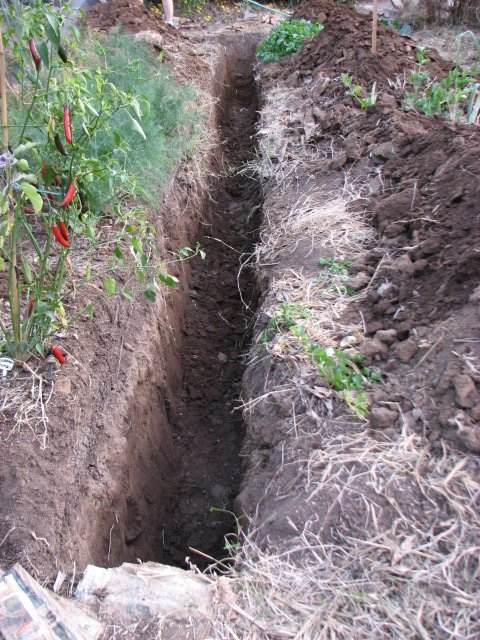
First we determined the direction of water flow down the hill, and planned on creating trenches that would capture that water. The trenches, or swales, would need to be level on the bottom so that any water flowing in from the downhill side, would travel all along the swale even to the drier side, where the surface soil was higher. We created a bunyip to estimate the difference in slope between the top and bottom of the garden. Although I had drawn up intricate plans for a square garden, that shape just wouldn’t work so we went with a rectangle. Then we began to dig. The first ten inches wasn’t bad, but after that we hit clay. I had to buy a mattock. I also ended up icing my back for a couple of days. Some of the clay we’ll save for use on any future earthworks we may want to do, and some we’re saving for an artist friend.
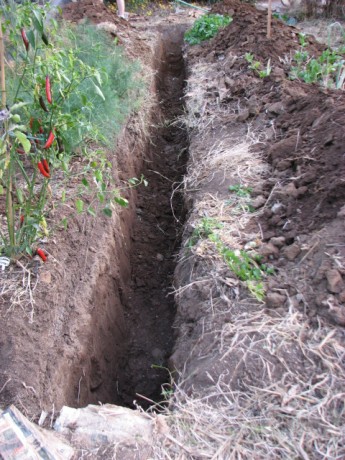
The soil was good for about ten inches, then we hit clay. The trenches are two feet deep, and about one to one and a half feet wide. It is amazing how you start out large, and then after a few very hot afternoons scraping clay and throwing it up and over four feet, the trenches become more narrow. My plan is to fill the bottom foot of the trenches with old wire, wood, branches, old textiles and other biodegradable debris. The old wire will rot, and will also help repel gophers. On top of all this will be layered some of the clay, and watered in with compost tea brewed in the 700-gallon water tank that is full of rainwater from the last rain (two months ago!). On top of that will be good soil, smoothed below the surrounding surface level. Water from the road will be diverted into the swales, which will allow it to flow across the garden and be absorbed by the fill materials. But what about the Bermuda grass? There isn’t a mountain of cardboard all over my garage for nothing! The entire garden will be sheet mulched, and all veggies will be planted through the cardboard and newspaper. The existing asparagus bed will need to be carefully relocated, but everything else can either be harvested or dug under.
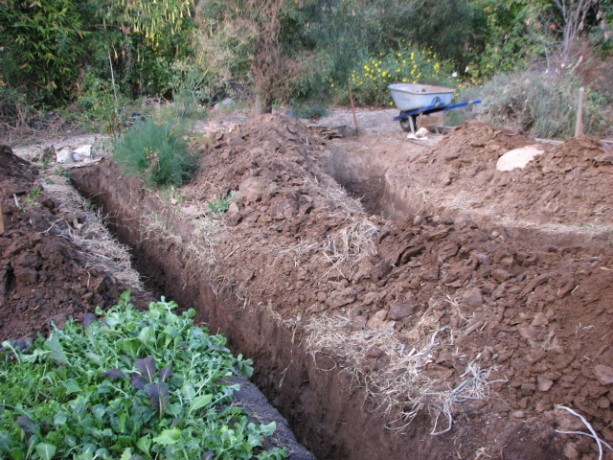
These first two trenches will collect rainwater from the pathways and channel it the length of the garden. That’s the plan, anyhow. I’ll let you know how it goes.
- Animals, Gardening adventures, Hugelkultur, Natives, Other Insects, Permaculture and Edible Forest Gardening Adventures, Ponds
Then and Now
This photo was taken just as work was begun on transforming the property into a garden, in February, 2011.
This photo was taken last Thursday, Oct. 31, 2013, from the same location.

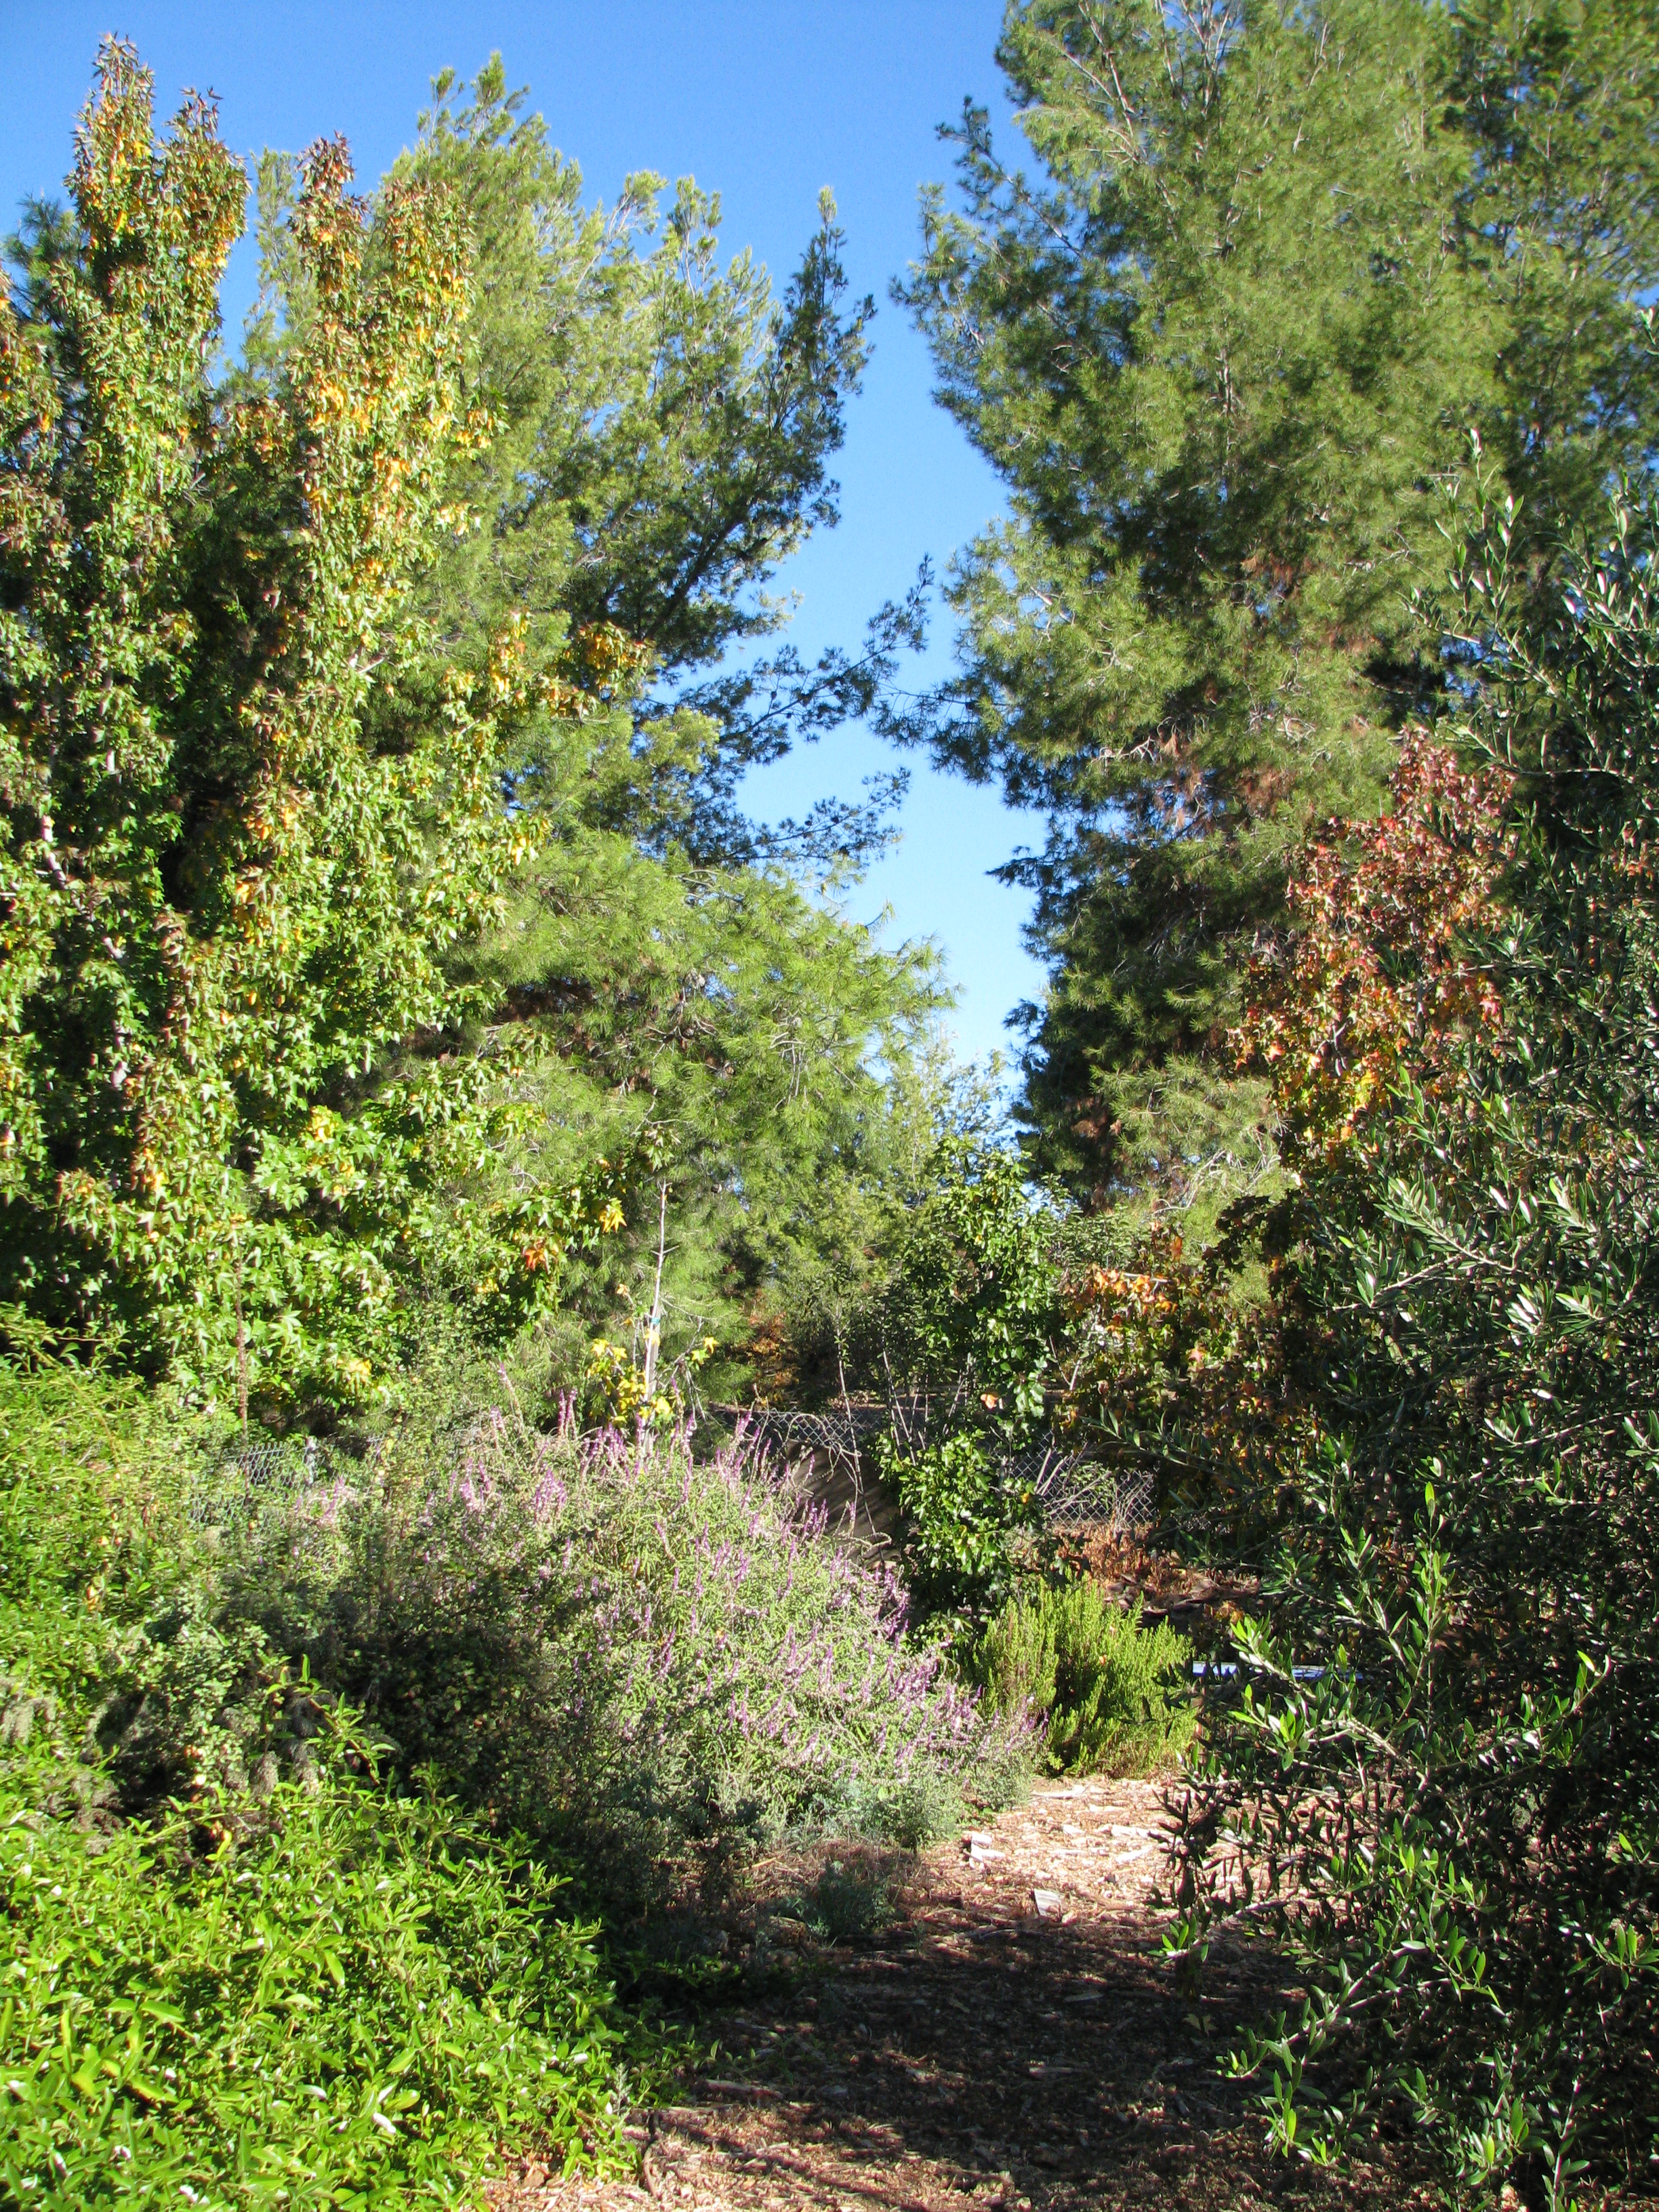
This view may look weedy, especially in the early morning light on this brilliant Halloween morning. What you are seeing is the first bog, which is the green spot in the foreground. The dirt area is the overflow, if torrential rains ever come again. To the left, the tall bushes constitute the withy hide, and to the left is the big pond, although you have to take my word for it. Tall bamboo arches over the stumps of the palm trees in the above photo, which are trellises for roses and other vines. A nectarine branch is in the right foreground. The tall flowering plants are a native called fleabane. They reseed readily, and I allow them to because of several reasons. They grow five to six feet tall and help shade smaller trees and plants against the harsh summer sun, protecting them from sun scald. They also die off in the winter, making good hugelkultur material. The purple flowers, which are in the above photo now turning into fuzzy seed clumps, are attractive. The most important thing though is that they are excellent hosts for native insects of all kinds. Ladybugs, lacewings, spiders, and hundreds of tiny wasps and flies, many of which are parasitic, all love these flowers. All summer long they are alive with life. Inviting in the native pollinators, and growing a polyculture garden, is the first line of defense in growing naturally.
Allowing nature to define parts of your garden leads to happy surprises and lots of help from unexpected friends, such as bugs, birds and lizards. This kind of garden is endlessly interesting, with new things to study every day.
The following photos were all taken the same brilliant morning, Oct. 31, 2013. Here in San Diego county we were having what is called a Santa Ana, where warm, dry winds from the desert blow westward, as opposed to the more humid eastward flow of air from the ocean that we normally have. Santa Anas can bring heavy winds and make tinder-dry weedy hills a fire hazard, but this year we’ve been lucky and no major fires have happened. We even had almost 3/4 ” of rain, last week, which is practically unheard of for October. The warm Autumn sunshine was intense and lovely, and I had to take photos even though the light was too strong for good ones.
We went up on the roof to view these three greater egrets perched in our trees over the pond. 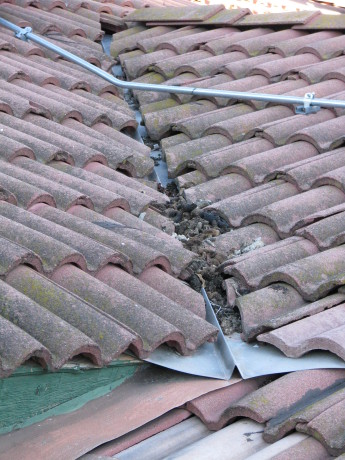
Being on the roof is an education. Here is lots of racoon poo between the tiles. Why?! 
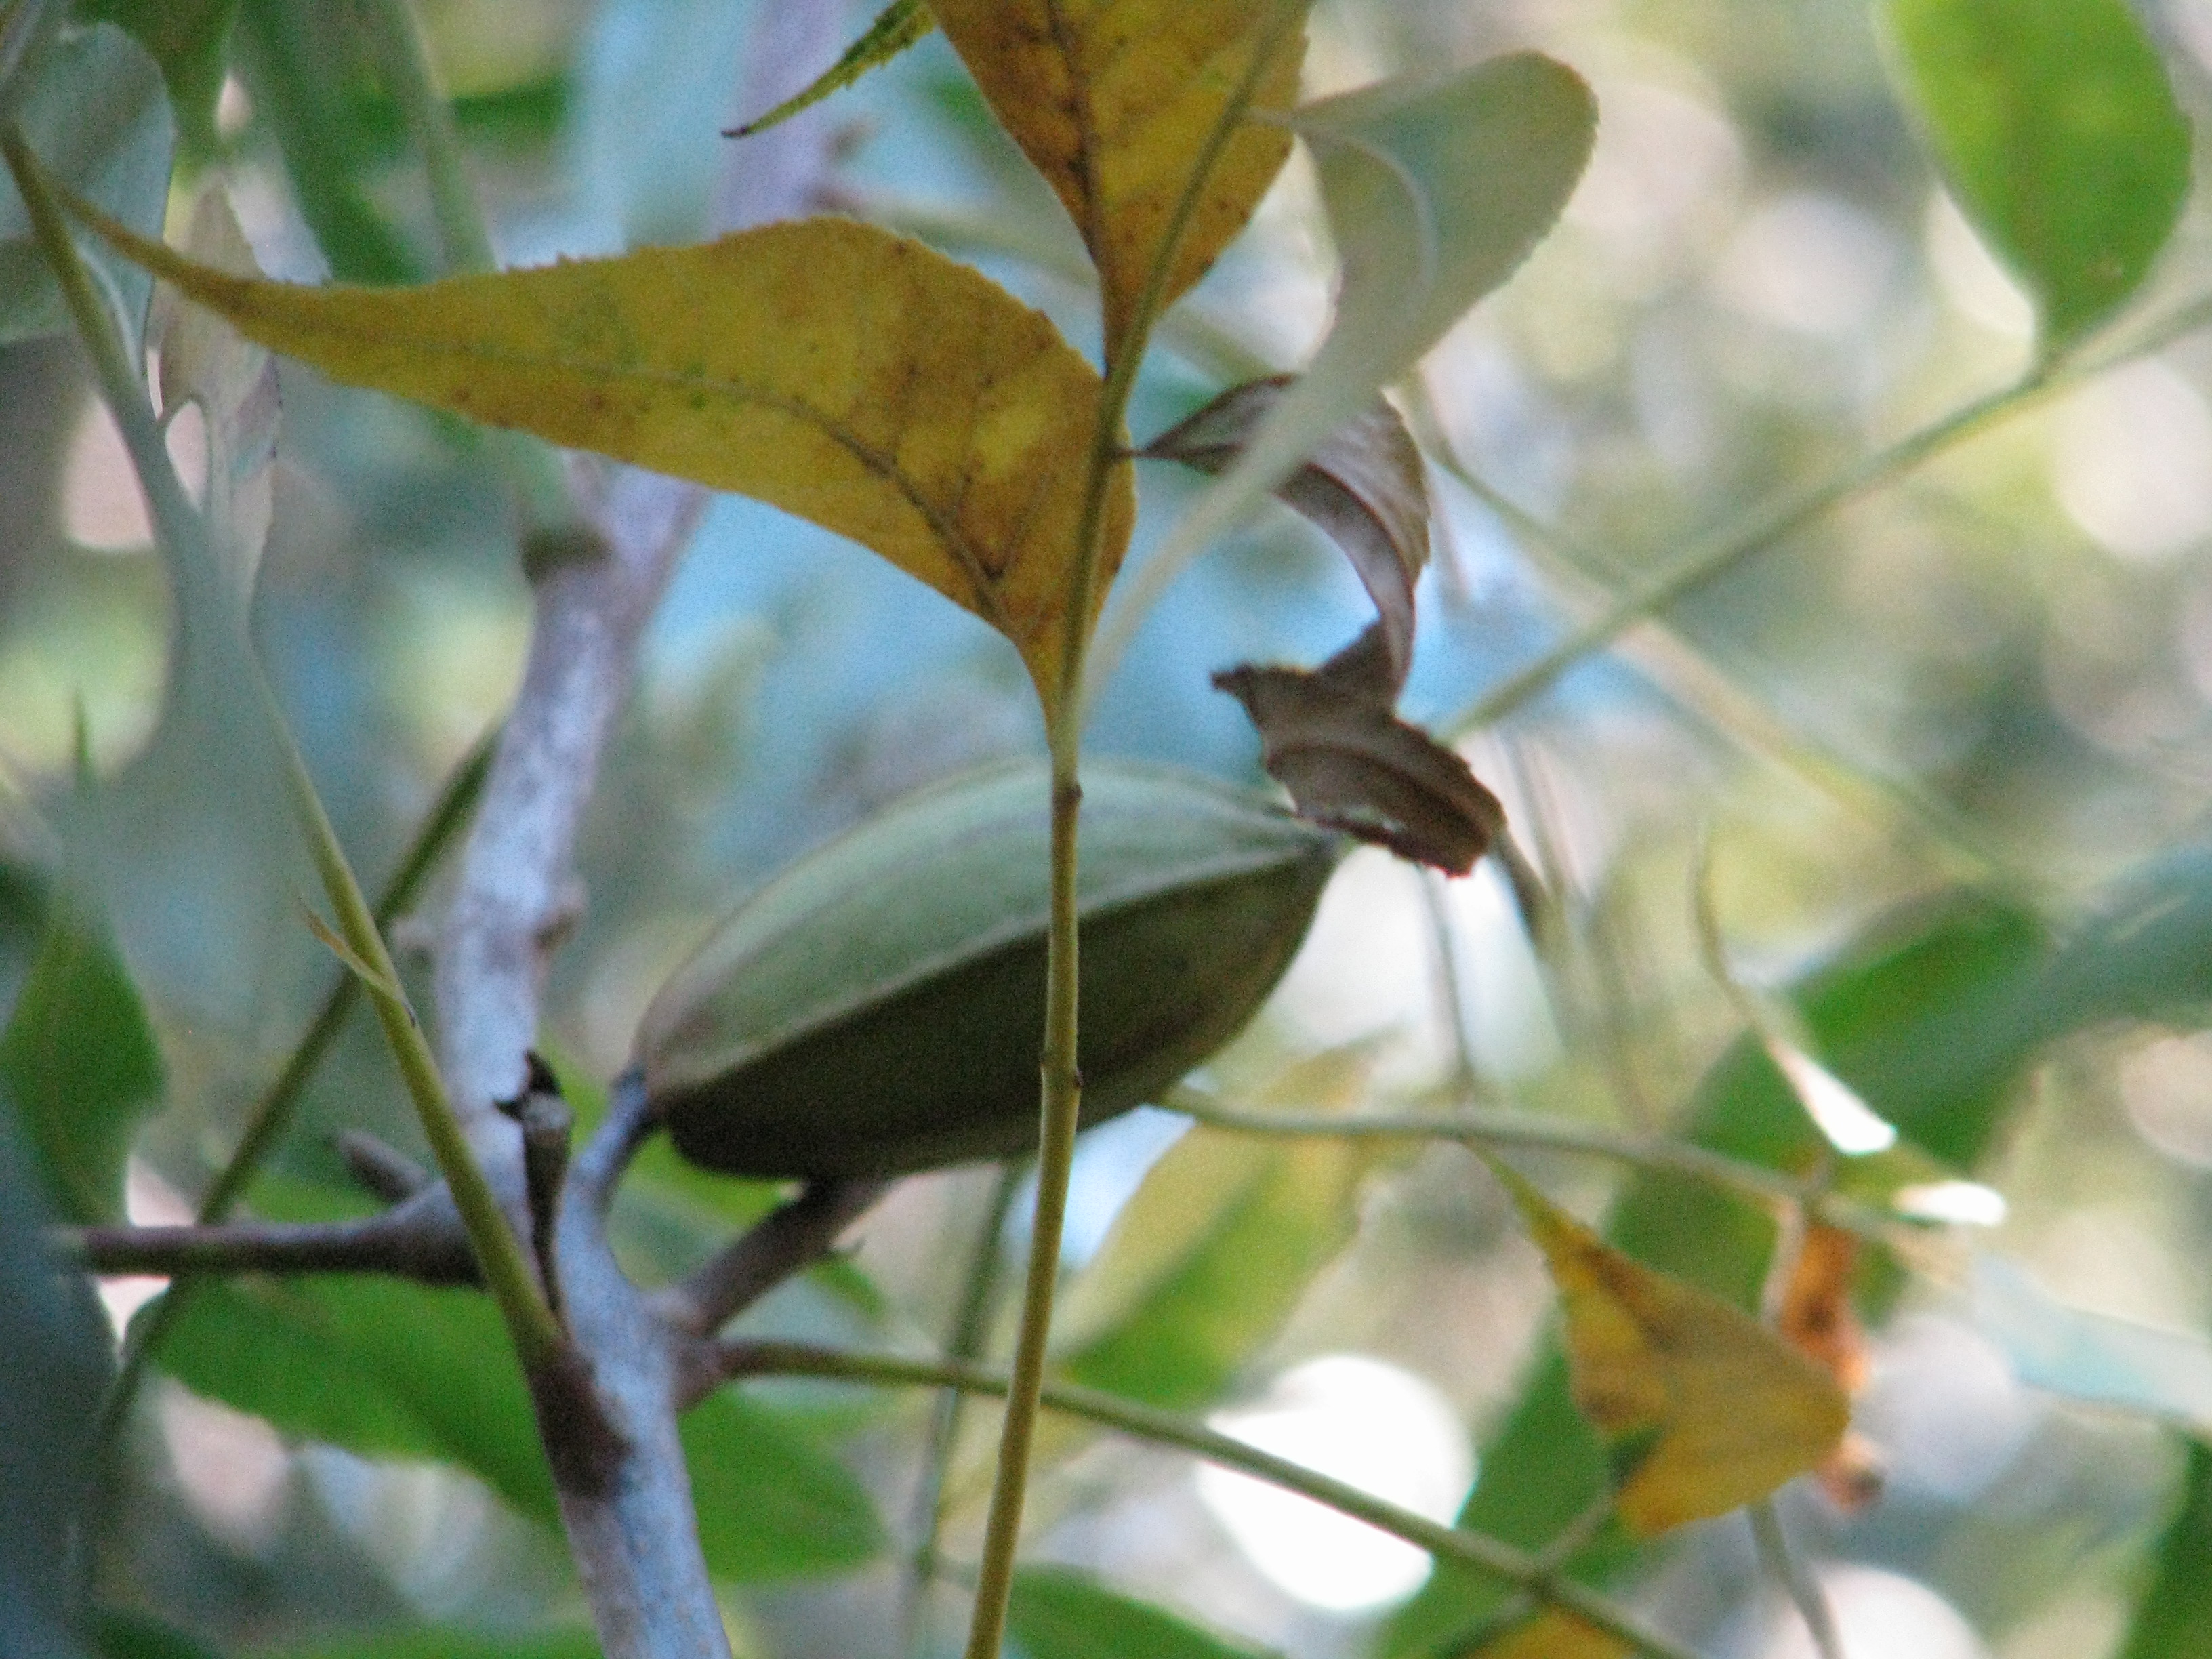
We don’t have dramatic Fall colors here, but the subtle Autumn hues of leaves is lovely. 
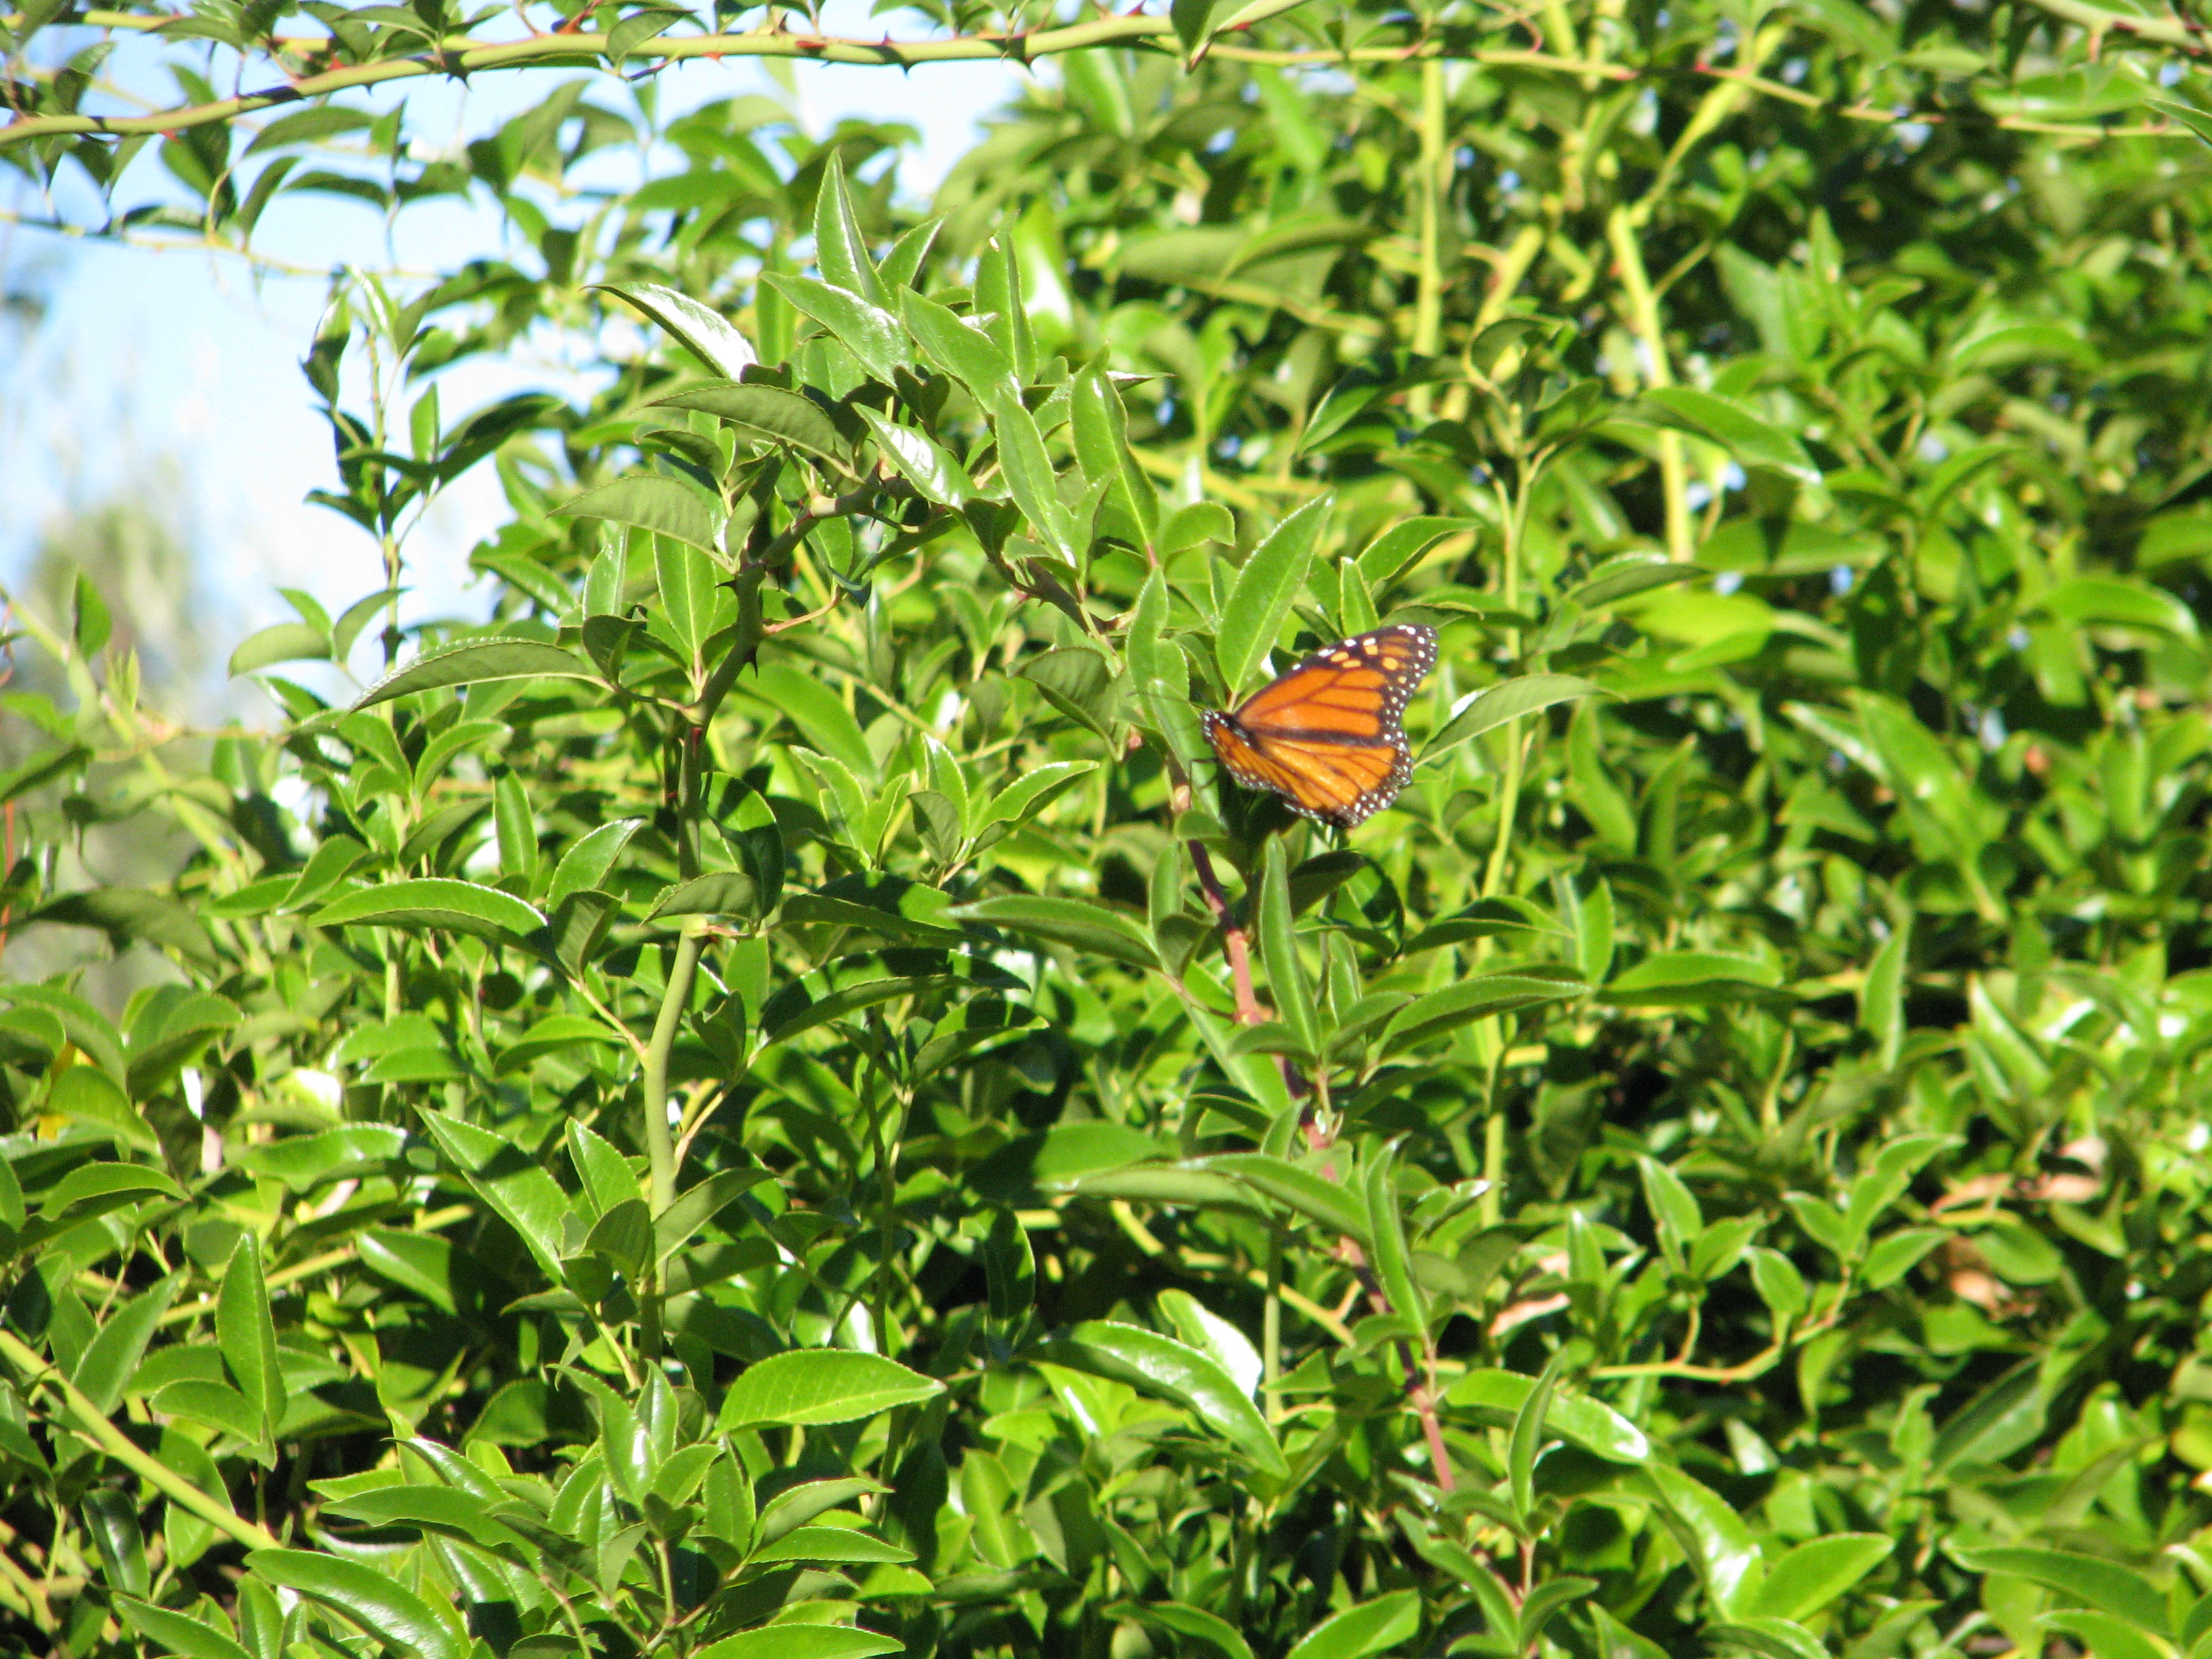
We still have Monarch butterflies. 
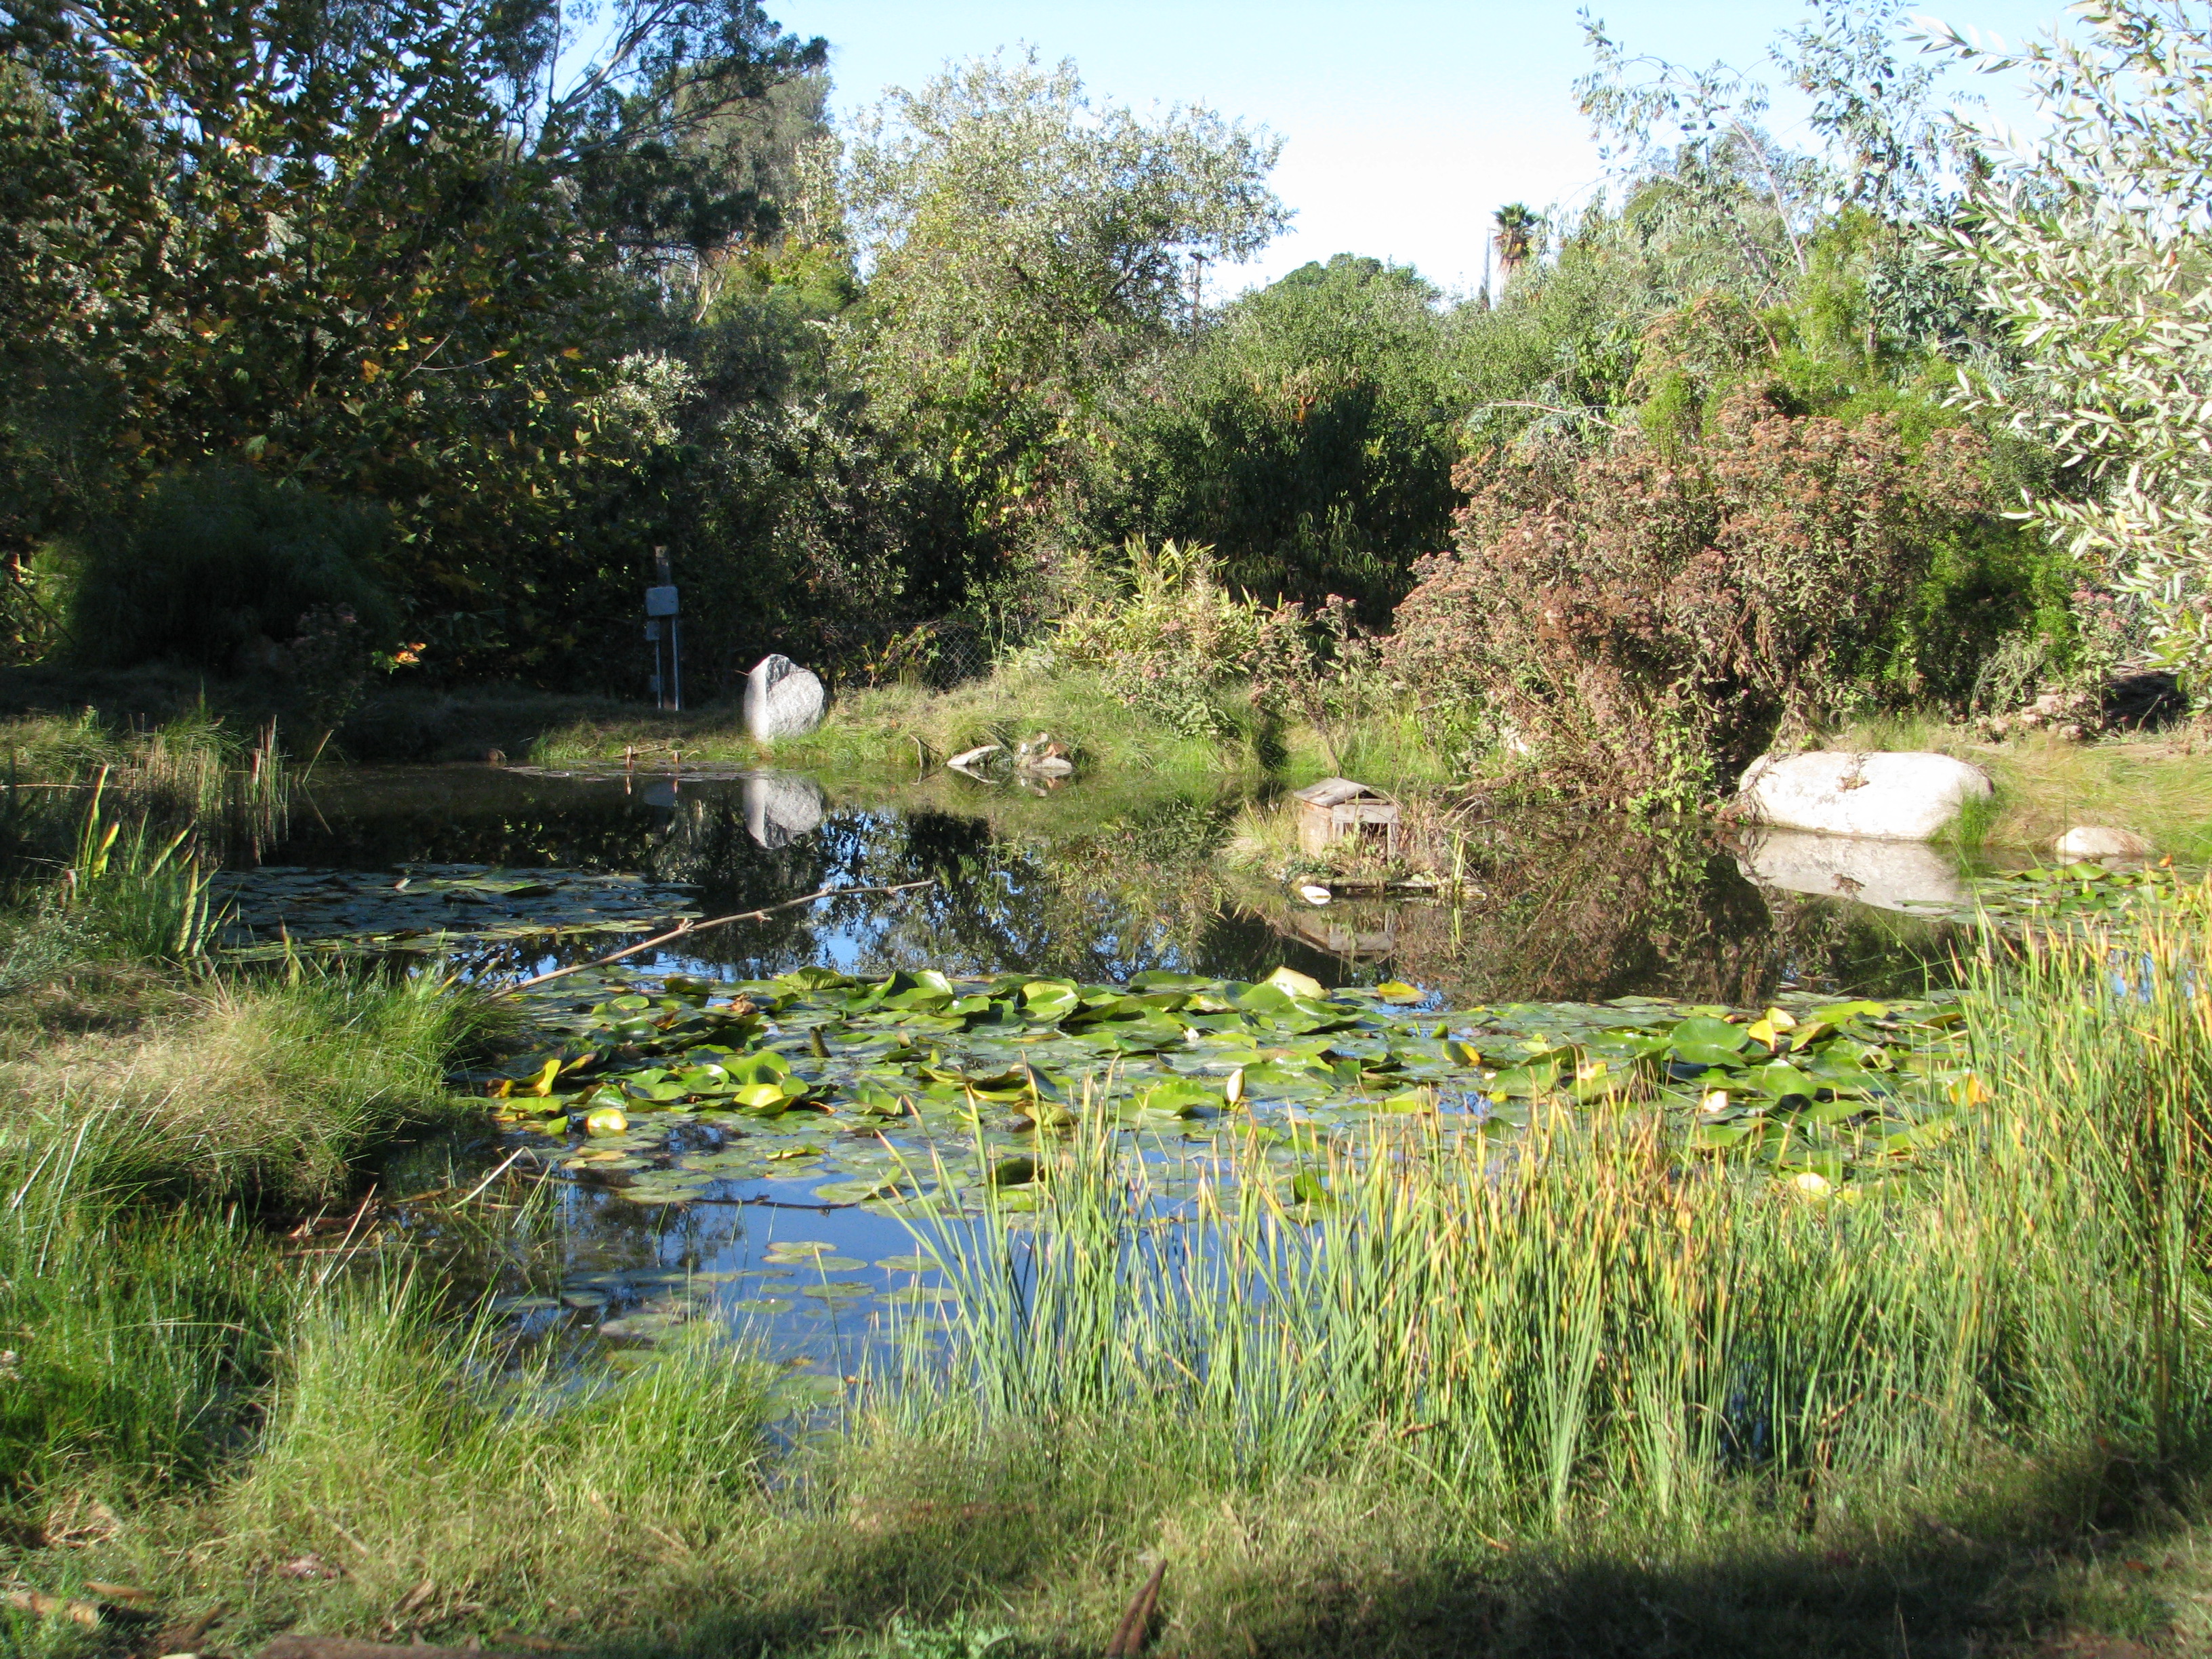
The big pond in early morning light. 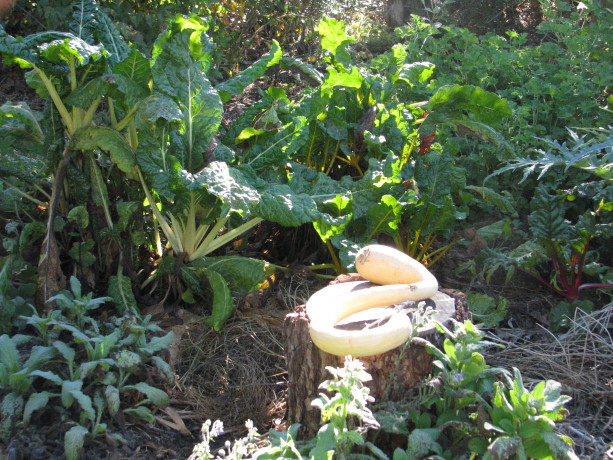
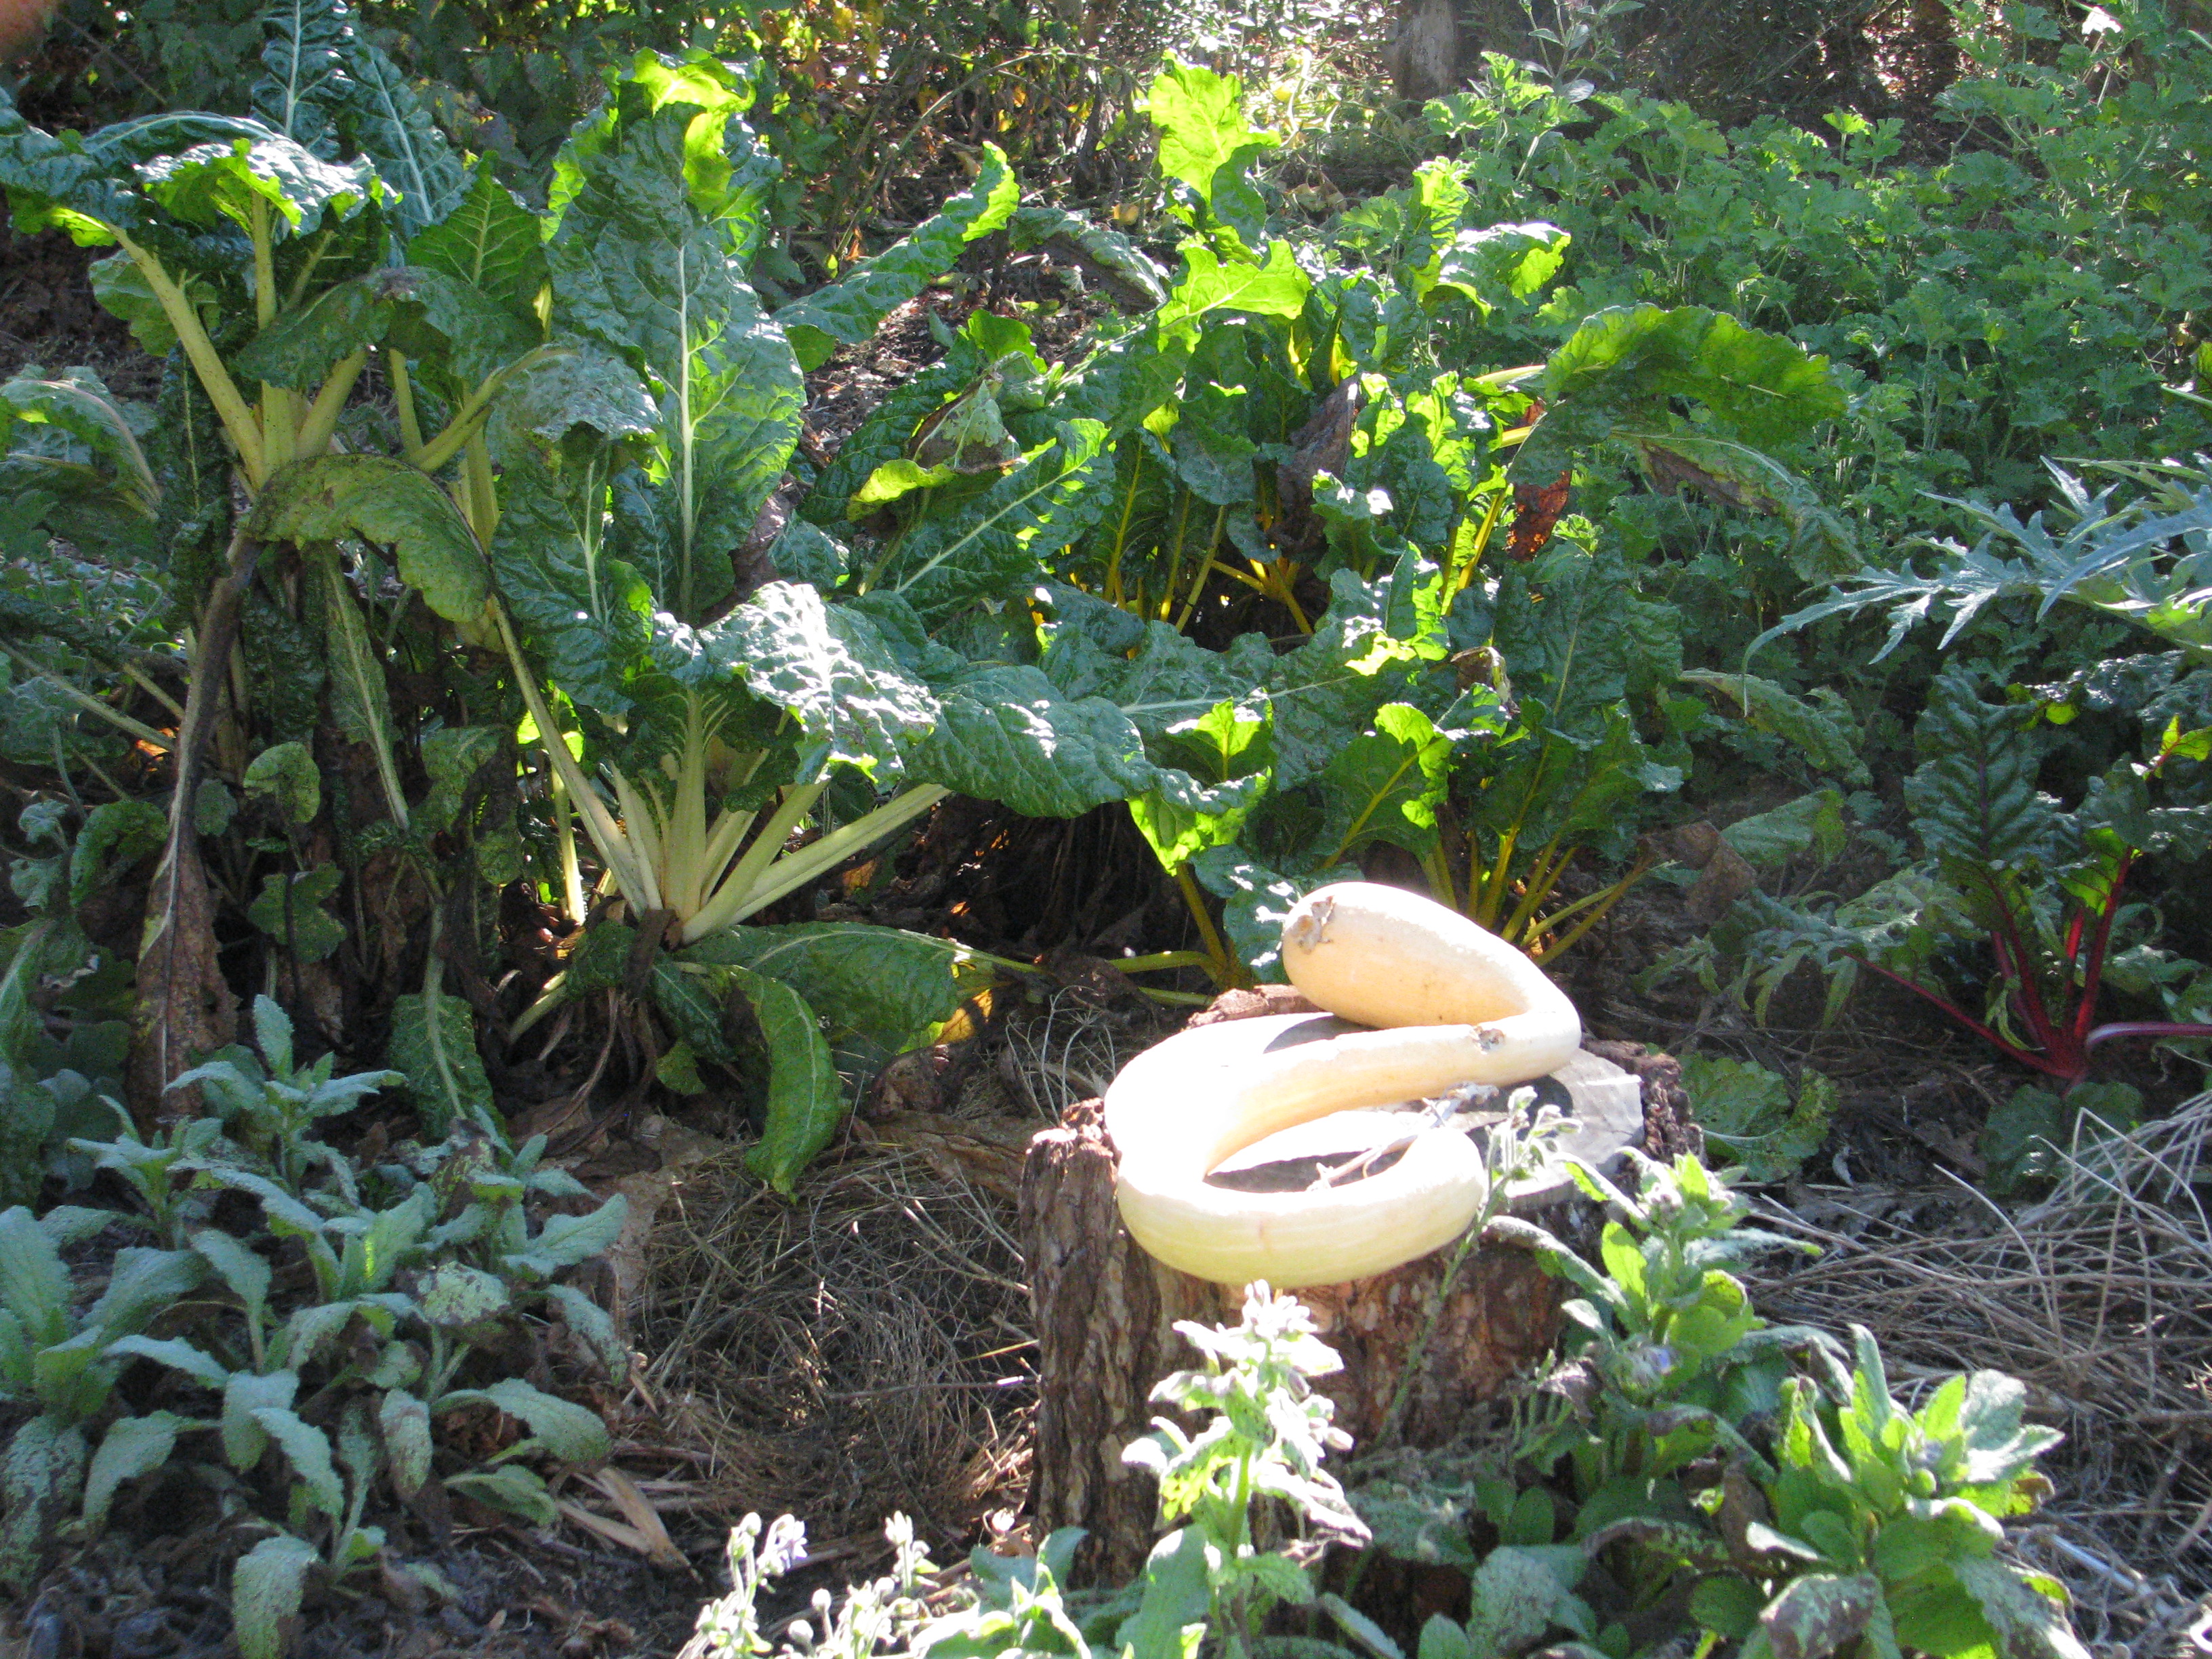
A zuchianno rampicante reclining on a stump. (Its a squash!). 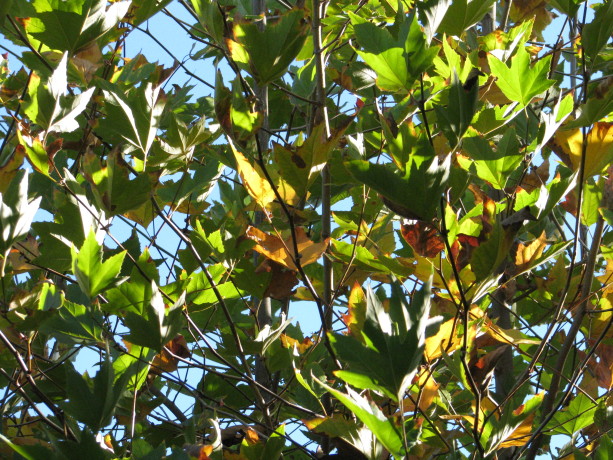
Morning sun through a Fall-leaved sycamore. Beautiful. 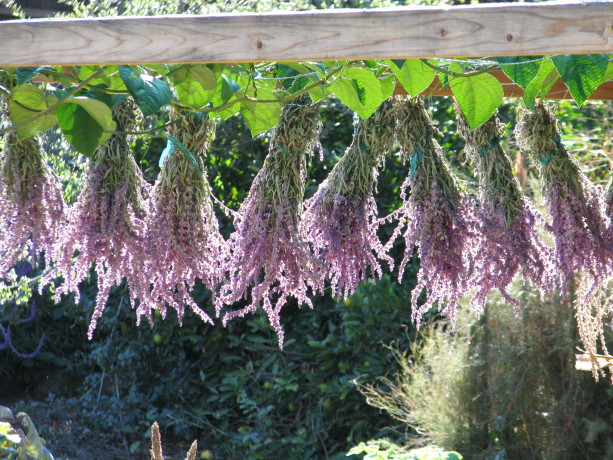
Mexican bush sage hanging up to dry. 
Our little pecan tree put on about six this year! Next year, tons! 
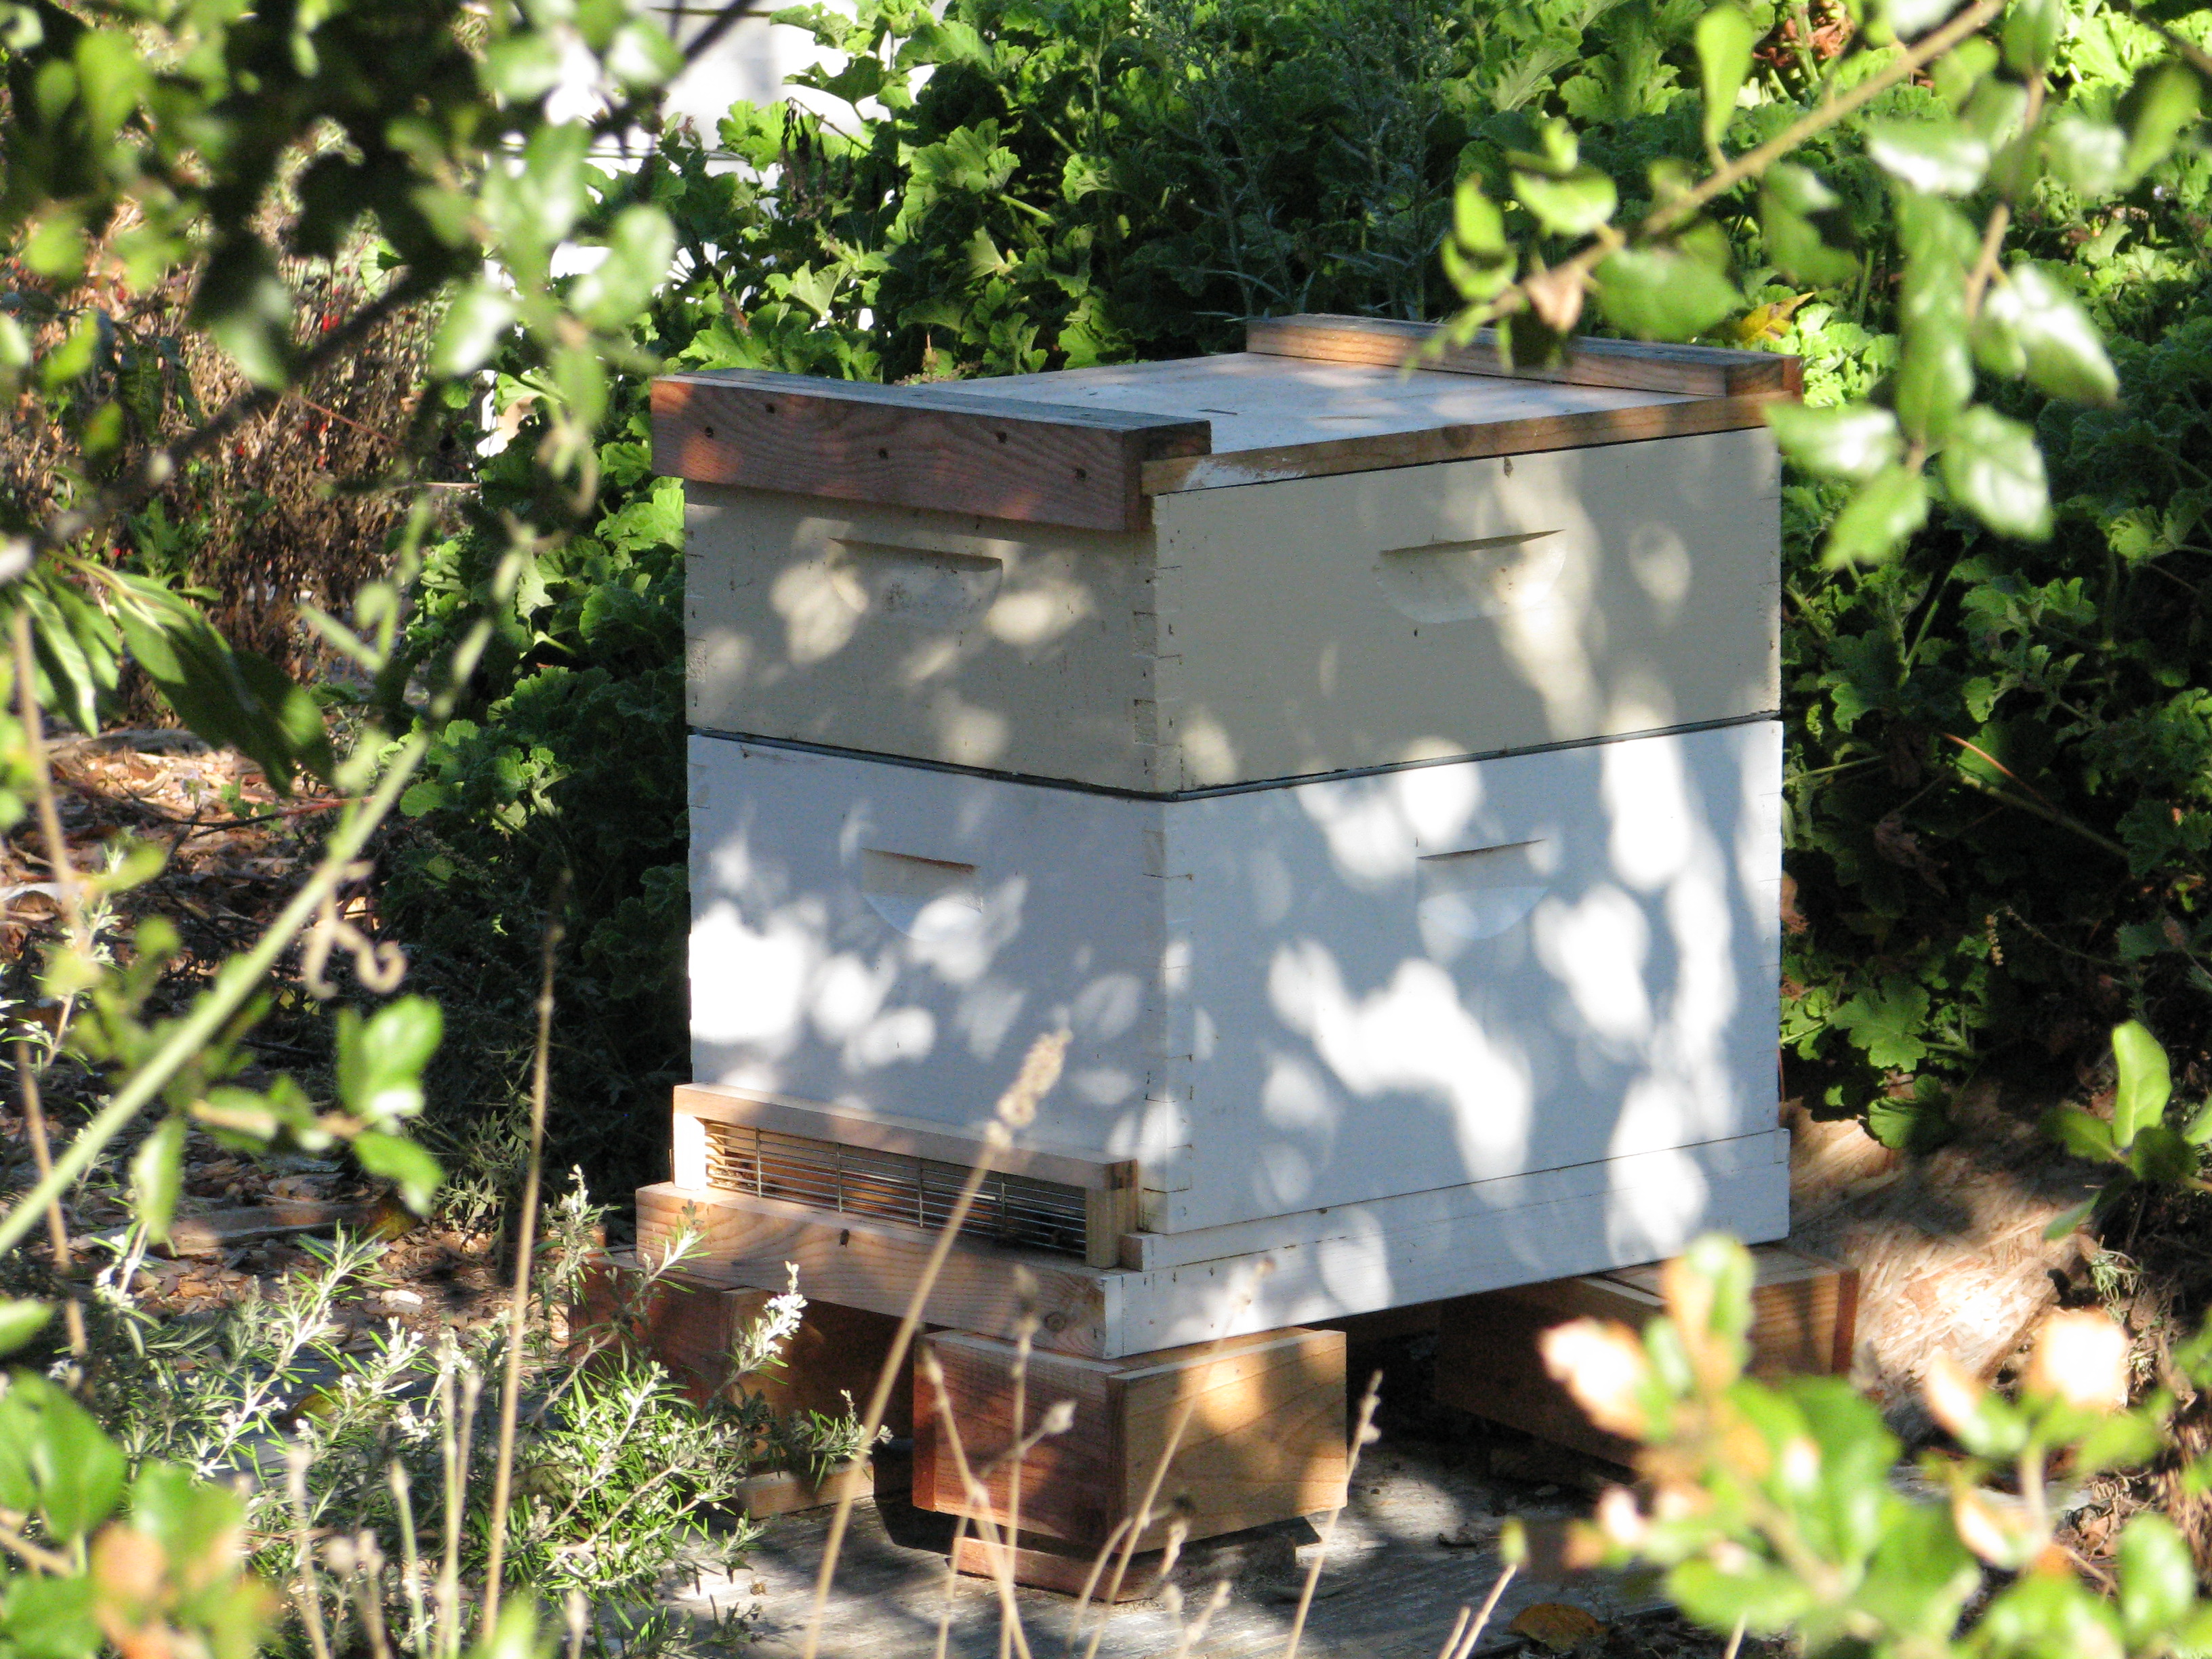
Beehive warming up. 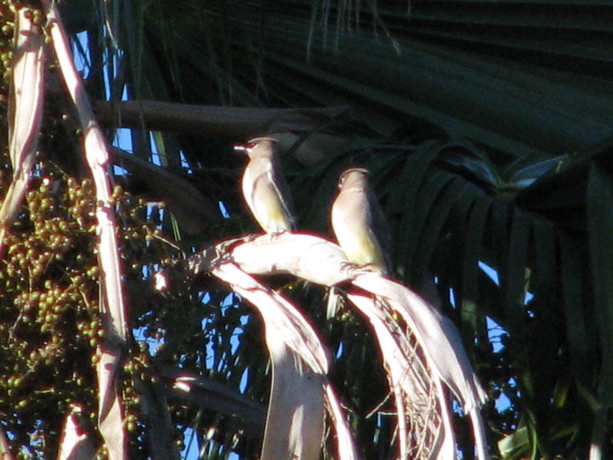
Ceder waxwings (my favorite bird) in the big palm. 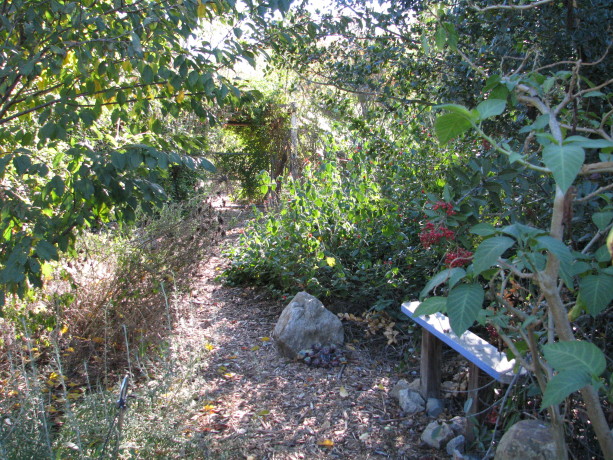
The Bee Garden. 
The liquidambers, also known as sweet gums, are just beginning to turn color. Lots of deciduous trees means lots of leaf mulch, and more warmth reaching the ground during the winter. 
The entrance to the withy hide, with the pond in the distance. 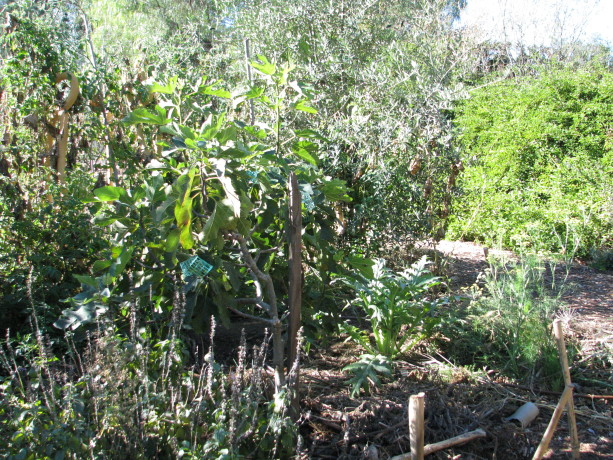
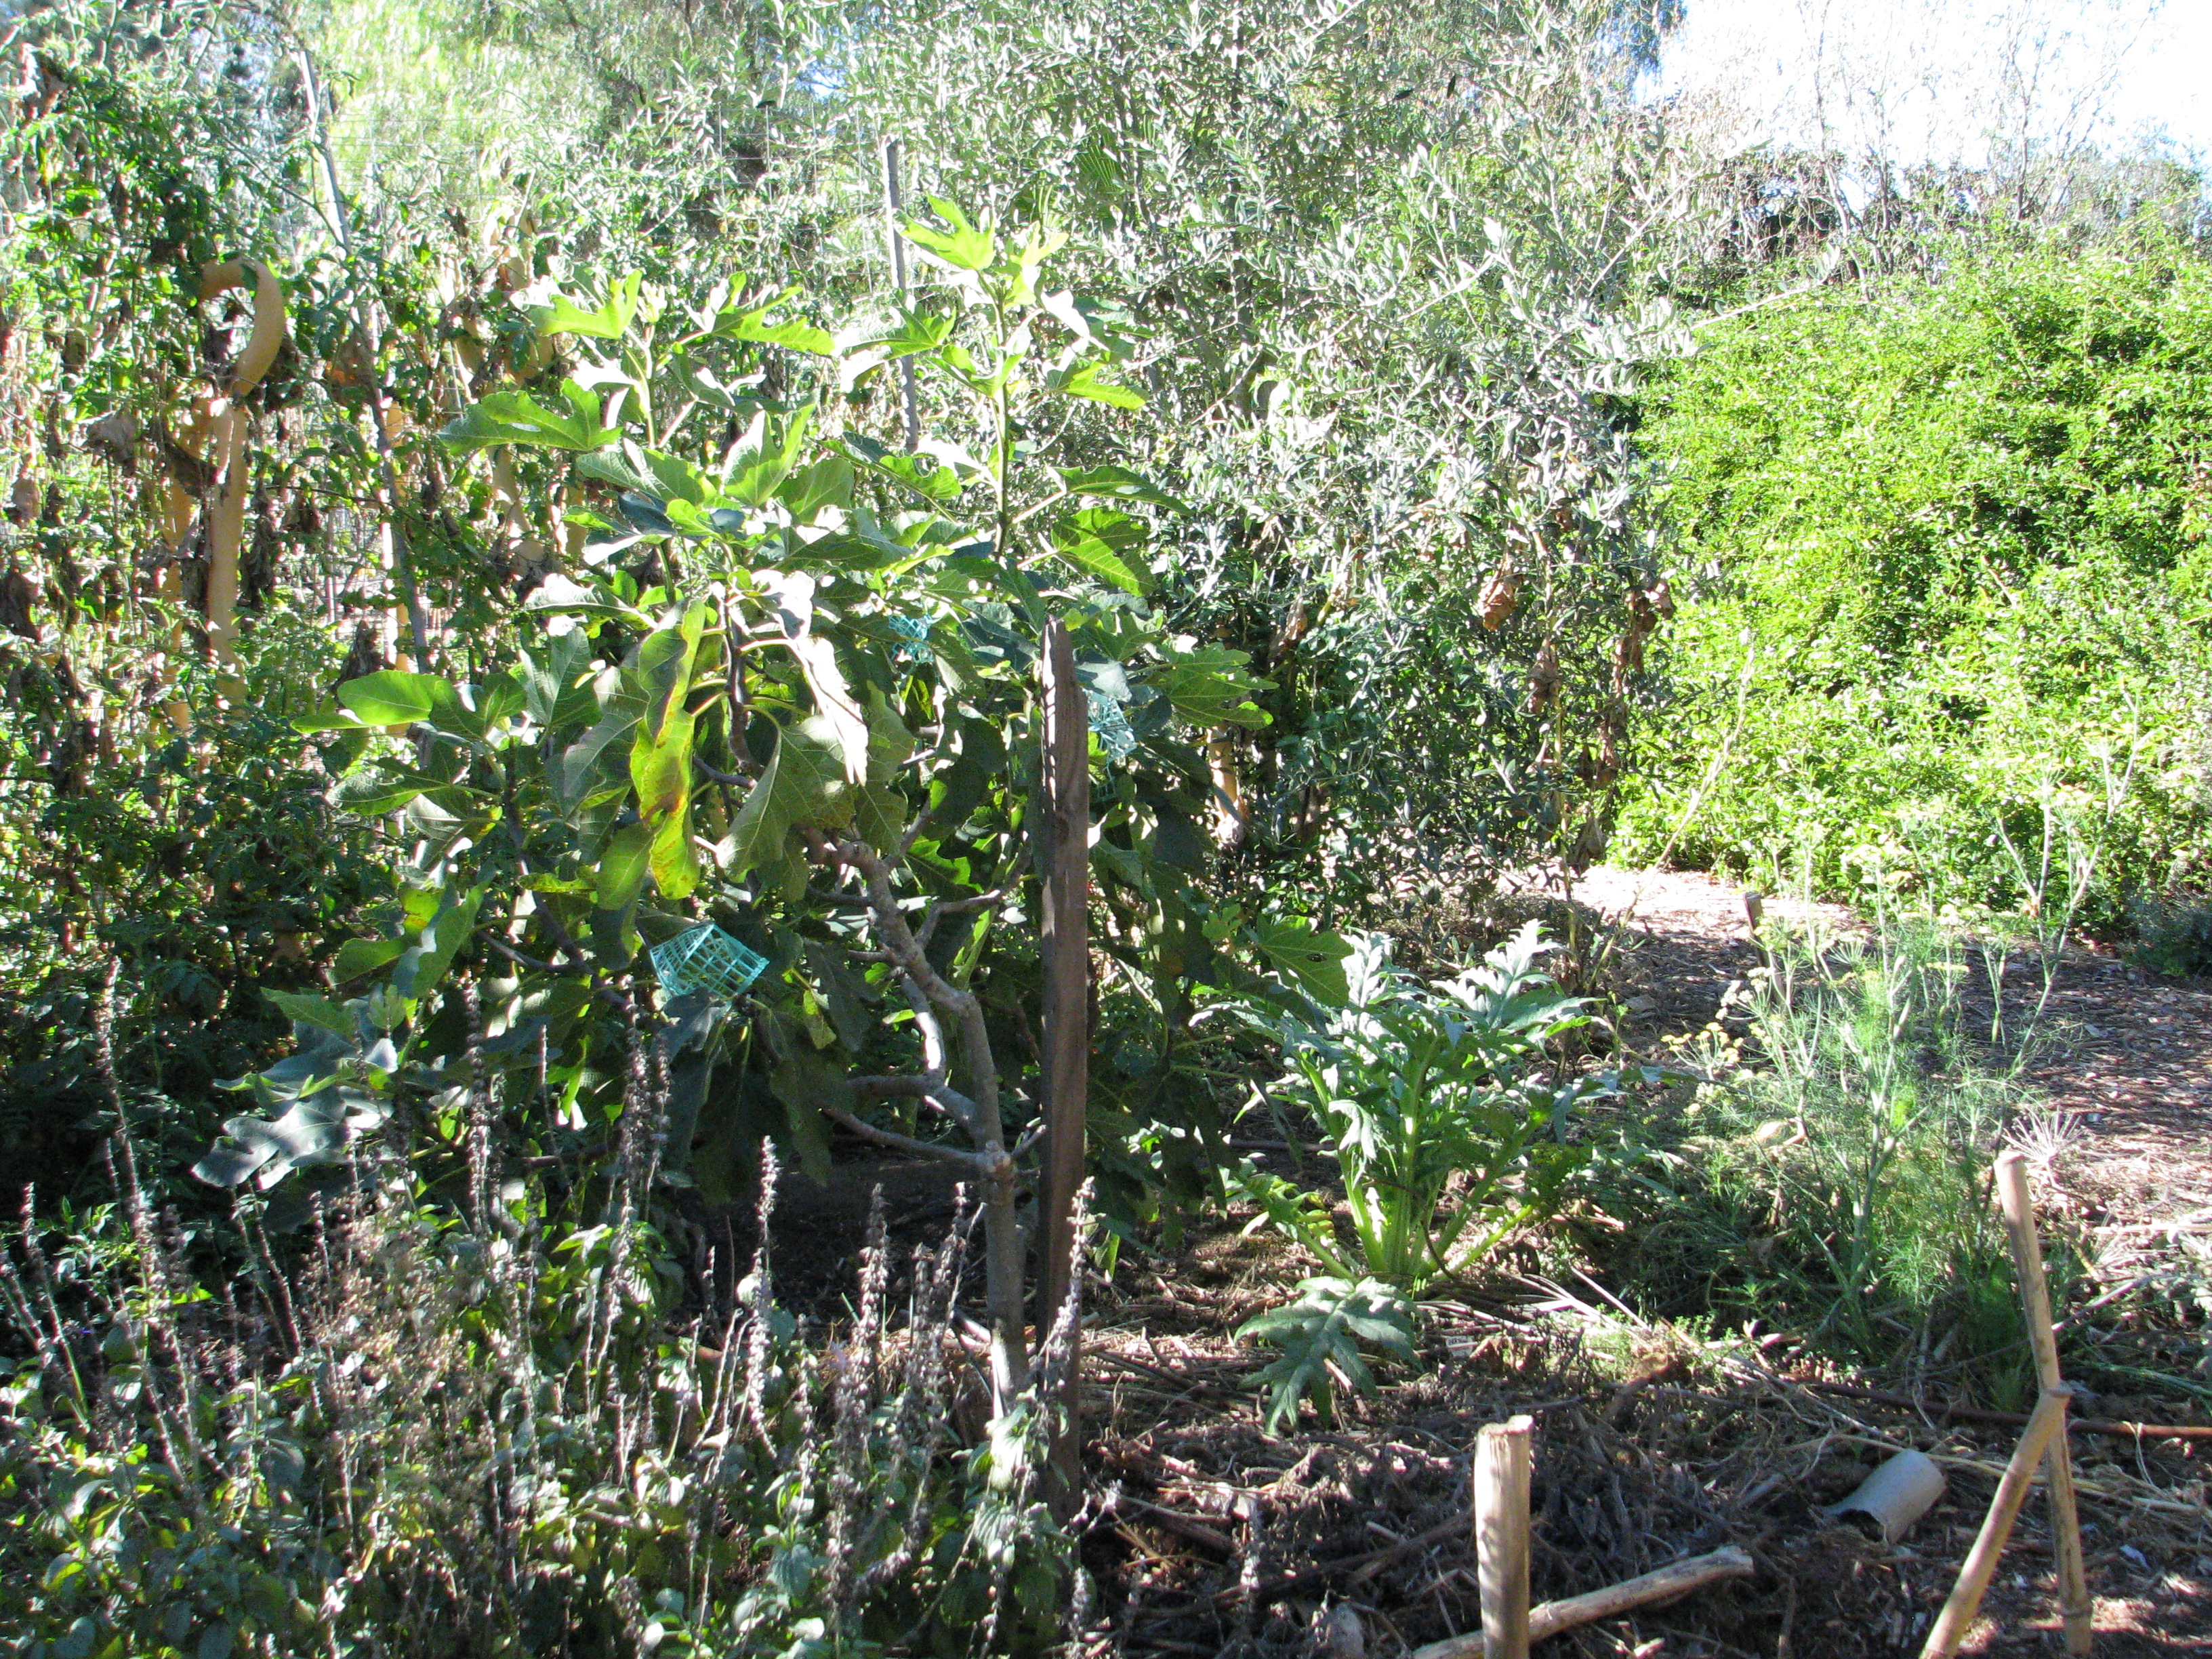
The Mission fig,with artichoke, anise and sage.. 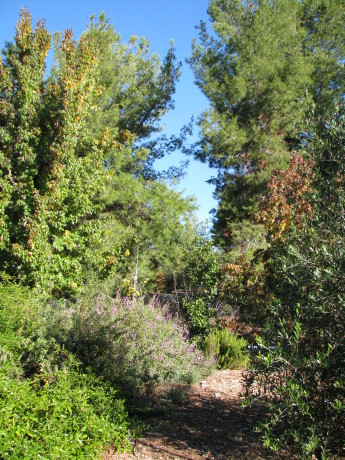
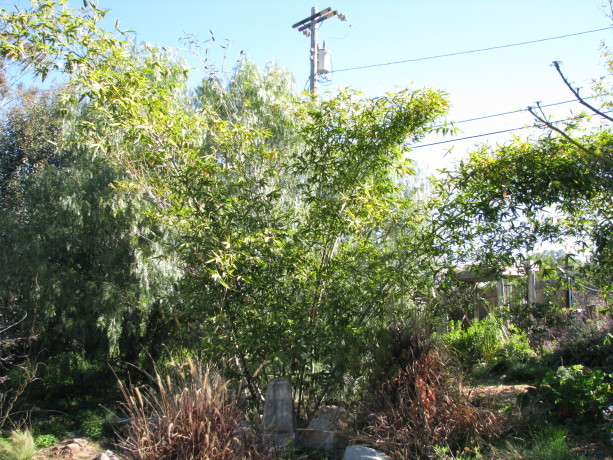
The canopy is growing. 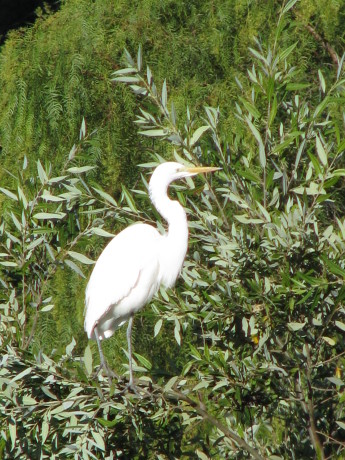
Greater egret enjoying the sun. You May Also Like

Native Insects and IPM
- Animals, Chickens, Cob, Compost, Composting toilet, Fruit, Gardening adventures, Giving, Grains, Health, Herbs, Houses, Hugelkultur, Humor, Living structures, Natives, Natural cleaners, Permaculture and Edible Forest Gardening Adventures, Ponds, Rain Catching, Recipes, Seeds, Soil, Vegan, Vegetables, Vegetarian, Worms
San Diego Permaculture Convergence, Nov. 9 – 10, 2013
There is a fantastic, information-packed permaculture convergence coming up at the beautiful Sky Mountain Institute in Escondido.
 It will be two days packed with great information for a very reasonable price; in fact, scholarships are available. Check out the website at convergence@sdpermies.com. On that Sunday I’ll be teaching a workshop about why its so important to plant native plants, how to plant them in guilds using fishscale swales and mini-hugelkulturs. Come to the convergence and be inspired!
You May Also Like
Native Insects and IPM
- Gardening adventures, Permaculture and Edible Forest Gardening Adventures, Recipes, Vegan, Vegetables, Vegetarian
Dinner with the Pandas: Harvesting Your Own Bamboo
Hello.
Before you cry, “Imposter!”, let me assure you that I have authorization to be here. Mostly. I happen to be Diane’s daughter Miranda, guestblogging and wordsmithing for you today. You might recognize my powdery feet or recollect me when keeping company with chickens (or from diverse other adventures). As much as I enjoying rolling in dust and home decorating with hens, today I’m here to talk about an unusual topic for Vegetariat – food.
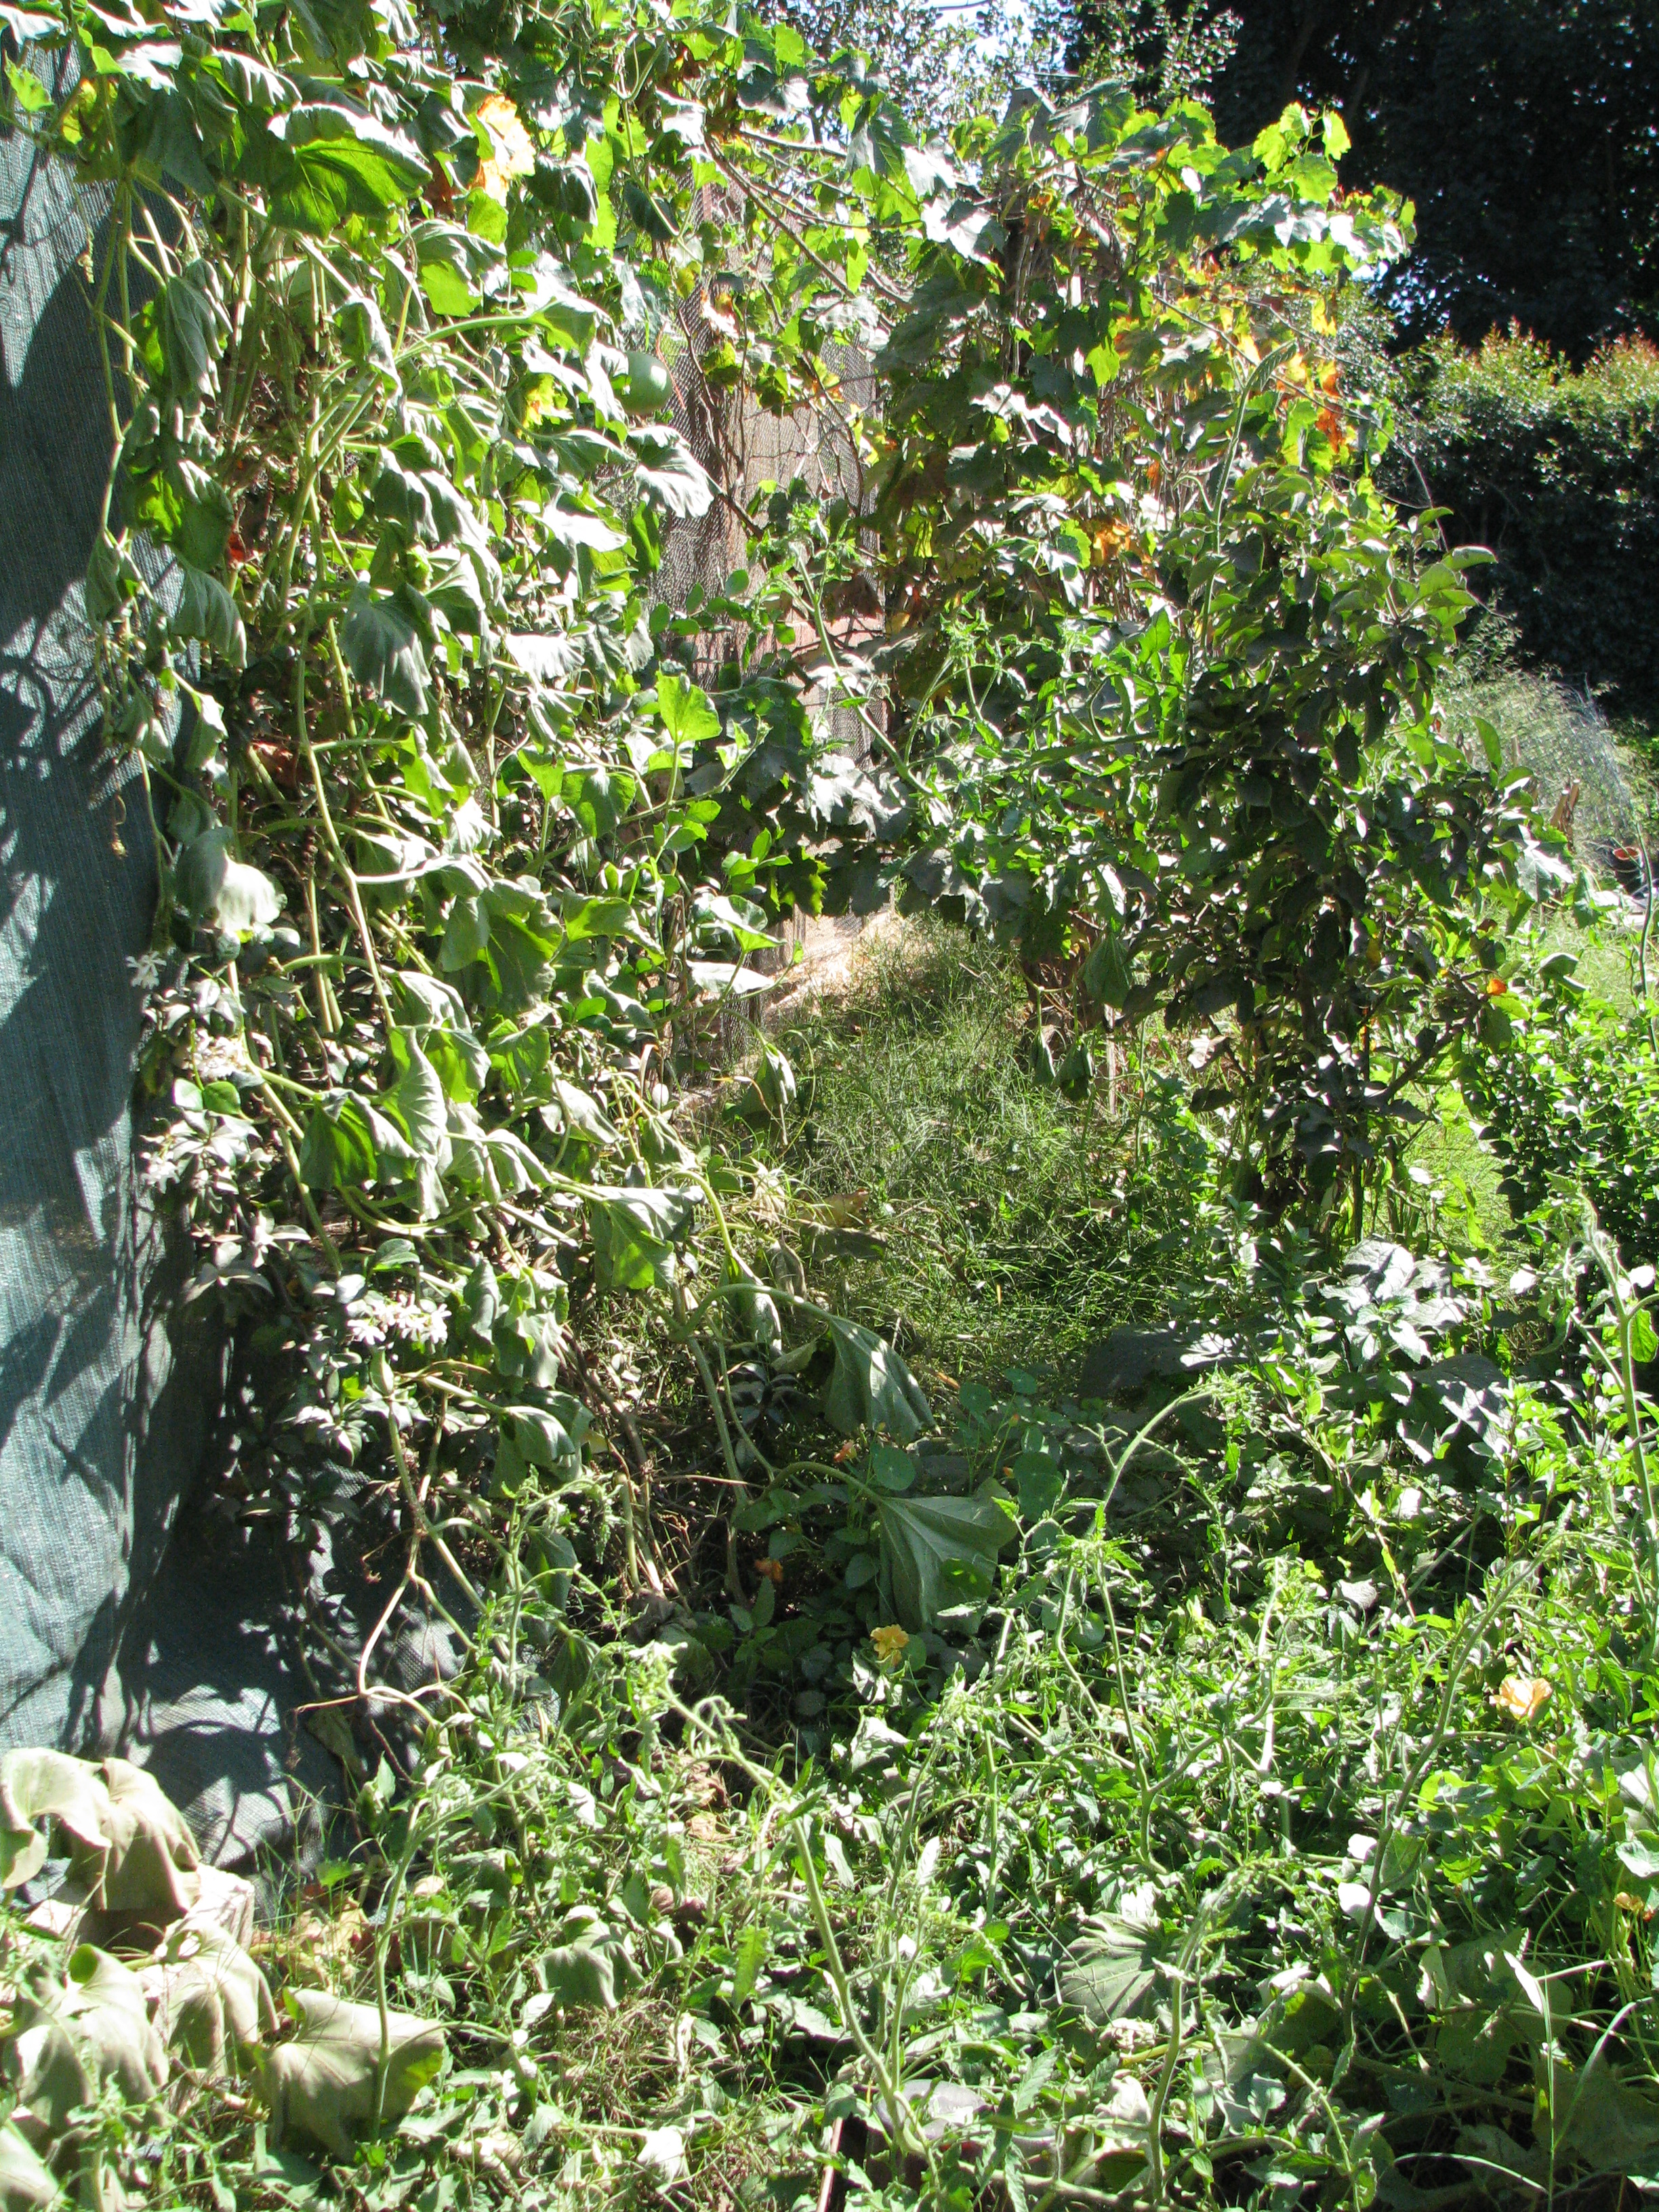
The handy rhyme isn’t the only reason I’m sometimes known as Miranda the Panda – I also have a great partiality for a bit of bamboo, much like the vegetarian carnivore from whom I draw my catchy moniker. Luckily, we happen to have a fair bit of the stuff around Finch Frolic these days (bamboo, not pandas). Bamboo shoots are a common – and delicious! – component of Asian cuisines, and bamboo has been used for many culinary purposes, such as flavoring rice, wherever it grows. During this past summer, I was overcome with the need to find more things to eat on the property and began a foray into harvesting our own bamboo shoots.
Our giant species of bamboo arches over many of our paths — perfect for building material, and any shoots that venture into the soil of the paths are prime targets… 🙂 Before I stepped outdoors and started gnawing on the nearest clump, I had to be sure that our bamboo is an edible variety, and hopefully a tasty edible variety. You need the scientific name of your bamboo for that, but once we ferreted out ours (Bambusa beecheyana), it was easy to find notation of its edibility and delectability online. One helpful and extensive listing is on Guadua Bamboo. Happily, there is a large number of edible and tasty bamboo species.
Proof of mange-ability in hand, the next obstacle was divining the best way to get bamboo shoots from the ground to my mouth. Harvesting can be more or less of a challenge, depending on what variety of bamboo one has and how it’s established (e.g., moisture and soil conditions, obstacles like stones around it). To harvest shoots, it’s best to pick fat green ones poking no more than a foot above the ground. You want to catch them before they get too woody, but old enough to have a bit of meat on them, so to speak. The shoot is mostly leaf (tightly layered sheaths), so bulkier shoots are more rewarding.
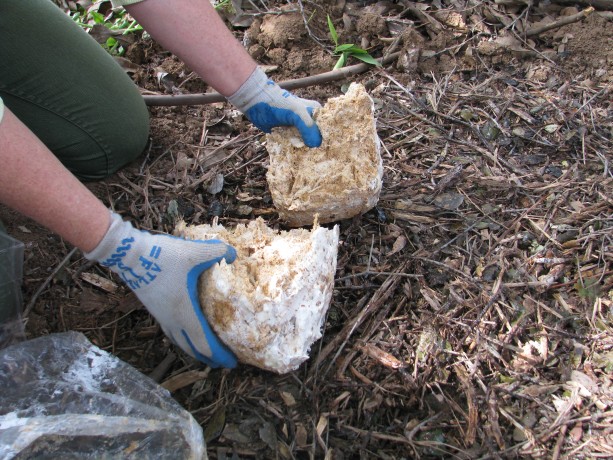
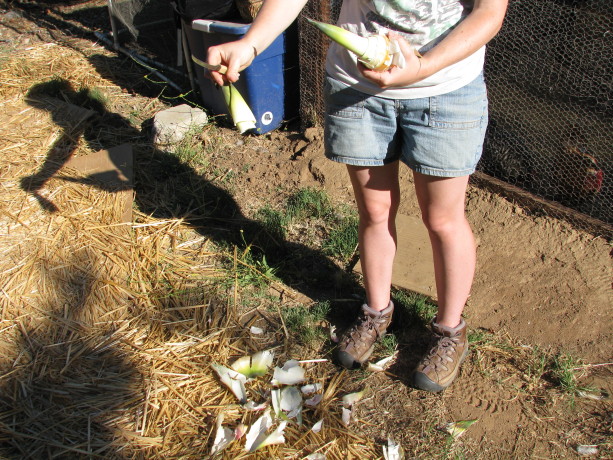
Removing our bamboo from the ground and its parent plant turned out to be on the more side of challenging.
Miranda and Diane bust out the Finch Frolic arsenal on the recalcitrant shoot.
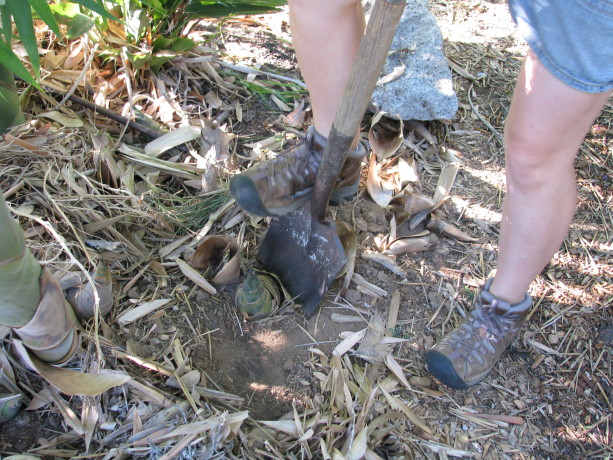
First, the inimitable spade is set to the task. 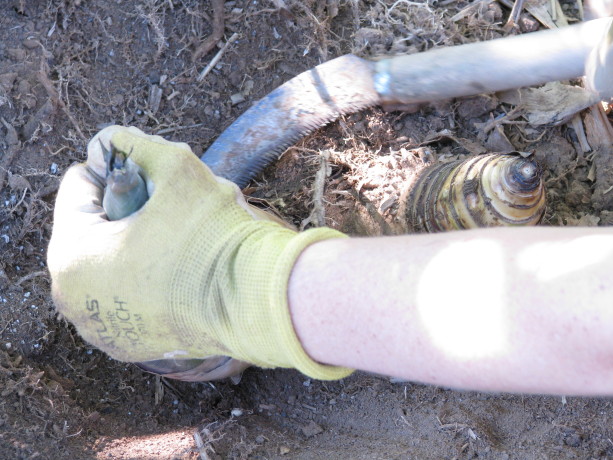
Legs weary and spade abandoned, the small sickle saw is recruited, to little effect. Diane had just returned home and gleefully plunged into the fray, skirt, white sandals and all.
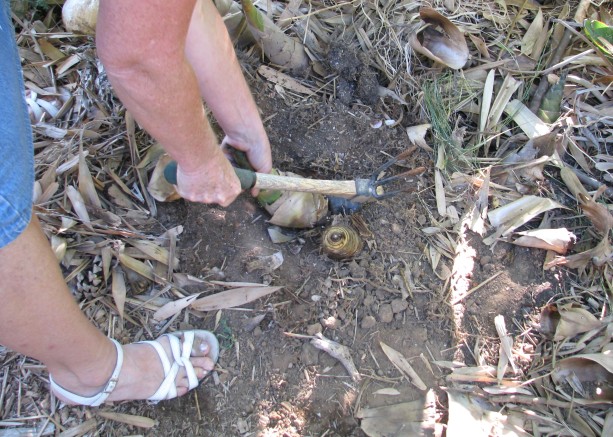
Finally, Diane wades into battle with the winning implement. 
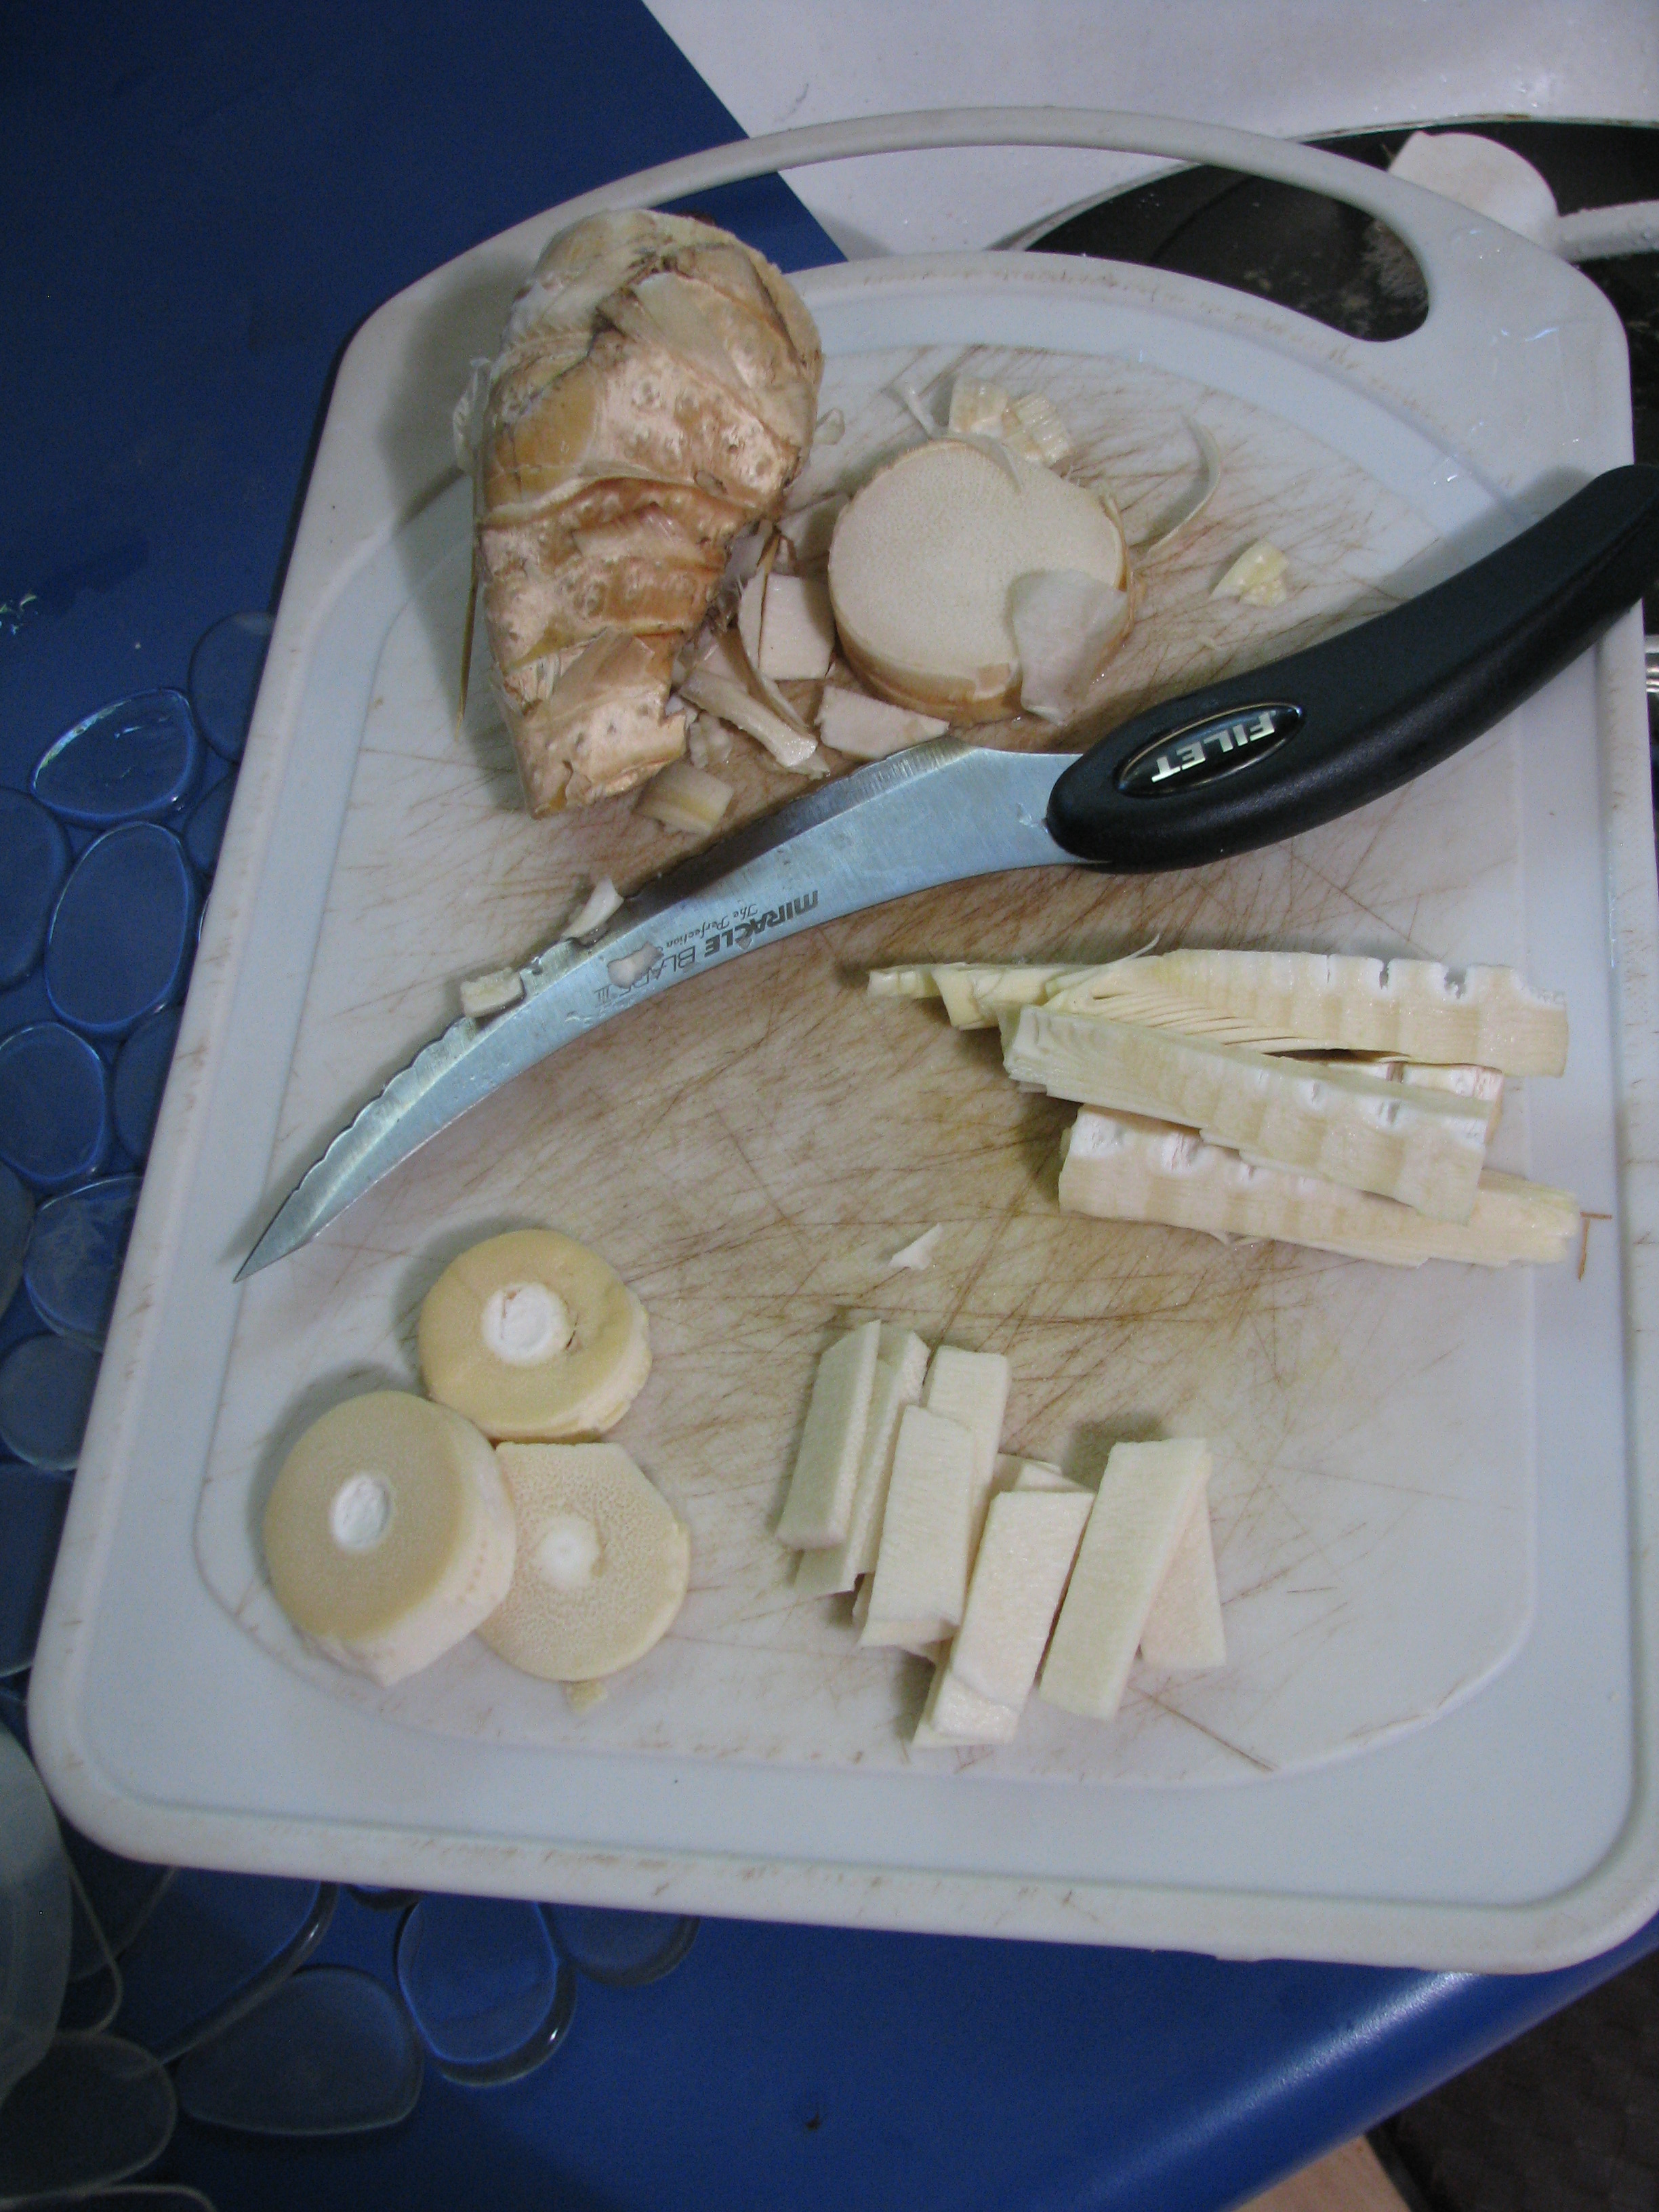
The shoot, freed from the earth and its parent plant. Once we finally achieved success, processing could begin! It is somewhat tiresome to strip a shoot down to the edible white core, because the leaves cling so tightly and are fibrous. It’s like shucking the most stubborn ear of corn in the world. It’s good to slit the tougher outer leaves with a very sharp knife and peel them away.
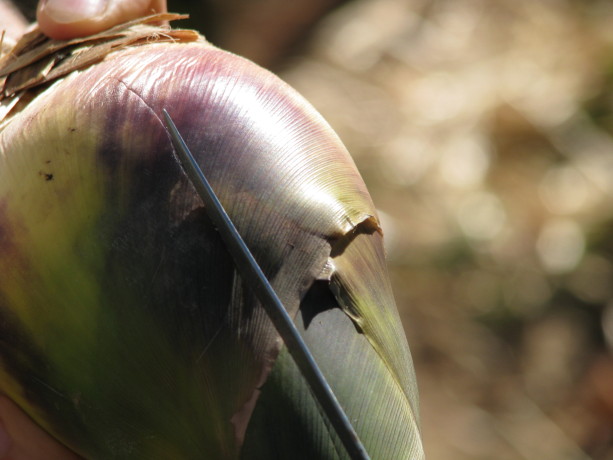
Slitting the fibrous outer leaves with a filet knife. 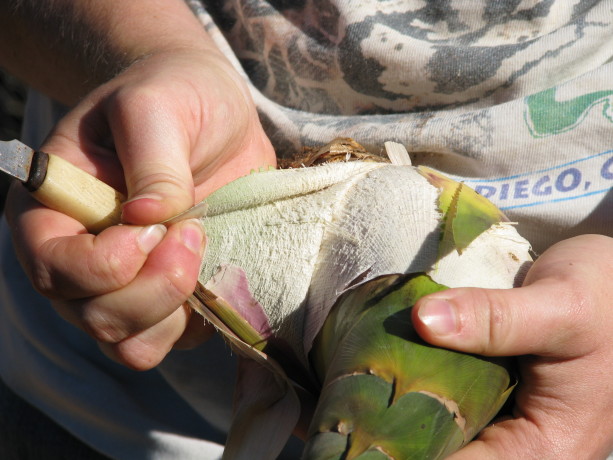
Peeling. The inner leaves come away more easily – rather like the layers of canned hearts-of-palm – as you get closer to the heart of the bamboo shoot. The innermost leaves are basically fetal, and so are edible because they haven’t gotten tough yet. They make the tip of your shoot look hairy.
Many layers of increasingly tender leaves. 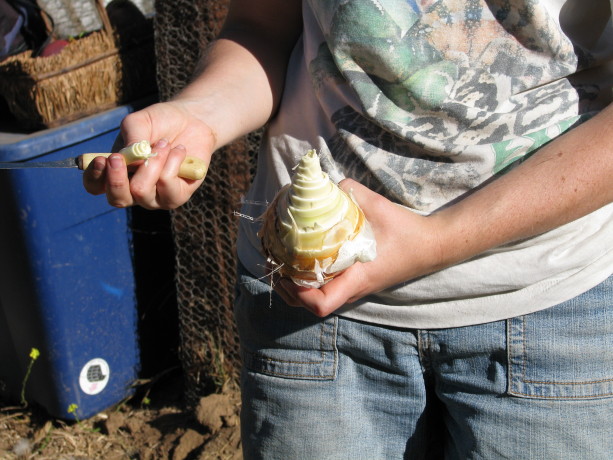
The edible shoot. A peeled bamboo shoot can be cut up in whatever way the chef desires. The shoot grows more fibrous towards the base, where there is probably some inedible hard material. My current rule of thumbs-carefully-tucked-away is if a sharp knife can pretty easily get through it, it’ll be fine to eat.

A shoot cut in three different ways. The material behind the knife (upper left) is too fibrous to eat. You just have to boil your slices before cooking and consumption because they contain a mild toxin that dissipates with boiling. The first time, we tried boiling in lightly salted water for only 30 minutes, and while the shoots were tender and not really bitter, they left a teeny tingling sensation in our mouths, like stir-fried Pop Rocks. The last time I cooked them, I boiled them for a whole 50 min. to much more satisfactory, un-tingly results.

Boiling to remove toxins. Bamboo is delicious and a lot of fun (in a somewhat laborious way) to harvest. The beauty of harvesting your own bamboo shoots is that you are saving yourself a trip to specialty markets and controlling your bamboo’s growth at the same time!
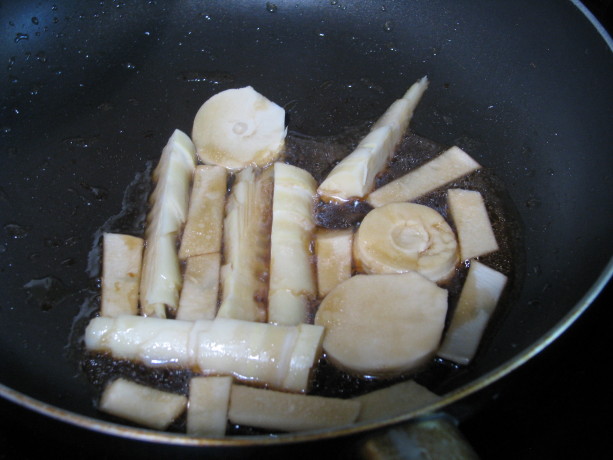
Frying up — yummy! So that’s another thing going on here at FFG. Thanks for wandering the bamboo lane with me.
TTFN!
Miranda (the Panda), B.S.
-
Fruit Tree Guild, Revisited
In June I blogged about how to plant a fruit tree guild, and gave the example of one I was planting by the Fowl Fortress. I thought I’d show you how it matured.

Apple tree in trouble: heavy clay thoroughly shot through with Bermuda grass. Yuck! This was the area four months ago. Heavy, sticky clay taken over with Bermuda grass. A struggling apple tree begs for my help. A star jasmine climbs the side of the Fowl Fortress. A portion of the brown subterranean irrigation system lies aboveground.
Using permaculture design, I created a plant guild with herbs and vegetables that would build the soil and help the apple tree.

A guild is planted. Strawberries went around the trunk of the tree for groundcover and grass competition. Comfrey, a valuable nutrient accumulator in there, too, for slash and drop fertilization. There is also a perennial basil, marjoram, gourds, golden runner bean (a nitrogen fixer), garlic chives, a prostrate rosemary and a tomato, along with other flower seeds. This is how it looks now from the same vantage point:
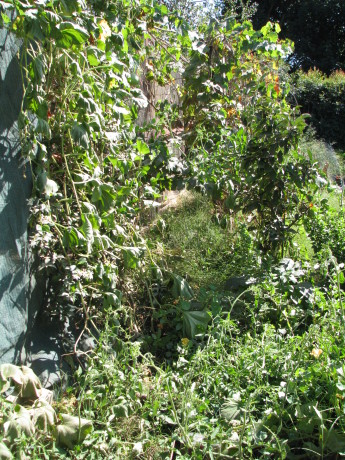
The guild in September. 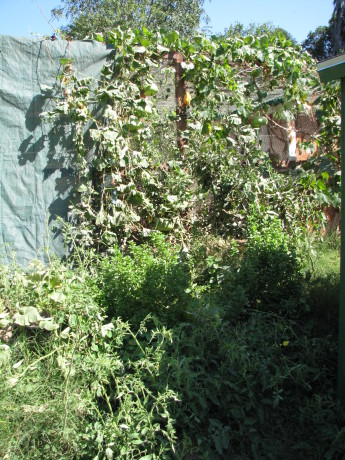
Layers of plants protect the ground and produce food. 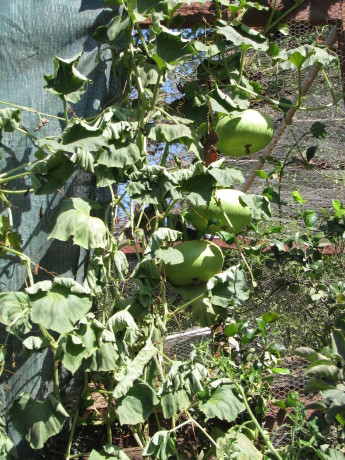
These gourds can be dried and made into bowls. 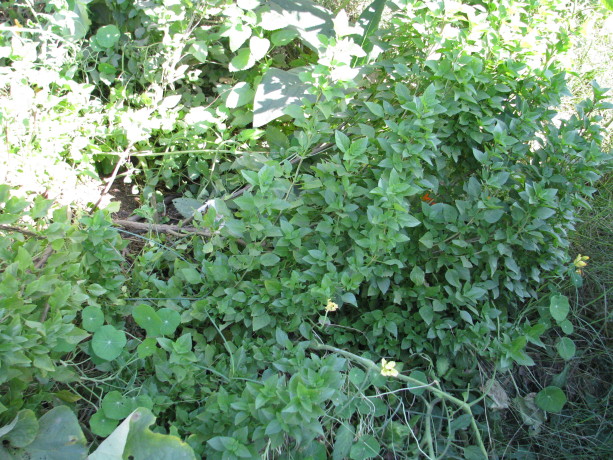
Perennial basil, Amish paste tomatoes smother the weeds and enrich the soil. 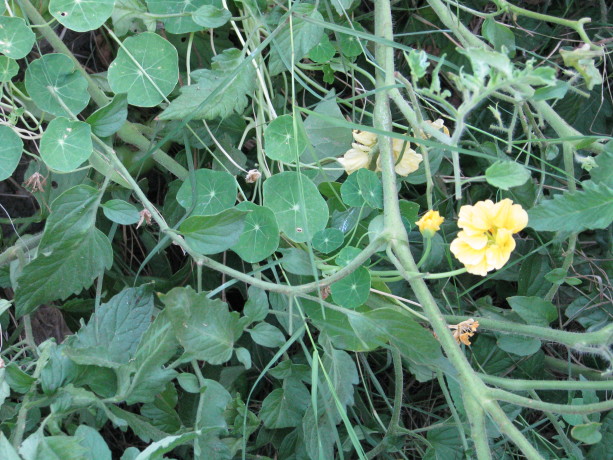
Nasturtiums reseed and fill in as the other vegetables die off. Polyculture beds produce abundant, insect-confusing food guilds which help fertilize and water each other and improve the soil quality. Meanwhile the apple tree has a few apples on it and looks healthier than it has been. Next year’s growth should be drastically improved, and the amount of invasive grasses should be nil. If I don’t grow consecutive annual crops here around the perennial plants, I will sheet mulch the bed.