The Pros and Cons of Raised Beds
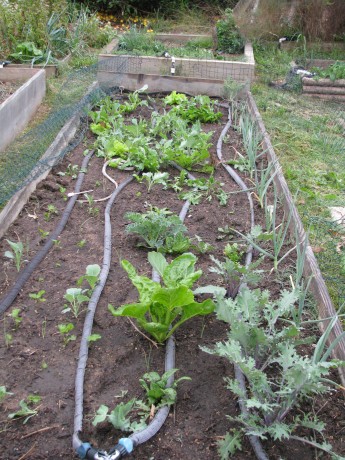
Raised garden beds can be wonderful things. They also can be inappropriate. I’m in the process of taking ours down and replacing them with… well, I’ll describe it later on. Let’s get back to the pros and cons of raised beds.
Here are some of the pros:
Raised beds look just great. They are neat, tidy, organized and restful to the eye.
If raised high enough they are accessible to those who can’t work on the ground or bend over, and to those who are non-ambulatory.
If lined with hardware cloth they keep gophers and mice from tunneling under your food and making it magically disappear.
They help with some weed control.
If you live in a rainy area, they help with drainage.
If you have miserable soil, you can garden anywhere by building a raised bed without having to dig.
If you live in a cold area, depending upon what materials you use for the sides of the raised beds you can tap into the thermal heat and have warmer soil longer.
You can build reusable covers for the beds and turn them into cold frames, or shade structures.
Now here are some of the cons:
You need to fill raised beds with a lot of soil, and if you have to buy it, that is a large expense. The soil will compact and disappear over the course of a year, so you have to keep topping up the beds to keep the soil level high. Heavy work that is expensive.
Wire underneath the raised beds will last a few years and then will be compromised by rodents, so the bed will have to be emptied and rewired if rodents are a problem.
If you live in a warm, dry climate, the sides of the raised bed acts like a clay pot. It will wick moisture from the dirt and heat the dirt up so that plant roots around the perimeter will cook.
If you live in a warm climate you have to pour on the water because of the point mentioned above; a raised bed dries out much more quickly than in-ground gardens.
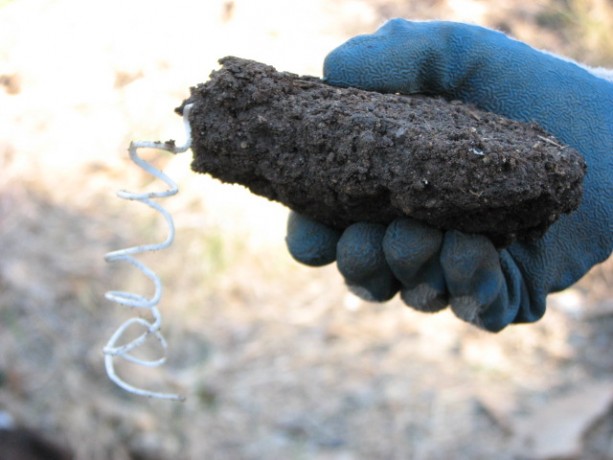
I built raised beds from old bookshelves many years ago, and that was my only veggie garden on the property as I raised my children. I’d grown plants in-ground before that, trenching and turning, and losing the fight against gophers and Bermuda grass. The raised beds were lined with wire. For awhile it worked, but the Bermuda grass took over and infiltrated all the beds. The wire began to rot and rodents chewed away at the sweet potatoes. Worst of all, the soil level would decrease, and since the beds weren’t very deep, then root veggies would grow into the wire and I’d lose half of them as they broke off during the harvest. I couldn’t keep up with refilling the beds. I composted in place, buried wood and vines, and that worked well, but I still needed to add compost. The beds drank up water during our long, hot summers.
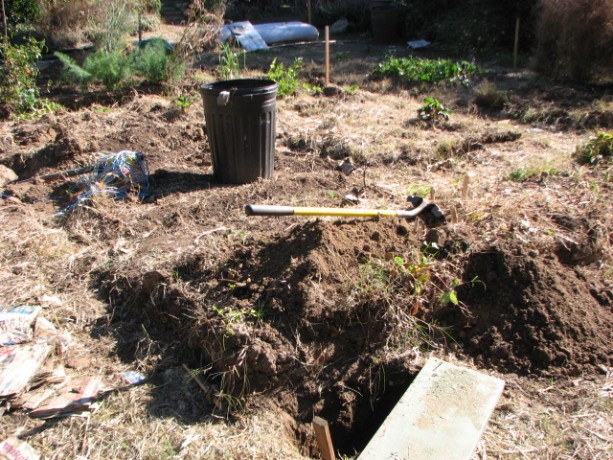
This summer I realized that I was using a gardening technique that was best suited to rainy climates. Here in the dry Southwest, a traditional gardening method was to plant in sunken beds. We need to capture water, not make it run off. Also, the Bermuda grass became so invasive that I realized that only sheet mulching would make any difference in controlling it.
Of course I decided that my daughter and I couldn’t possibly have an easy winter, but must rip out the beds and start digging.
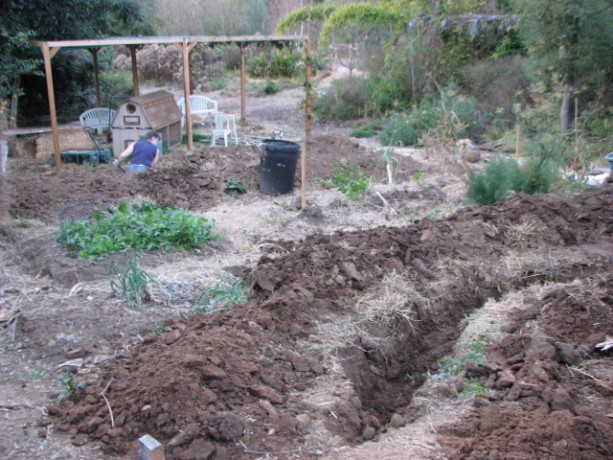
I’m an advocate of no-dig gardening; however sometimes you have to dig bad soil to create good soil. The no-dig policy can happen once the infrastructure is in place. So here’s what I’m planning on doing: I’m combining hugelkultur with sunken gardens and sheet mulching to create what I hope will be a veggie garden with a much lower water consumption, and weed-free.
First we determined the direction of water flow down the hill, and planned on creating trenches that would capture that water. The trenches, or swales, would need to be level on the bottom so that any water flowing in from the downhill side, would travel all along the swale even to the drier side, where the surface soil was higher. We created a bunyip to estimate the difference in slope between the top and bottom of the garden. Although I had drawn up intricate plans for a square garden, that shape just wouldn’t work so we went with a rectangle. Then we began to dig. The first ten inches wasn’t bad, but after that we hit clay. I had to buy a mattock. I also ended up icing my back for a couple of days. Some of the clay we’ll save for use on any future earthworks we may want to do, and some we’re saving for an artist friend.
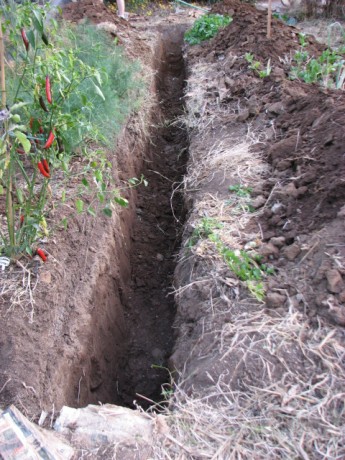
The trenches are two feet deep, and about one to one and a half feet wide. It is amazing how you start out large, and then after a few very hot afternoons scraping clay and throwing it up and over four feet, the trenches become more narrow. My plan is to fill the bottom foot of the trenches with old wire, wood, branches, old textiles and other biodegradable debris. The old wire will rot, and will also help repel gophers. On top of all this will be layered some of the clay, and watered in with compost tea brewed in the 700-gallon water tank that is full of rainwater from the last rain (two months ago!). On top of that will be good soil, smoothed below the surrounding surface level. Water from the road will be diverted into the swales, which will allow it to flow across the garden and be absorbed by the fill materials. But what about the Bermuda grass? There isn’t a mountain of cardboard all over my garage for nothing! The entire garden will be sheet mulched, and all veggies will be planted through the cardboard and newspaper. The existing asparagus bed will need to be carefully relocated, but everything else can either be harvested or dug under.
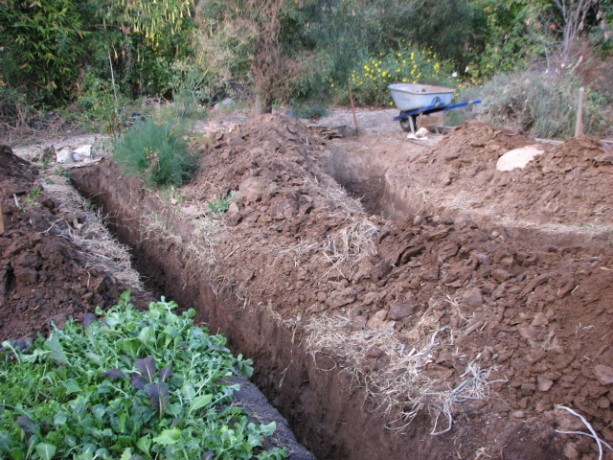
That’s the plan, anyhow. I’ll let you know how it goes.