-
The Fine Art of Pleaching or Plashing
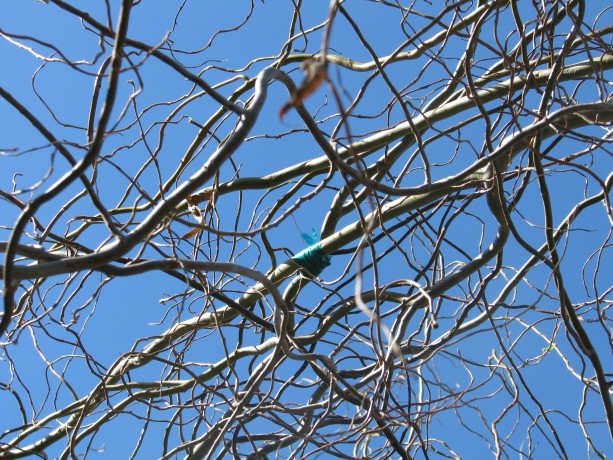
Pleaching in the sky. My daughter and I pleached today, although I’ve had the pleasure of pleaching before this , and even later. Pleaching, or its synonym plashing, refers to the interweaving of branches, both live or dead. Basketry is one form, but more notably is the pleaching of living branches to form secure living fences, buildings or artwork. The withy (willow) bird hide (a covered place from which to watch birds) is a living building I planted two years ago. We pleached our withy hide today. Not many people can say that! (or admit to it).
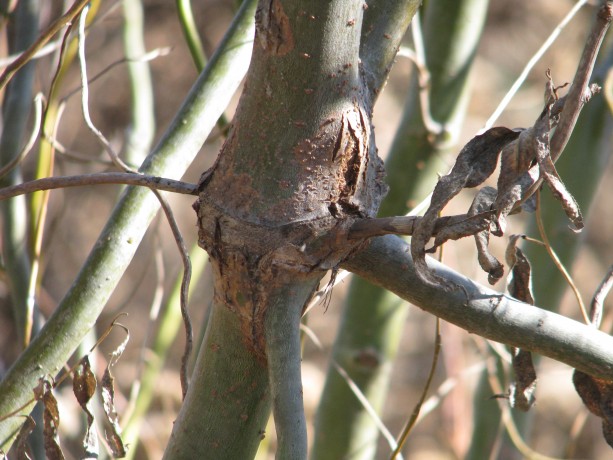
Pleaching is where stems, usually from two plants, grow together. Pleaching can be done on many vigorous trees such as willow, or even fruit trees such as plum. The branches grow together making separate plants become part of a whole. The trees then share nutrients and water and can pull what it needs from roots a long distance away.
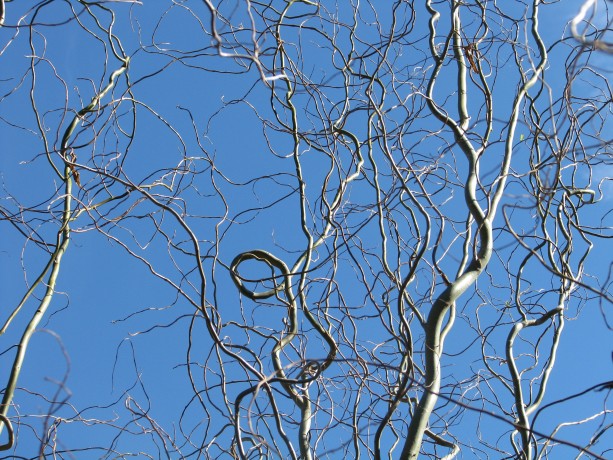
Curly willow is beautiful on its own. Pleaching essentially makes many plants into one living organism. Pleached hedgerows make a living barrier to keep in livestock; pleached trees can be woven into furniture, living artwork, decorative fences, and living trellises. Pleaching livestock fences was practiced a lot in Europe prior to the invention of barbed wire, and then was forgotten for awhile only to be revived as a form of artistic gardening.
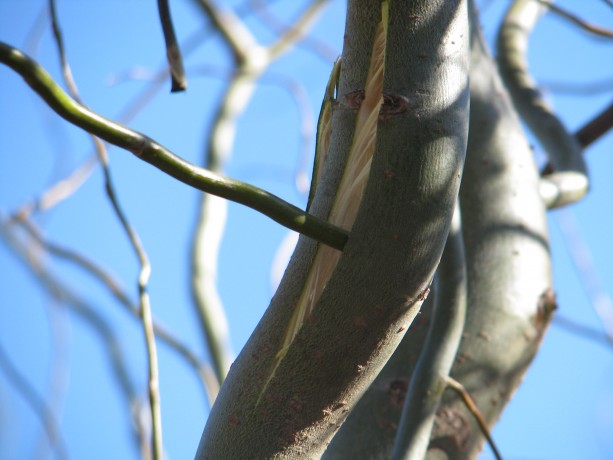
This trunk unfortunately cracked while I pulled on it. As it is willow, it will heal quickly. My daughter used the opportunity to put a twig from the next willow through the crack, which will grow over it. Today I of course, as is my habit, waited until the sun was directly above the area where I was working so that I had to look into it as I worked. I don’t recommend this, however. My daughter used a fruit-picking pole to snag some of the taller, whippier branches of the curly willow that make up the withy hide. I stood on a ladder, squinting, and pulled two branches together.
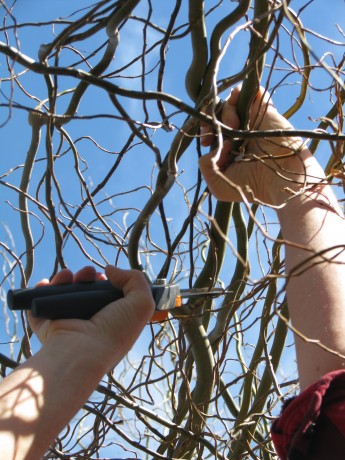
Me on a ladder reaching over my head to pull two branches together to form a roof. To insure that you have a good pleach going, it is best to lightly scrape the bark from both pieces just where they are going to meet; something like you see blood brothers do with their hands in the movies, but with no blood involved.

Lightly scraping the bark from both branches where they will meet is important. Next time I’ll use a vegetable peeler, which will allow me better angles. Then you make sure the pieces fit snugly, then tie them on. I’ve use various materials to do this. Twist-ties hold securely but the wire can eventually girdle the growing branches. Twine is more difficult to use in that it doesn’t grip the branches well enough for a firm hold, but it will eventually break down, hopefully after the pleach is successful. This time I used green tree tape. It grips well, is easy to tie, and will stretch with the growing branches and eventually break. The green color won’t be noticeable when the willow leafs out, either.
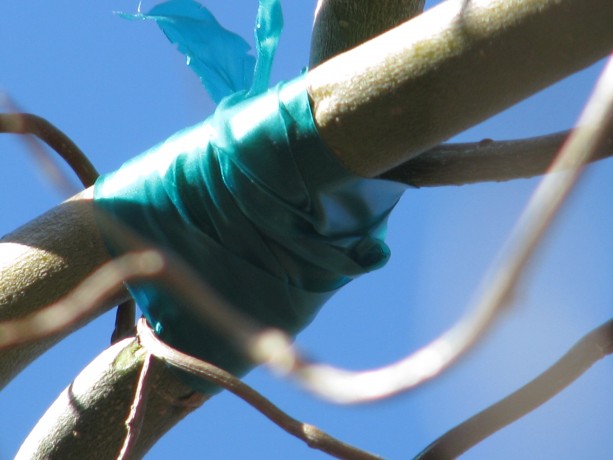
Tying the scraped branches together so they stay put. They can’t move around in the wind or they won’t be able to grow together. As I pleached from the top of the ladder, working overhead while the sun and curly twigs attacked my eyes, my daughter pleached pleasing arches over the ‘windows’ of the hide.
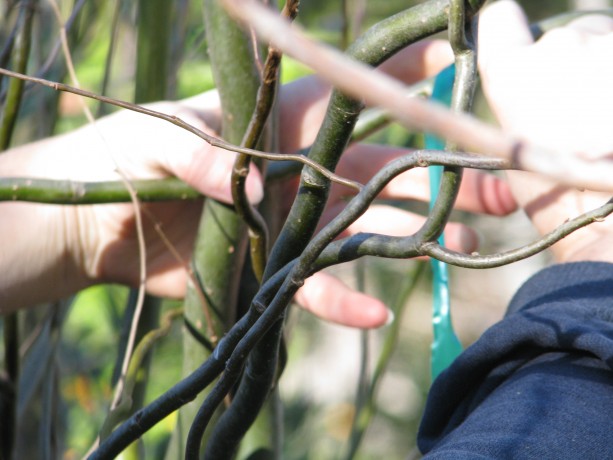
Weaving curly willow can be a twisty challenge. The hide looks lopsided because the willows on one side have found sent out roots to drink from the small pond. With more pleaching, the thirsty trees on the other side will probably take advantage of that water source, too, and have a drink via their overhead connection. I think it is part of its charm. A half-wild building.
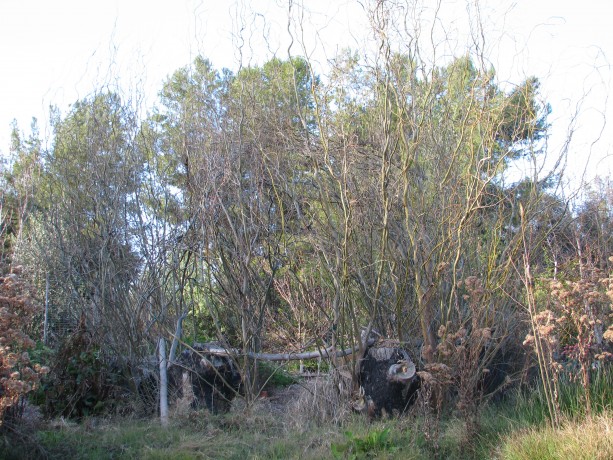
The withy hide as a duck on the big pond sees it. The willow is just about to begin leafing out. Try pleaching a small fence or a living bench or chair. It is tremendous fun and if you don’t like it, you can always cut it down. Oh, and work on a cloudy day.
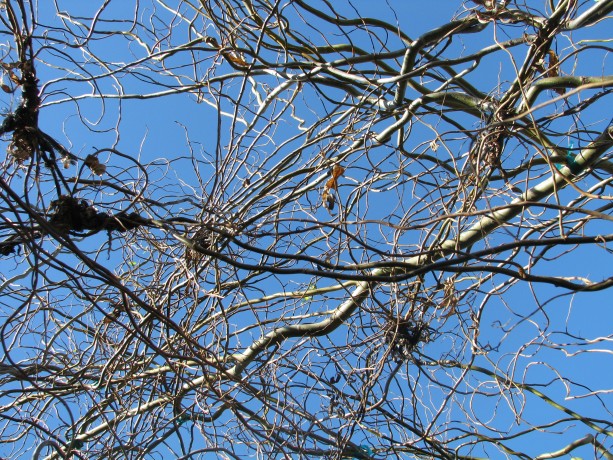
A willow roof. - Compost, Fungus and Mushrooms, Gardening adventures, Hugelkultur, Permaculture and Edible Forest Gardening Adventures, Soil
More Spores: Planting Garden Giant and Shaggy Mane Mushrooms
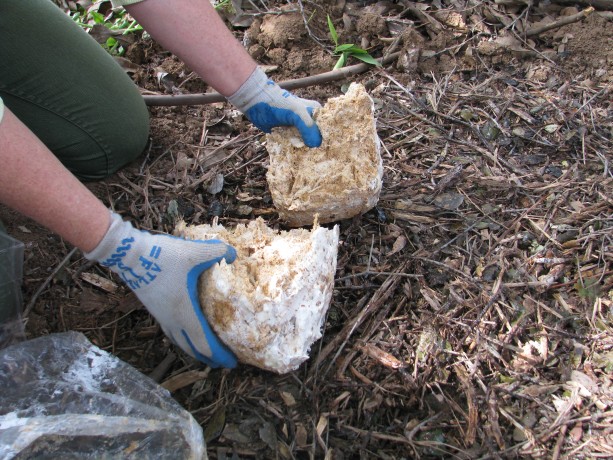
Breaking apart the large square of inoculated sawdust. The last scintillating post was about how we distributed oyster mushroom spawn in the straw in our new vegetable garden. Today we planted more shrooms… but not the last! “Where will it end?” you cry. I’m not sure myself; I guess it depends on how well we can grow mushrooms here in the drought-stricken west. It is the last week in February and we’ve had 70 degree – 90 degree daytime temperatures all month long, and less than a 1/2 inch of rain this year. This is our rainy season. Some mushrooms do grow here, although they aren’t very apparent this dry year. We certainly don’t have the high humidity, frequent rain and acidic loam that characterizes areas such as Northern California and the Pacific northwest where mushrooms are everywhere.
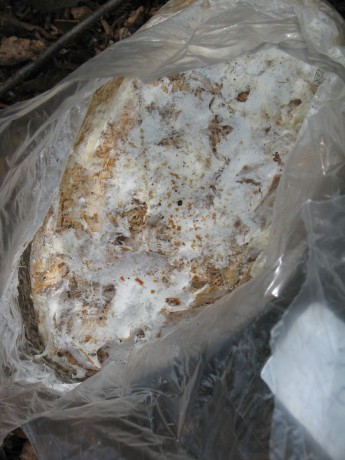
Shaggy Mane spores growing all over the bag. I bought two bags of spores, of Giant Mushroom and Shaggy Mane mushrooms, both of which are edible and can stand warmer climates, as long as they are shaded and receive water. My daughter and I strolled all over the property considering different spots. There aren’t a lot of areas which are shaded all day, which receive water or are close to water, and where shrooms would be safe from nibbling animals. We decided upon the small group of old lime trees (and one orange) that are between the fenced backyard and the Fowl Fortress.
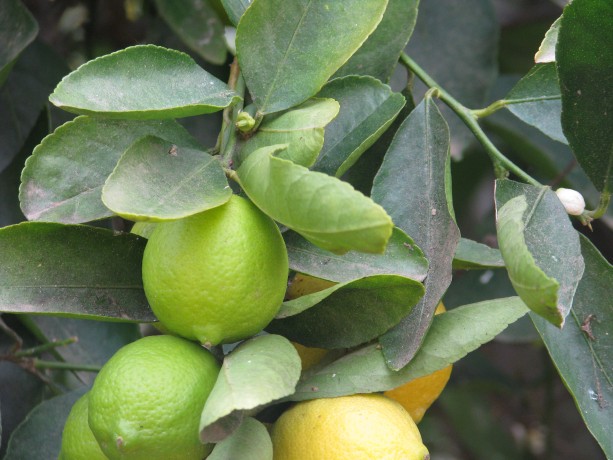
Limes look so very pretty, until they draw blood! I’m not a fan of lime trees. When I was 11, my parents moved me and my sister to a four-acre lime grove in Vista, CA. I grew up enjoying the smell of lime blossoms, walking through tens of thousands of bees (pre-Africanization), climbing up the few avocado trees and pretending I was a spy and bad guys were looking for me. But when I was older I was paid to care for the lime trees. I became disenchanted. They are nasty. Their thorns and small dead twigs scratch and catch, they are often full of ants which are harvesting aphids on the leaves, and they are short trees, so to pick limes or do anything for them you have to duck under the canopy and usually end up losing some hair and bleeding from the thorns.

A group of citrus trees, with logs cut for mushroom inoculation and some old chicken wire that is ready for a hugelkultur burial. So of course as an adult I moved onto property with a lot of lime trees on it. Limes aren’t very profitable, either. I keep the trees because I don’t water them yet they thrive, and I don’t believe in killing trees for no reason. Now their canopy can be put to good use.
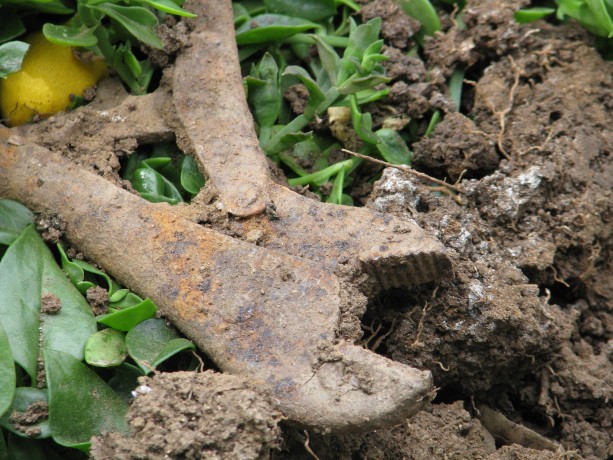
We always find some lost treasure from the previous property owner. I purchased organic mycelium from Paul Stamet’s Fungi Perfecti. He wrote many books on growing mushrooms and has had startling results using oyster mushrooms for soil remediation and with turkey tail and other mushrooms for fighting cancer and other illnesses. Mycelium Running is an incredible book.
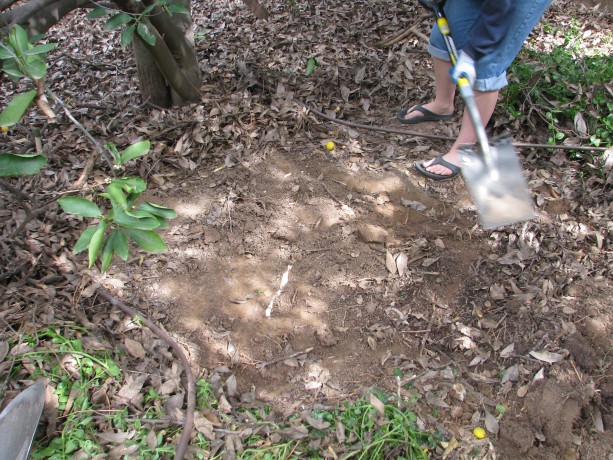
Clearing a level area under a lime tree. For the Garden Giant shrooms, we hacked through dead branches and pulled away a lot of red apple iceplant that has slowly been taking over from the neighbor’s property. We dug about two inches into the ground to help insulate the wood chips that would be placed in there, and watered it in well with what was left of the rain water from our large tank.
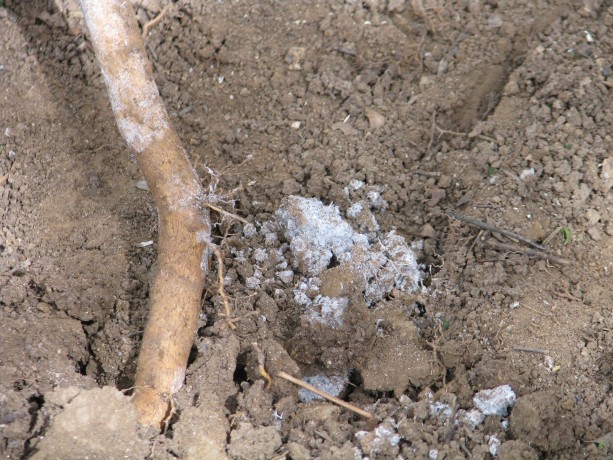
Mycelium is already busy around the roots of the lime and ash trees, even in this dry ground. We’d just received a truckload of chipped oak from landscapers, and that was perfect for this variety of mushroom. We spread out a couple of inches of chips, watered it well, spread the inoculated wood chips on top,

Spreading the mycelium… so many little spores! spread a couple more inches of chips over, mixed them up with our hands to spread the spores throughout the chips, and watered again. With luck, they should be up in a couple of weeks.
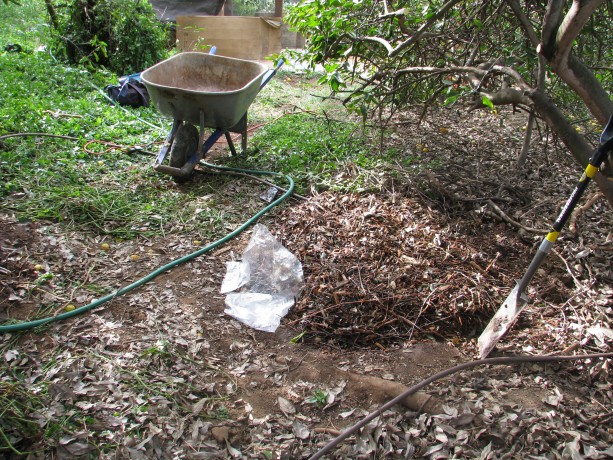
The final Garden Giant bed. Next to another tree we dug a 3×3 area just an inch down. Shaggy Mane lives in vegetative compost rather than the highly fungal wood chips, and can live in a variety of stuff.
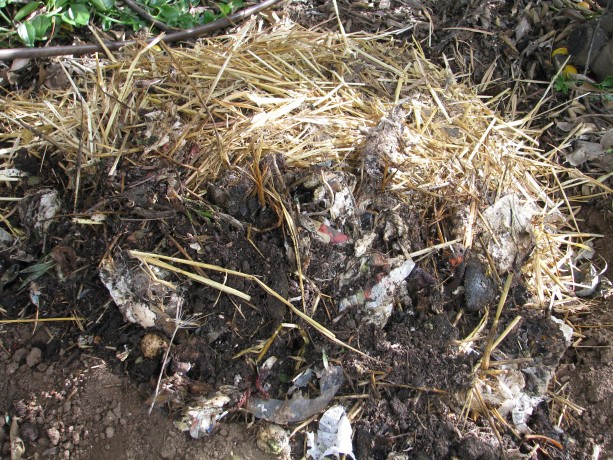
Vegetative compost mixed with straw and leaves for this long-term mushroom. We removed the more composted stuff from our cold compost bin and mixed it with very poopy straw from the chicken coop (thanks, girls!), and ash leaves. The spores were mixed well into this combination and watered in.

Mixing in Shaggy Mane spores with the compost. I topped it with leaves just to help keep the moisture in. We won’t see production from these until next winter when the temperature drops to below 60 degrees F. When they do ‘fruit’, as the mushrooms are called, we can add new compost alongside and the spores will creep over for another year’s growth.
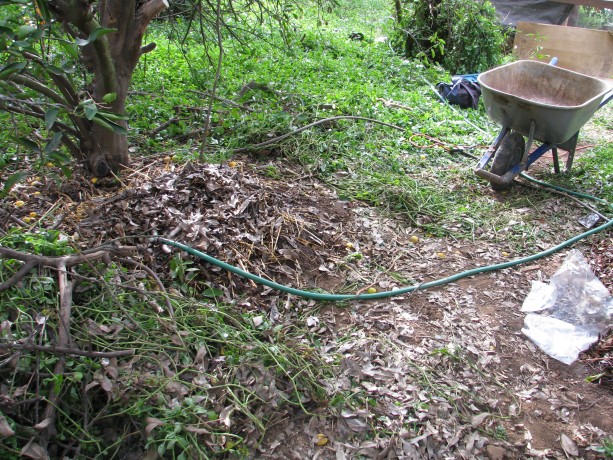
To assist with the moisture I’m going to have the greywater empty along these trees to keep the ground moist and the humidity up. Also, there are drip lines from the well along here and I think the addition of some above-ground sprayers will handle our watering needs without using domestic water.

The white tables are set under an orange tree, and are where inoculated logs will go. Under the orange tree, which is a fine tree but very neglected and hidden by the vicious lime trees, we decided to set up for our next installment of mushroom growing. We’ll be drilling holes in oak logs and growing four kinds of shrooms on them. I’m sure you just can’t wait!
- Compost, Fungus and Mushrooms, Gardening adventures, Hugelkultur, Permaculture and Edible Forest Gardening Adventures, Rain Catching, Seeds, Soil, Vegetables, Water Saving, Worms
Planting Spores in the Garden

The mycelium is white in the sawdust and ready to go. If you remember the trenching, filling and designing the new veggie patch, then this post will make more sense to you.
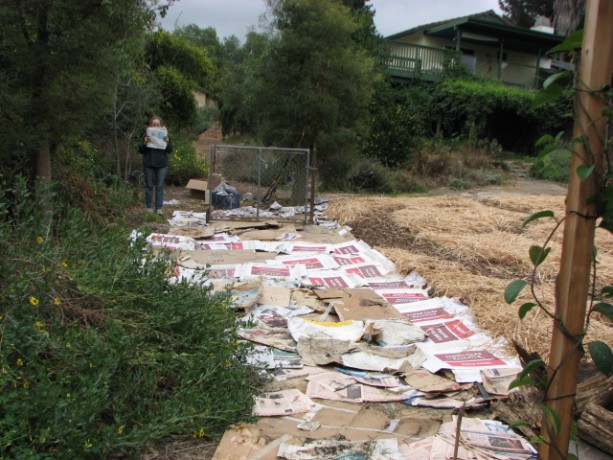
The next step was to cardboard the pathways where Bermuda grass has been taking over, then mulch them as well. The mulch makes it all look so nice!
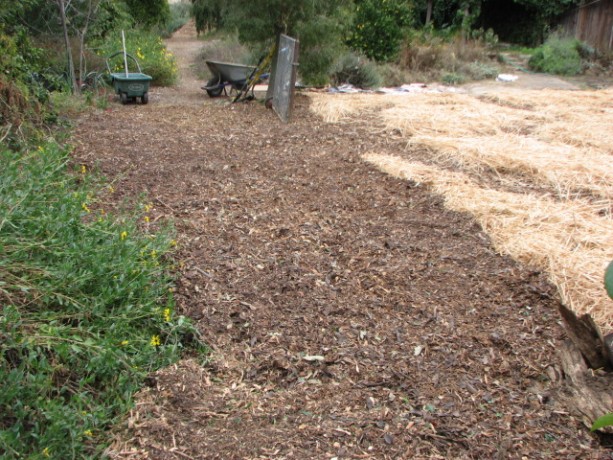
Covered with mulch, the cardboard is only a memory. Next it was time to plant. We’d already transplanted three-year old asparagus, and hopefully not shocked them so much that they won’t produce well this year. The flavor of fresh asparagus defies description.
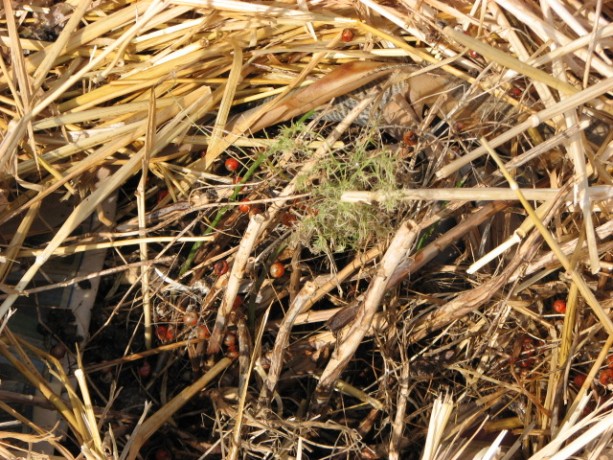
Asparagus popping up some feather shoots from its new home. The strawberry bed was older and completely taken over by Bermuda grass, so it all was buried and I purchased new organic and extremely reasonably priced bareroot strawberries.
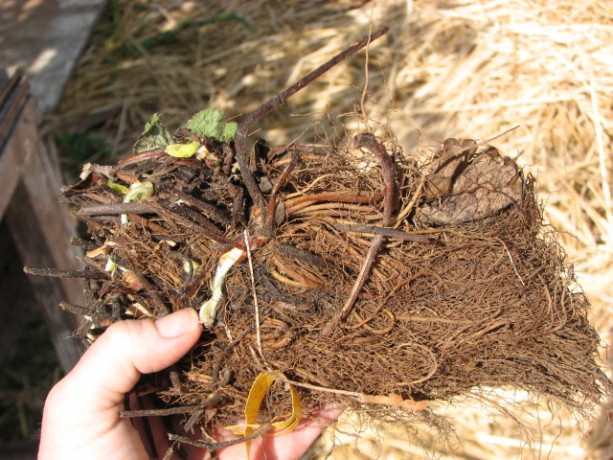
A bundle of twenty-five strawberries. I purchased two June-bearing types and three ever-bearing, heat-loving types, from www.groworganic.com. When they bloom this year we’ll have to nip off the buds so that next year when their roots have taken hold and fed the crown, we can have lots of strawberries.

Soaking the strawberry roots for a few minutes rehydrates them. We planted some in the asparagus bed, which will do nicely as groundcover and moisture retention around the asparagus, while the asparagus keeps the heat off the strawberries. Some we planted around the rock in the center of the garden. The rest will be planted around fruit trees as part of their guilds.
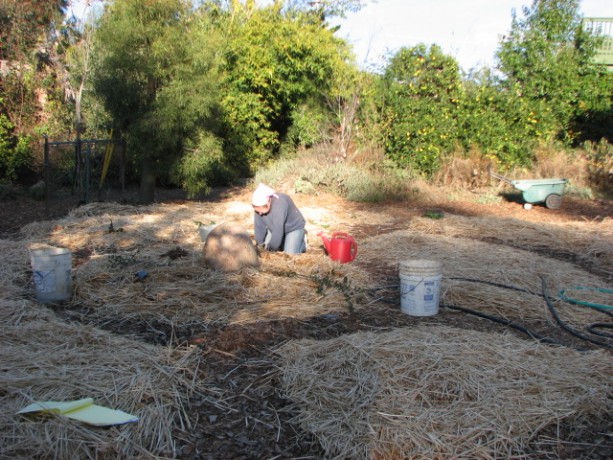
Strawberries surround the rock. We also planted rhubarb in the asparagus bed; these poor plants had been raised in the greenhouse for several months awaiting transplanting.
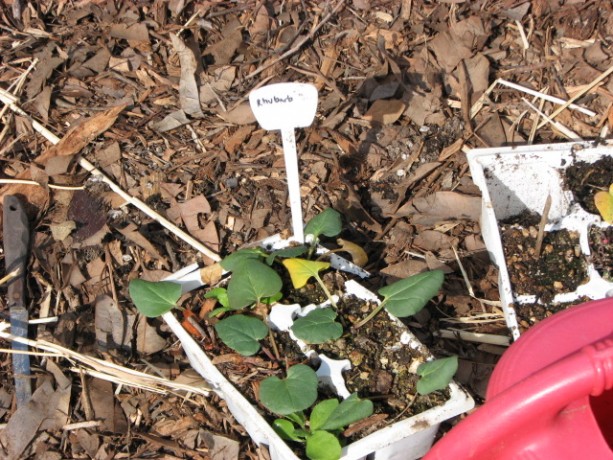
Rhubarb, really eager to be put in the ground. Hopefully the asparagus will protect them from the heat. I plan to raise more rhubarb from seed and plant them in other locations on the property, aiming for the coolest spots as they don’t like heat at all.
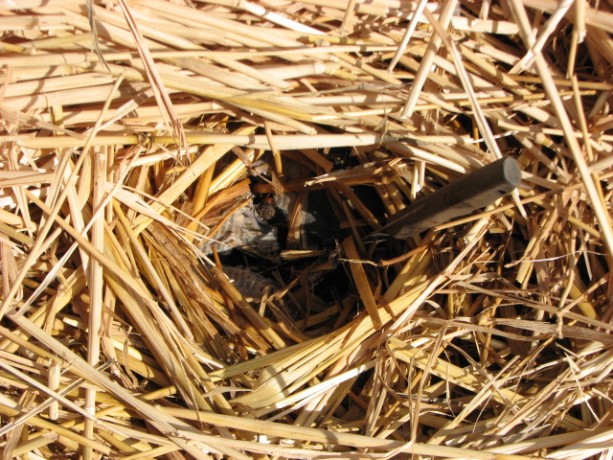
With a strong knife (weak blades may snap) cut a cross in wet cardboard the pull aside the edges. The way to plant through cardboard is to make sure that it is wet, and using a strong knife make an x through the cardboard. Use your fingers to pull the sides apart. Stick your trowel down and pull up a good shovel full of dirt (depending on how deeply your plant needs to go.
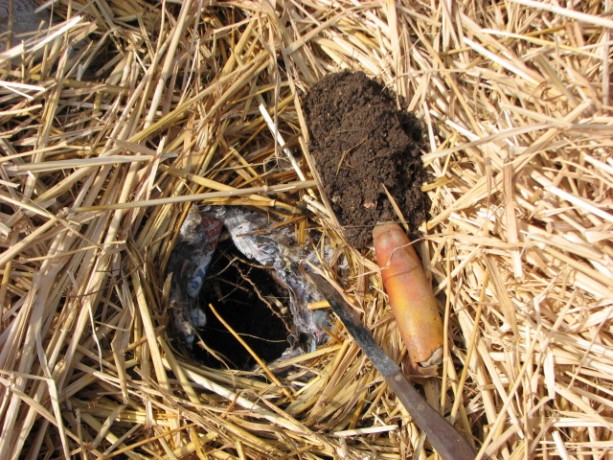
Insert a trowel through the hole and scoop out some dirt. The base of plants and the crowns of strawberries should all be at soil level. Seeds usually go down three times their size; very small seeds may need light to germinate). Gently plant your plant with a handful of good compost, then water it in. You won’t have to water very often because of the mulch, so check the soil first before watering so that you don’t overwater.
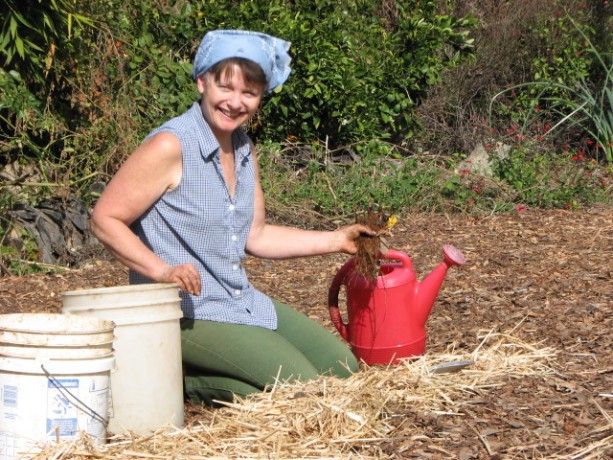
Don’t forget to water in the plants! For the first time in years I ordered from the same source Jerusalem artichokes, or Sunchokes as they’ve been marketed. They are like sunflowers with roots that taste faintly like artichoke. We planted some of them in one of the quadrants, and the rest will be planted out in the gardens, where the digging of roots won’t disturb surrounding plants.
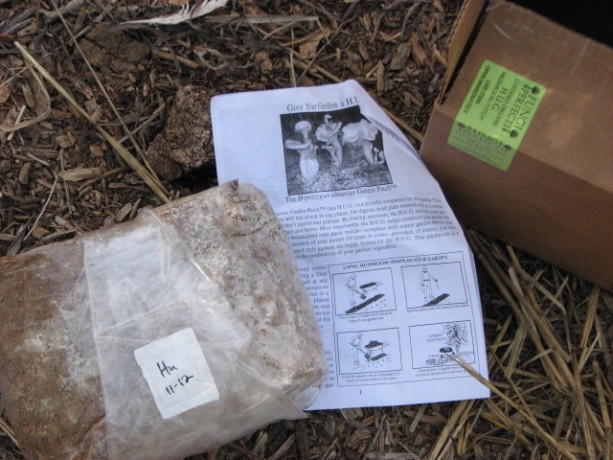
The oyster mushroom kit, or H.U.G. You’ll have to visit Fungi Perfecti to read up on it. Most excitingly, we’ve purchased mushroom spores from Fungi Perfecti, which is Paul Stamet’s business, the man who wrote Mycelium Running and several other books about growing mushrooms for food and for health. We bought inoculated plugs, but that will be another post. Almost as exciting are the three bags of inoculated sawdust to spread in the garden! They sell an oyster mushroom that helps digest straw and mulch, while boosting the growth of vegetables and improving the soil. You also may be able to harvest mushrooms from it! Talk about a wonderful soil solution, rather than dumping chemical fertilizers on the ground!
We’d already covered our veggie beds with wet cardboard and straw.
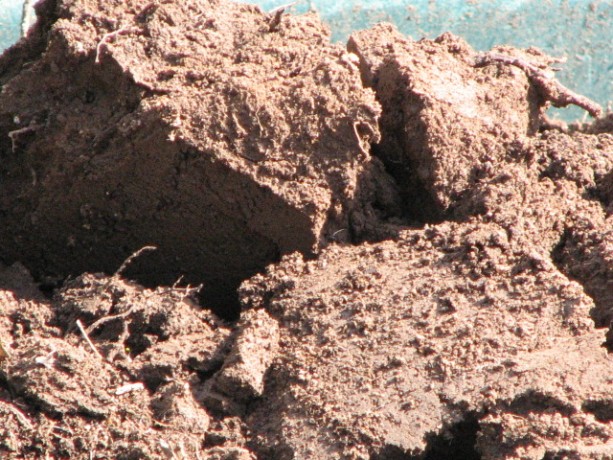
Really good soil from what is now a mulched pathway. To give the mycelium a good foundation I dug up good soil from one of the field beds, which needed an access path through the middle. By digging out the path I created new water-holding swales, especially when filled with mulch.
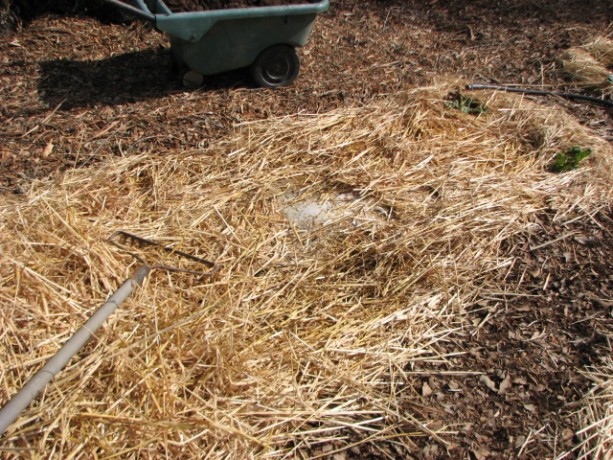
We pulled aside the straw. In the veggie garden we raked back the straw and lightly topped the wet cardboard with soil. On top of that we sprinkled the inoculated sawdust.
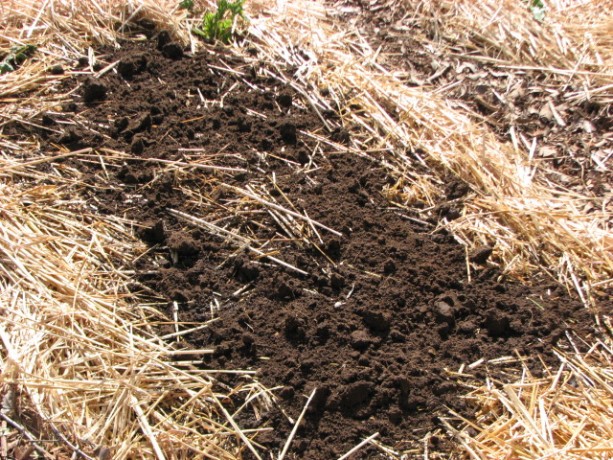
Good soil over cardboard. On top of that we pulled back the straw and watered it in.
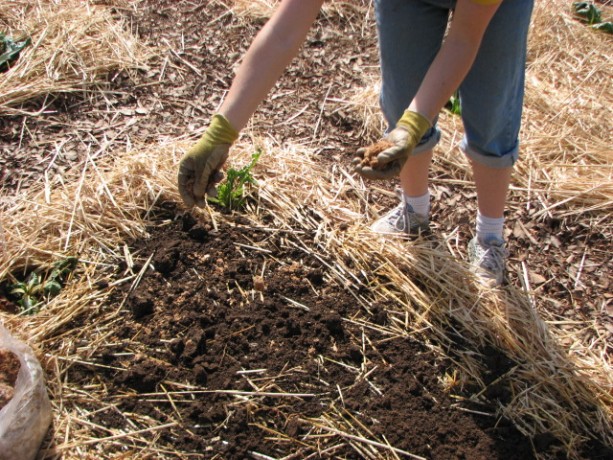
Sprinkling spore-filled sawdust over the soil. The fungus will activate on the wet soil, eat through the cardboard to the layers of mushroom compost and pidgin poo underneath that and help make the heavy clay beneath richer faster.
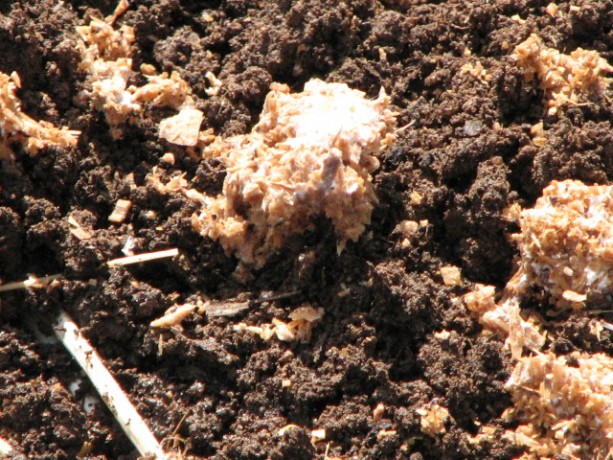
The fungi will immediately begin to colonize the wet soil. We treated the two top most beds which have the worst soil, the sunchoke bed and the asparagus bed. In four to six weeks we may see some flowering of the mushrooms, although the fungus will be working even as I sit here. There are several reasons why I did this. One, it is just totally cool. Secondly, there is no way for me to purchase organic straw. By growing oyster mushrooms in it, I’m hoping the natural remediation qualities of the oyster fungus will help cleanse the straw as it decomposes. Oyster mushrooms don’t retain the toxins that they remove from soil and compost, so the mushrooms will still be edible. Fungus will assist rebuilding the soil and give the vegetables a big growing boost. I know I’ve preached that vegetables like a more bacterial soil rather than fungal. This is true, except that there are different types of fungus. If you put wood chips in a vegetable bed, you’ll activate other decomposing fungus that will retard the growth of your tender veggies; the same wood chips around trees and woody plants will help them grow. However these oyster mushrooms will benefit your veggies by quickly decomposing compost and making the nutrients readily available to the vegetables. Their hyphae will help the veggie’s roots in their search for water and nutrients, too.
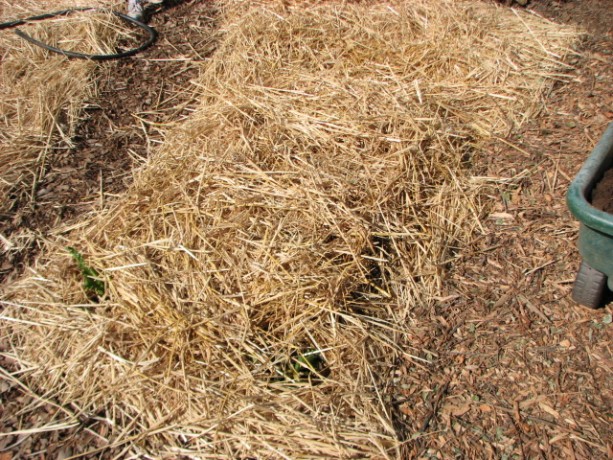
Straw is over the top and watered. We can continue to plant in the beds as the fungus does its magic. The other two bags of inoculated spores are for shaggy mane and garden giant, which we’ll find homes for in compost under trees. More on that as we progress. It is so nice to be planting, especially since these are perennial plants where the most work is being done now. Now we just need some rain!
- Compost, Gardening adventures, Hugelkultur, Permaculture and Edible Forest Gardening Adventures, Rain Catching, Soil, Water Saving
The Sunken Bed Project… Finis!
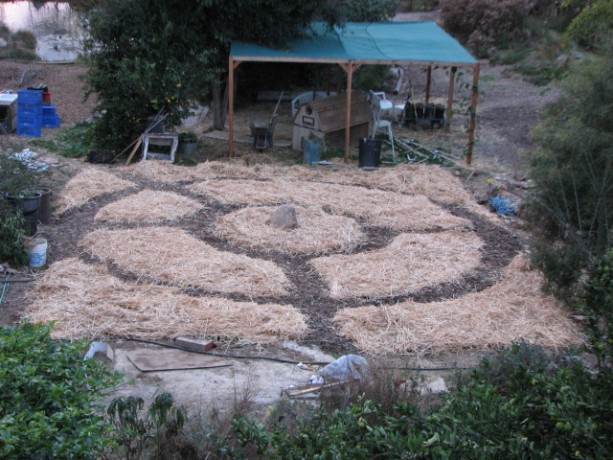
Maybe they can see this from space? To take up where we left off in this exciting saga, we had the hugelkultur trenches buried, the pattern outlined in gypsum, and a boulder moved. On top of the beds I spread the cleanings of a pigeon coop, courtesy of our good friends and neighbors who raise and rescue many pigeons.
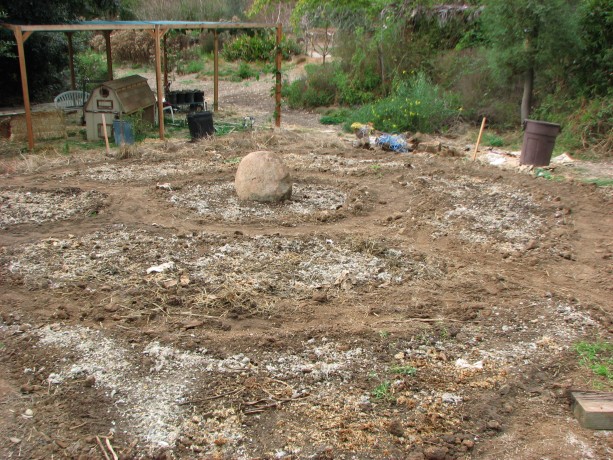
Pigeon poo and coop gleanings all over the garden beds. Yum! The high nitrogen poo, feathers, and leftover pigeon peas and other food items will make a wonderful breakfast for microbes. On top of that I spread a pickup truck bed full of mushroom compost. Jacob was nice enough to clean out his truck and help me get a load. The nearby mushroom farm raises shiitake and button mushrooms on logs of compressed sawdust. This is a high fungal compost, and slightly acidic. Since we have a high alkaline soil, this is okay.
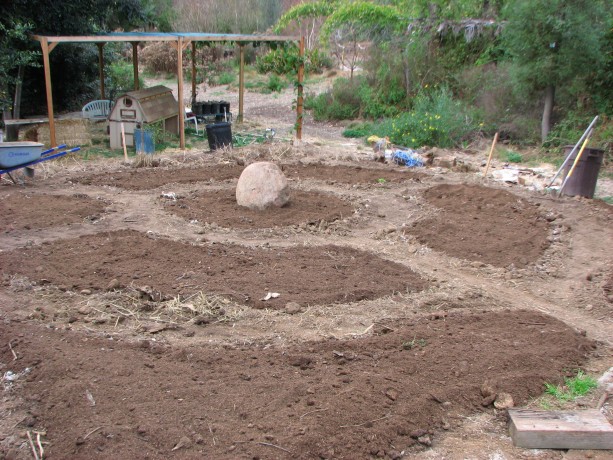
The garden beds covered with mushroom compost. After the compost begins to make its final decomposition, the worms thrive in it. I managed to wheelbarrow down the entire load and spread it just before we had the first rain event of the year…less than 1/4″, but enough to give the garden a small soaking.
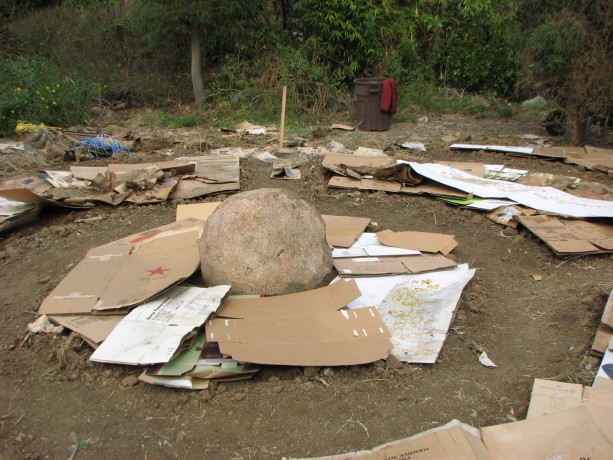
Cardboard is on all the garden beds. How nice to clean up all that cardboard and newspaper that we’ve been collecting! Today my daughter and I started in on the final treatment. We covered all the beds with cardboard, and all the pathways with newspaper. This thin layer will hold in moisture, and help retard the growth of the dreaded Bermuda grass.
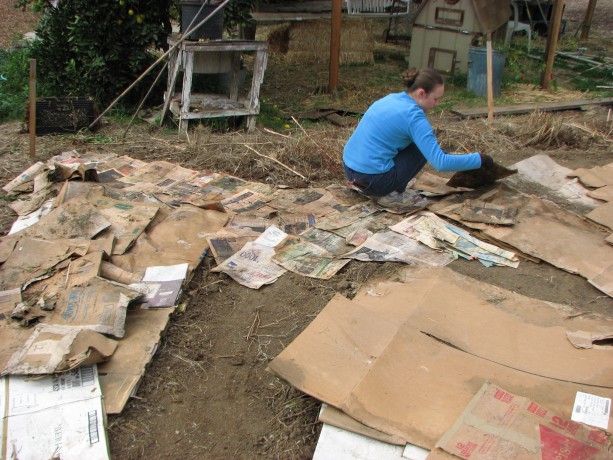
Spreading damp newspaper on the pathways. I’m really hoping so, anyway. Another small storm was blowing in for tonight, scattering our newspapers although we wet them down thoroughly. We’re still using water from the 700-gallon tank that catches water from the house’s raingutters. We’re trying to use some up so that fresh water can enter the tank with this storm.
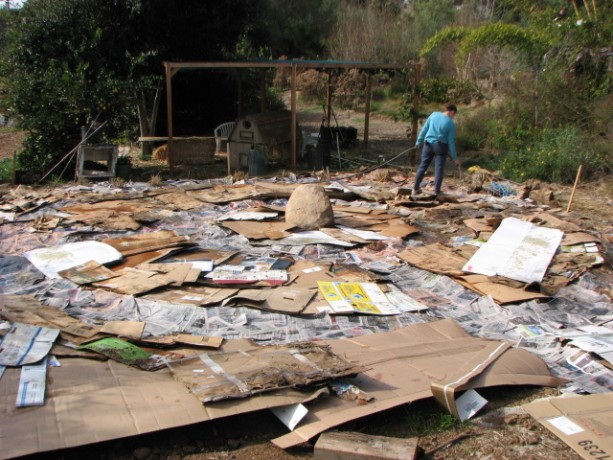
Watering down the newspaper with rainwater from the tank to keep the wind from undoing all our work, and starting the decomposition process. Although we were both very tired and getting cold, we needed to cover the paper. I hauled down about fifteen wheelbarrows full of mulch; this had been dumped in the driveway courtesy a landscaper with a chipper. Miranda spread the mulch over all the pathways, which looked just great.
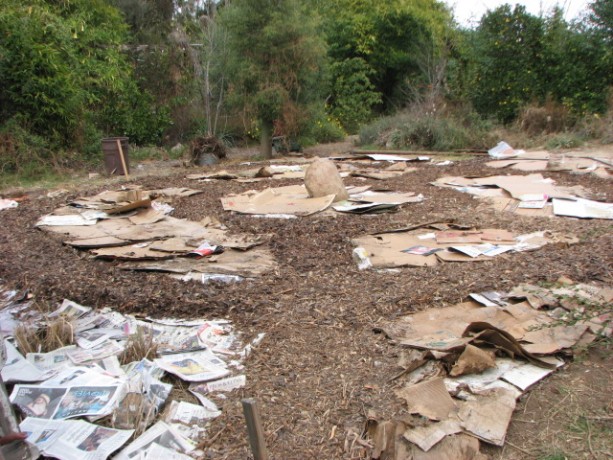
Paths covered in mulch. We almost stopped there, but I was driven to finish this project today. We pitchforked used straw from out of the Fowl Fortress, broke open some other bales, and mulched the garden beds heavily with the straw. And…. we’re done! Yipee! The rain tonight will give it all a good soak, and soon we can begin planting in our snazzy new garden beds.

The beds covered in straw! Hurray! I admit that I thought the beds would look more sunken, but with three 2′ deep x 30′ long trenches underneath there is a lot of underground moisture for the topsoil to absorb. Also the beds are below the pathways, but with the height of the cardboard and straw they don’t look it. With the garden on a slope we had to make some adjustments.
The next exciting project that we’ve already begun working on is growing mushrooms! Stay tuned.