Cob Oven 3

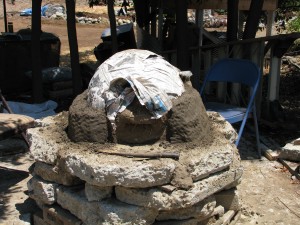
This is the third installment of the cob oven building story. In our last episode, we saw permaculturalists mounding and shaping sand, then beginning to build the first insulation layer on the sand form. The lack of straw made the mixture of sand and clay a little challenging to work with (straw would burn off so it isn’t used for this layer). When my intrepid daughter and I ventured out this morning in the July heat, we found that the wet burlap and newspaper had worked well for keeping the insulation moist. The mixture still on the tarps was a little drier, and a batch that had been put into a 5 gallon black nursery container so it was easy to grab, and then forgotten, had turned into a cylindrical brick. That was good news, for it showed that the mixture was a good one.

Although hot today, it wasn’t nearly as searing as yesterday. Intermittent clouds blew over and created some humidity, but sheltered us from the direct sun and the breeze stayed pleasant. I’d already baked a layer cake and a peach/apricot tart after blanching and peeling the fruit, to make sure the oven was used during the cool part of the morning. We also sliced extra fruit and put them out on cookie trays on our roof to dry (look at my post about drying fruit, if you would like to know more). I made sliced polenta with cheese and egg for breakfast, and cleaned up a mountain of dirty dishes from the cooking and baking by 10:30 am; a good start to the day.
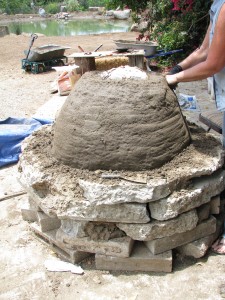
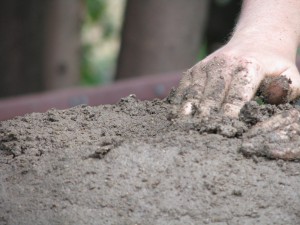
So we began layering the 2/1 sand and clay mixture, digging it into the layer below and being careful not to press inwards on the sand dome. We used our fists as guides to measure the same width all the way around, guiding with our other hand. If you don’t like having dirty fingers, or you value your fingernails, this isn’t the hobby for you. I think ninja masters must toughen up their hands by building cob ovens. Certainly no physical therapy I might have to do for my months-old sprained wrist could equal this kind of exercise!

While we worked we’d periodically hear chirps from a palm tree where a hooded oriole family was being fed by diligent parents. We were also watched most closely by our chickens; Emerson (who was supposed to have been a hen) practiced crowing.
Despite our drier mud, the sides liked to succumb to gravity. We used 2×4’s to press mud up from the bottom, similar to rolling out pastry dough. To make the front even, I took a mortar spatula and sliced off extra mud, then patted it even.

The most valuable tools we used were a spray bottle of water, the pieces of 2×4’s and folding chairs. A good arguement for making the oven stands higher is to save your back when mudding!
Finally the top was attained!

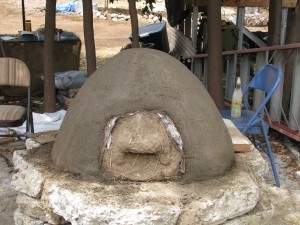
The next part was to use the board to smooth out all the sides and make a beautifully rounded shape. An area in the back was a little slumpy due to extra wet mud, but it wasn’t a big problem. After it was smooth, we took the board and gave the dome gentle whacks to compress the insulation.

After about 3 1/2 hours today, and 45 minutes yesterday, the first layer is finished. All during the process it felt as if we were creating an entity. I was trying to puzzle it out as we worked, and I think working with soil from our own property, mixing with hands and feet, and the rounded soft shape of the earthen dome all created that illusion. Also, the handle of the door that we made of cob looks like a big nose. My daughter dubbed the oven Harry Mud (and all you Star Trek Classic fans will love that name even more).
The next phase will be to mix straw with the sand and clay and create another layer over the insulation layer. That process will be in the near future, but definitely after our hands heal up from the sanding they received today. Hot and humid as it was, we had a real sense of accomplishment and pride when we finished the bones of Harry Mud.
